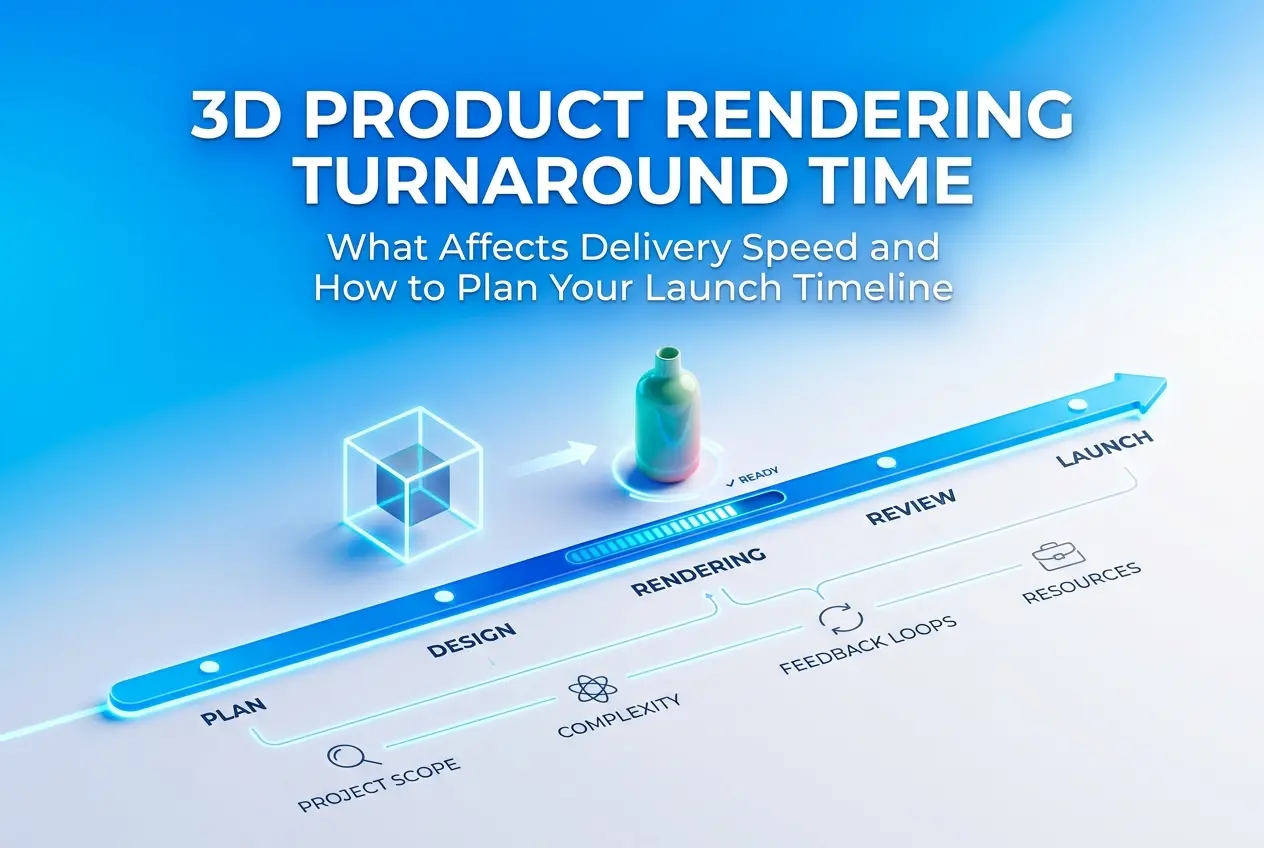
When a client asks us “how quickly can you deliver this?” the honest answer is always: it depends — but not vaguely. 3D product rendering turnaround time is driven by a very specific set of production variables, and once you understand them, you stop guessing and start planning. Whether you’re preparing for an Amazon launch, a trade show, or a seasonal campaign refresh, knowing what actually controls delivery speed gives you real leverage over your own timeline. We’ve worked across consumer goods, cosmetics, packaging, furniture, industrial equipment, and medical devices — and the delivery gap between a clean single-SKU packshot and a full lifestyle campaign is significant. Not because studios are inconsistent, but because the underlying work is genuinely different.
The goal of this post is to give you a working understanding of what drives that difference, what a realistic timeline looks like across project types, and — critically — what you can do on your end to make the whole process move faster without compromising the output.
The Core Variables That Control 3D Product Rendering Turnaround Time

Every project we assess gets evaluated against the same set of production factors. These aren’t administrative formalities — each one maps directly to hours of work.
Product Geometry and Material Complexity
A clean rectangular box, a basic candle, a simple bottle with a flat label — these move fast. The geometry is predictable, and standard material setups handle them well. The picture changes considerably once you introduce transparency, refraction, subsurface scattering, organic curves, or fine mechanical detail. A perfume bottle with embossed glass, a liquid fill, and a metallic foil collar is a materially complex build. So is a product with exposed fabric stitching, brushed aluminium panels, or soft-touch rubber overmoulding.
Material work is frequently underestimated by clients who haven’t seen the pipeline. Getting chrome, refractive glass, or woven textiles to look correct in render requires dedicated shader development and iterative testing — it is not a drag-and-drop operation. If you want to understand why some categories sit at the top of the complexity range, our post on 3d product rendering for automotive parts and accessories how cgi handles chrome matte and carbon fibre finishes explains the material workflow in useful detail.
Quality of Reference and Source Files Provided
This is the most controllable input from the client side. When clean CAD or STEP data is provided — correctly scaled, well-organised, and with no broken geometry — modelling is accurate and fast. When we’re working from a few phone photos with inconsistent angles and no dimensional reference, modelling time increases substantially and the risk of revision cycles goes up alongside it.
If you’re preparing files for submission, how to optimize your cad files for flawless 3d product renders covers exactly what clean source data looks like and why it compresses the front end of production. It’s worth reviewing before you approach any studio.
Scope: SKUs, Variants, and View Count
Adding colorways sounds minor. It rarely is. Each variant involves material swaps, label or graphic changes, individual re-renders, and quality checks across the set. Ten colorways of the same product is meaningful work — particularly if each has a different label, finish, or component configuration. Every additional camera angle is also its own production task: new lighting setup, composition, and render output.
The scope question matters most at the start of a project. A precise, finalised list of views and variants provided on day one allows accurate scheduling. Scope additions mid-production — especially adding lifestyle scenes after white-background work has begun — push timelines out disproportionately. This isn’t a policy decision; it’s just how production queues and resource allocation work.
Feedback Quality and the Review Process
This is the variable clients least anticipate, and it’s often the biggest schedule factor in practice. A strong first draft can be produced quickly — but if the review process involves multiple stakeholders reviewing in sequence rather than simultaneously, or feedback arriving in fragments across several messages, each round adds days. The projects that move fastest share a consistent pattern: one named decision-maker, clear consolidated feedback, and prompt responses to first drafts.
If you’d like to understand how the revision process works from both sides, working with a 3d product rendering company how revisions and feedback loops actually work is a useful read before you kick off a project.
Realistic Turnaround Windows by Project Type
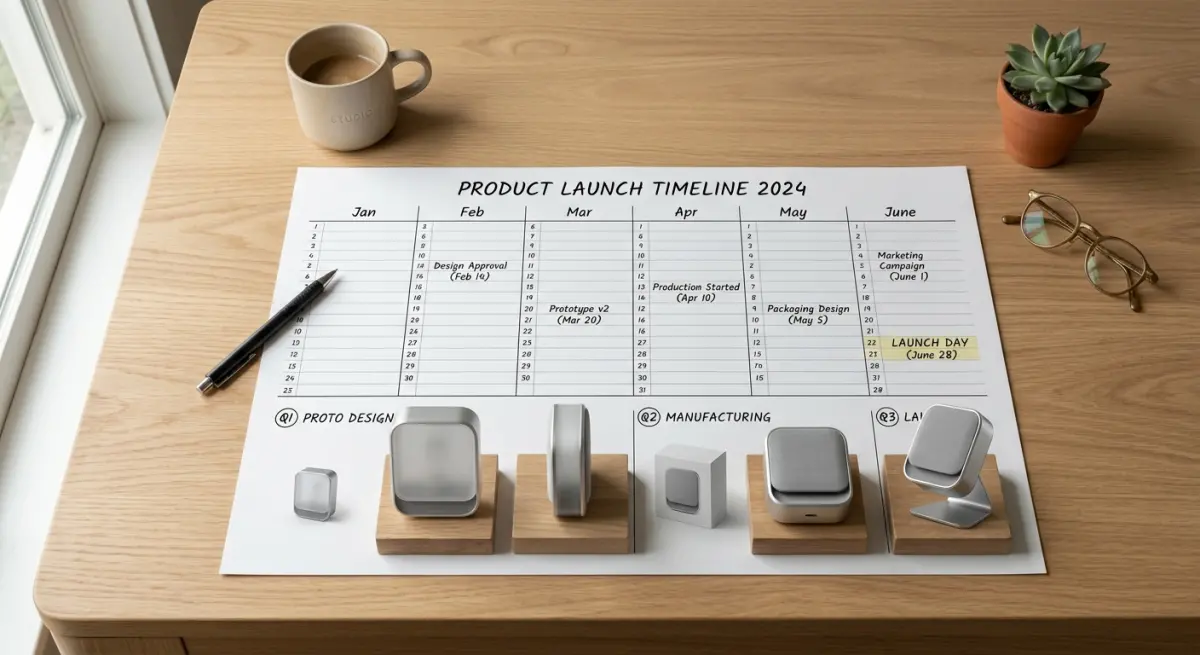
Rather than giving a single number that won’t apply universally, here’s a practical framework based on what we consistently see across project categories. These ranges assume a complete brief, all source files provided upfront, and reasonably prompt feedback during review stages.
| Project Type | Complexity Level | Typical Turnaround |
|---|---|---|
| Single product, simple geometry, 1–2 views | Low | 2–4 business days |
| Single product, moderate detail, 3–5 views | Medium | 4–7 business days |
| Single product, high complexity (glass, refractive, fabric) | High | 7–12 business days |
| Product lineup, 5–10 SKUs, standard views | Medium–High | 10–18 business days |
| Full catalog with lifestyle scenes and multiple variants | High | 3–6 weeks |
Complex lifestyle renders — fully built environments with contextual props, mood lighting, and art-directed staging — sit at the upper end of that range or beyond it. If you’re commissioning 3d lifestyle images for home decor brands how to stage a scene that sells without a physical sample, or anything involving multiple fully built scene setups, build your timeline accordingly. Lifestyle scenes require environment modelling, prop sourcing, and careful lighting development on top of the product work itself.
How to Build a Launch Timeline That Actually Works
Work Backwards From the Hard Deadline
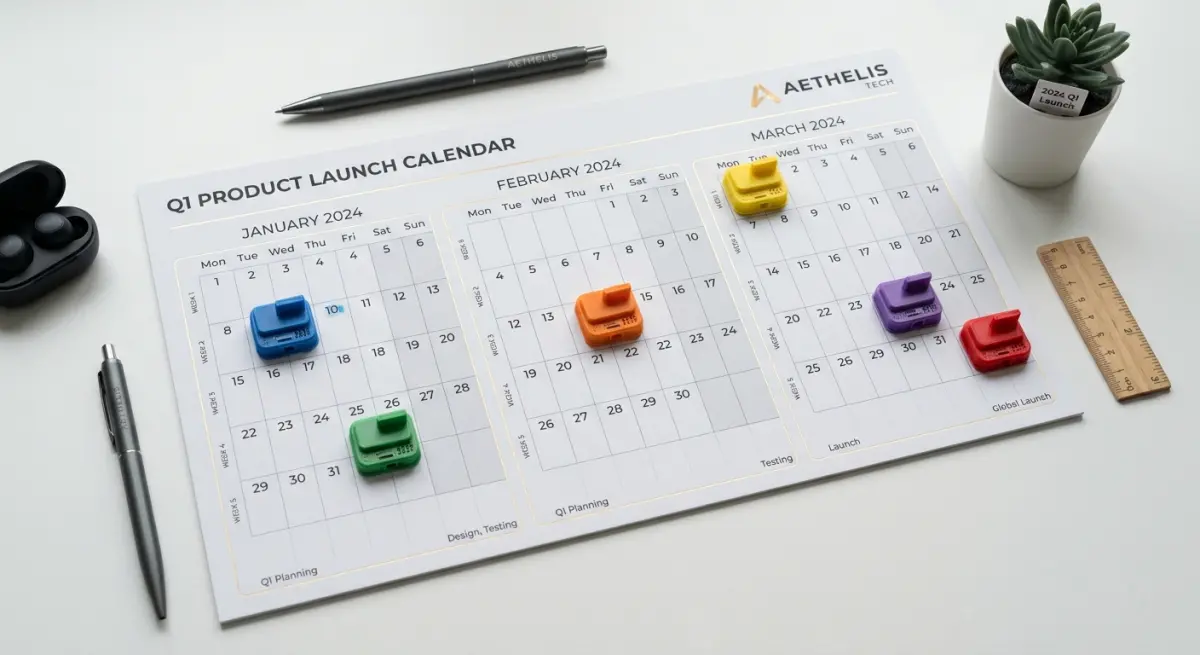
Start with the date you cannot move — a print deadline, a live listing date, a trade show opening — and count backwards from it. Build in time for final delivery and export, then revision rounds, then first draft production, then modelling and asset preparation, then brief onboarding. Most teams do this in the wrong order: they brief a studio as late as possible and then discover the timeline doesn’t work. The earlier you initiate a rendering brief — even if the product is still in late-stage development — the more options you have. In many cases we can begin modelling from CAD while final finish decisions are still being confirmed.
Submit a Complete Brief on Day One
A well-structured brief doesn’t just improve communication — it directly compresses delivery time. A complete brief includes: reference imagery showing the visual direction you want, all available CAD or technical files, colour and material specifications, a full list of views and scene types, dimensional or scale context, and your hard deadline. Every gap in that brief requires a follow-up question, and every question adds time before production can start. How to write the perfect brief for a 3d product rendering studio with template includes a template you can adapt directly for your next project.
Schedule Review Windows in Advance
One of the most consistent causes of timeline slippage isn’t studio-side — it’s client-side. A first draft sits in an inbox for four days while internal approvals wait to happen. Build specific review windows into your project schedule before production begins. If two revision rounds are anticipated, schedule them as named calendar events with identified reviewers. All stakeholders should review simultaneously, not in sequence, and feedback should be consolidated into a single document before it’s sent back to the studio.
What Clients Most Frequently Get Wrong
The most persistent misconception is that all 3D renders require broadly comparable effort. A white-background packshot for e-commerce and a cinematic lifestyle campaign render are both technically “3D renders” — but they sit in completely different production tiers in terms of scene complexity, environment building, and lighting development. Expecting lifestyle quality at packshot speed creates friction and disappointment on both sides.
A second common issue: submitting incomplete reference material and assuming the studio will fill the gaps without consequence. If we don’t know whether a surface should be satin, gloss, matte, or anodised, we have to ask. If those answers arrive in fragments over three days, the timeline shifts accordingly. Upfront completeness isn’t just good practice — it’s a direct production accelerator.
Rush requests deserve a realistic conversation too. Rush delivery works well for simpler, well-documented projects with existing models or clean CAD data. Where it breaks down is on complex builds where modelling alone takes eight to twelve hours before rendering can even begin. There is a production floor on any project that cannot be compressed further without compromising quality. A good studio will tell you exactly what’s achievable in the window you have — and what would need to be simplified to get there. That conversation is best had at the brief stage, not after a compressed delivery falls short.
On cost: rush jobs typically carry a premium. Expedited delivery requires reprioritising the production queue and sometimes extended team hours. If your deadline is tight, raise it at first contact and ask whether a rush fee applies. It’s a straightforward exchange and always better to know the cost upfront.
Planning for Ongoing Catalogs and Repeat Campaigns
If your product catalog updates seasonally, or if you run regular campaign refreshes, treating every rendering request as a standalone one-off project adds unnecessary overhead on both sides. We work with several brands on ongoing arrangements precisely because it removes the repeated onboarding that slows down individual projects. When a studio already understands your product family, brand style, material library, and preferred output formats, each new batch of work moves considerably faster from brief to delivery.
If you’re managing a high-volume pipeline — multiple products, regular new arrivals, platform-specific assets — it’s worth exploring what a structured ongoing relationship looks like. 3d cgi product rendering services how to brief approve and launch visual assets at scale covers the workflow structures that support this kind of production volume effectively.
Frequently Asked Questions
How far in advance should I commission renders before a product launch?
For a single product with a handful of views, four to six weeks is a comfortable buffer that accommodates production, revisions, and final export. For a full catalog with lifestyle scenes, multiple SKUs, or animated content, eight to twelve weeks is more appropriate. Starting too close to a launch date compresses revision rounds and limits the quality achievable in the window available.
Does providing a CAD file really make a meaningful difference to turnaround?
Yes — significantly. Accurate CAD or STEP files remove interpretation, reduce geometry errors, and eliminate the most time-consuming part of starting a project from scratch. When we’re modelling from photographs alone, there’s more ambiguity, more questions, and greater potential for revision cycles. Clean source files genuinely accelerate the front end of any rendering project. If you don’t have CAD files available, our post on how to choose a 3d product rendering company when you have no cad files explains what to expect from that starting point.
How many revision rounds are typical, and how do they affect the schedule?
Most professional studios include two to three rounds in a standard engagement. Each round adds one to three business days depending on the scope of changes requested. Minor adjustments — a lighting tweak, a colour shift — resolve faster. Structural or compositional changes take longer. The best practice is to consolidate all feedback into a single detailed round rather than sending changes across multiple messages.
What happens if I need renders faster than the standard window?
Rush delivery is often possible for simpler, well-documented projects. For complex builds, there’s a minimum production floor that can’t be compressed without compromising quality. Communicate your hard deadline at the very start of the brief, ask directly whether a rush fee applies, and let the studio give you an honest assessment of what can be delivered well in that timeframe.
If you have a product launch coming up and want a direct assessment of what’s achievable within your timeline, contact us at 360render.com. We’ll review your brief, give you a realistic turnaround estimate, and help you build a production plan that fits your schedule — without the last-minute scramble.
Frequently Asked Questions
How long does 3D product rendering typically take in 2025?
In 2025, 3D product rendering turnaround times range from 24 hours for simple single-product shots to 2–4 weeks for complex scenes involving animations, multiple variants, or photorealistic lifestyle environments. The actual timeline depends heavily on factors like scene complexity, number of revision rounds, and whether your studio uses AI-assisted workflows or manual rendering pipelines. Providing complete, well-organized asset briefs upfront can cut average delivery times by 30–50%.
What factors most impact how quickly a 3D rendering studio can deliver finished images?
The biggest drivers of delivery speed are scene complexity, the quality and completeness of reference materials you provide, the number of product variants or colorways needed, and the studio's current workload and rendering infrastructure. Poorly prepared briefs, missing dimensions, or vague style references are the leading causes of delays, often adding 3–7 business days to a project. Studios using GPU render farms and AI denoising tools in 2025 can significantly compress render compute time, but creative and revision cycles remain the most unpredictable variable.
Can rush 3D rendering services actually deliver high-quality results in 24–48 hours?
Yes, reputable studios now offer legitimate 24–48 hour rush rendering for straightforward product shots, especially for e-commerce assets like white-background images or simple lifestyle composites. However, rush timelines typically work best when the product CAD files or reference images are already high quality, the scope is narrow, and revision rounds are minimized upfront through a detailed brief. Expect to pay a 25–50% premium for rush delivery, and understand that highly complex scenes with multiple lighting setups or animations are rarely suitable for sub-48-hour turnarounds.
How should brands and product teams plan their timelines when commissioning 3D product renders?
Product teams should build a minimum 2-week buffer into their launch calendars for standard 3D rendering projects, accounting for brief preparation, a first-draft delivery, two revision rounds, and final export in required formats. For complex campaigns involving lifestyle scenes, animation, or more than 10 product SKUs, a 4–6 week timeline is more realistic and reduces costly rush fees. Aligning your 3D rendering kickoff date with when product specs and brand guidelines are fully finalized—not when the physical product ships—is the single most effective planning strategy.
Does providing CAD files versus photos speed up 3D rendering turnaround time?
Providing accurate CAD files (such as STEP, OBJ, or SolidWorks formats) generally accelerates the modeling phase and improves dimensional accuracy, often reducing modeling time by 40–60% compared to rebuilding geometry from reference photos alone. However, if CAD files are overly complex, poorly organized, or missing surface detail, studios may still need significant cleanup time that offsets the initial advantage. High-resolution photos from multiple angles can be a viable alternative for simpler products, especially when paired with a clear technical specification sheet.