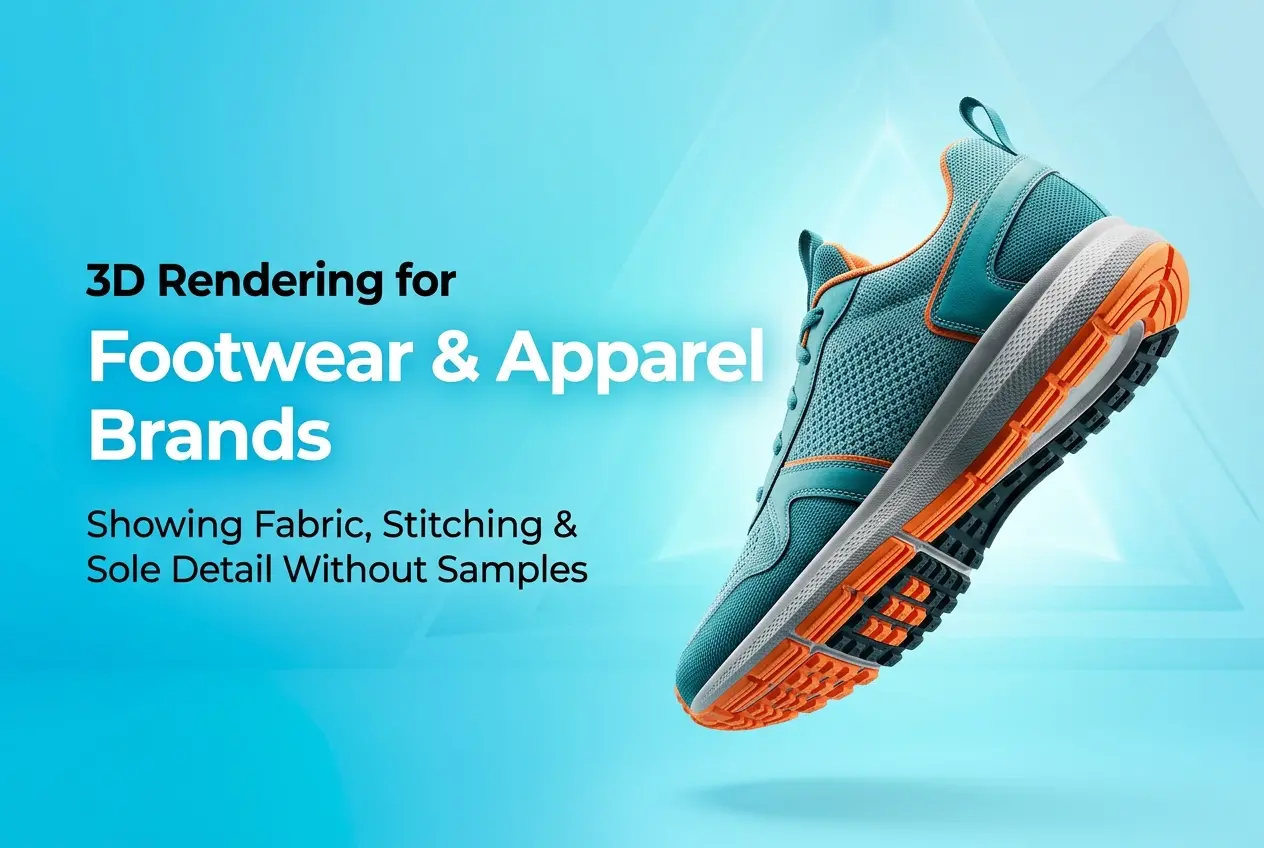
If you’ve ever waited six weeks for a sample shoe or a pre-production jacket just to find out the stitching looked wrong on camera, you already understand the problem. 3D Rendering for Footwear and Apparel Brands: How to Show Fabric Weave, Stitching and Sole Detail Without Samples is about removing that wait. It lets you build, review and sell a product before a single physical prototype exists, and it only works if the render holds up under close inspection.
That’s where most footwear and apparel renders fall apart. A shoe that looks fine at thumbnail size reveals plastic-looking mesh, flat stitching and a sole that looks like one molded blob the moment someone zooms in. Soft goods are among the hardest things to render convincingly, because the detail that sells them is tiny, structural and directional.
Here’s how we approach it in our studio, what data we need from you, and where clients tend to go wrong.
Why Fabric, Thread and Rubber Are Hard to Fake
Hard-surface products like a kettle or a chair are forgiving. Light hits a smooth surface in a predictable way. Textiles don’t behave like that. A woven fabric scatters light differently depending on yarn direction, twist, fiber type and how the cloth is draped or stretched. Knit structures have visible loops that cast tiny shadows. Leather has pores and grain that change with tanning and finish.
Footwear adds another layer. A single sneaker can combine engineered mesh, synthetic suede, TPU overlays, foam midsole, rubber outsole, woven laces, printed labels and reflective trim. Each material needs its own shader logic. If you apply the same generic “fabric” material to all of them, the result reads as a toy.
Showing Fabric Weave Accurately
Start with real material scans or good reference
The most believable weave comes from a scanned or photographed material swatch, not a stock texture from a library. If you can courier us a swatch, or even a flat, evenly lit, high-resolution photo with a ruler in frame, we can reconstruct the weave at the correct physical scale. Scale matters more than people expect. A twill that’s even slightly too large looks like burlap; too small and it dissolves into noise.
Build the weave in layers
We typically combine three things: a base color map, a normal or displacement map for the weave structure, and a fiber-level detail layer. For close-up shots of a hero product, we sometimes use true geometric displacement so the yarn silhouettes break the edge of the garment. For wider shots, a well-tuned normal map is enough and renders far faster.
Sheen and fuzz
Velvet, brushed cotton, fleece and suede all need what’s called a sheen or fuzz layer, a soft rim of scattered light at grazing angles. Without it, these materials look like matte plastic. With it, you instantly read “soft.” This single setting separates convincing textile renders from mediocre ones.
Stitching: The Detail That Sells Quality
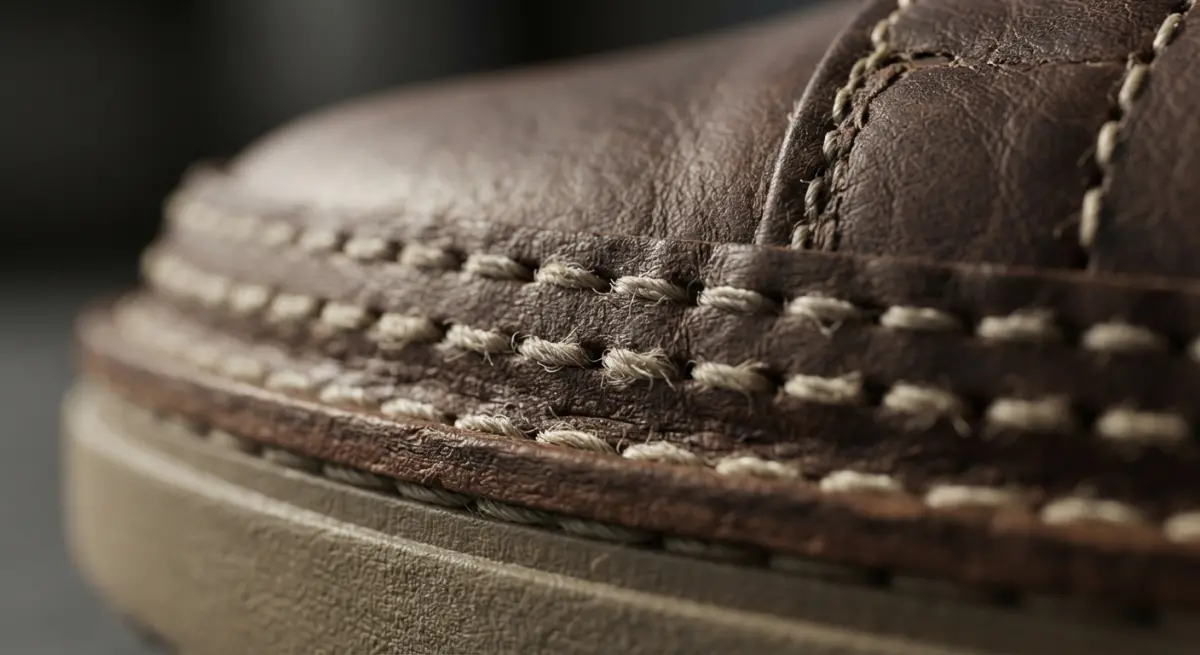
Stitching tells the viewer how well something is made. Uneven or flat stitching makes a premium product feel cheap, even if the design is excellent.
- Stitch type matters. A lockstitch, chain stitch, topstitch and overlock all look different. We model the actual structure when your tech pack specifies it.
- Thread has thickness. Real thread sits slightly proud of the surface and compresses the fabric around it. We add small puckering and seam shadows so the thread feels embedded rather than painted on.
- Stitch length and spacing. Stitches per inch changes the whole character of a seam. We match it to your spec rather than guessing.
- Seam allowances and folds. Where fabric layers overlap, there’s a visible step in thickness. Skipping this is why many renders look like stickers on a mannequin.
For garments, we usually simulate the cloth physically first, then place stitching along the pattern seams so it follows the real drape instead of fighting it.
Sole Detail: Where Footwear Renders Succeed or Fail
Soles are the most technical part of a shoe, and buyers scrutinize them. Midsole foam has a distinct micro-texture, often slightly sugary or matte, and its edges are rarely razor sharp. Rubber outsoles have tread patterns with specific depths, rounded lug edges and sometimes visible mold lines or parting seams. Adding that small imperfection is what makes it look manufactured instead of modeled.
We also pay attention to:
- Cement lines and glue edges between upper and midsole
- Translucent or air-unit components that need proper refraction
- Tread depth, which has to be right if you want an outsole shot to look functional
- Stitch-through or strobel construction visible at the sole edge
If your factory already has CAD files for the last, sole unit or mold, that’s ideal. Working from real engineering geometry gives us accurate proportions and tread that matches what will actually ship.
What You Need to Send Us
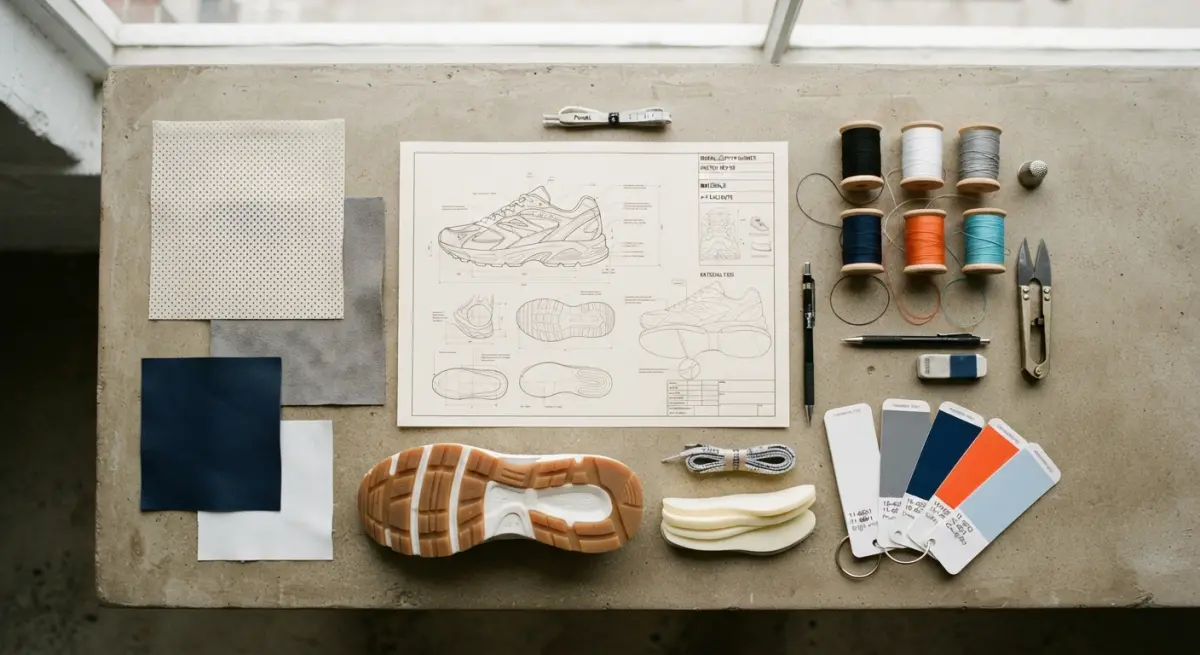
The quality of a no-sample render depends heavily on the inputs. Here’s what moves a project forward fastest:
| Input | Why it helps |
|---|---|
| Tech pack or spec sheet | Defines materials, stitch types, colorways and construction |
| 2D flats or CAD patterns | Gives accurate shape, seam placement and proportions |
| Fabric swatch or macro photo | Lets us match weave scale, color and sheen |
| Last, sole or mold files | Ensures footwear geometry is production-accurate |
| Pantone or color references | Avoids colour drift between digital and physical |
| Reference photos of similar products | Aligns on finish, gloss and construction look |
What Clients Commonly Get Wrong
We see the same few mistakes repeatedly:
Sending only a sketch. A beautiful concept drawing doesn’t tell us fabric weight, stitch spacing or sole thickness. We can interpret, but you may end up approving something your factory can’t actually build.
Expecting the render to fix an unresolved design. Rendering shows decisions; it doesn’t make them. If the sole unit or trim isn’t finalized, we’ll be modeling guesses.
Ignoring colour management. A colour approved on a laptop screen can look different on a phone or in print. We work from calibrated references, but physical colour standards still help.
Over-polishing. Perfect, flawless surfaces look artificial. Slight asymmetry, tiny wrinkles and subtle wear in the right places make a product read as real.
If you’re also thinking about how these visuals will work across channels, our work on 3D product rendering services covers how the same model can feed catalogues, marketplace listings and ad creative without being rebuilt each time.
Using One Digital Asset Across the Whole Pipeline
Once the model and materials exist, the real savings show up. The same asset can produce front, side and sole shots, macro close-ups of stitching, colourway variations and lifestyle scenes. Changing a colourway becomes a material swap rather than a reshoot. Pre-order campaigns, wholesale line sheets and internal design reviews can all start before production samples land, and when samples do arrive, you can compare them against the digital reference to catch deviations.
Final Thoughts
Showing weave, stitching and sole detail digitally isn’t about hiding the lack of a sample. It’s about doing the technical homework: correct material scale, believable light behaviour, accurate construction and honest imperfection. When those pieces are right, buyers and customers can judge the product with confidence long before it’s manufactured.
If you’re planning a footwear or apparel launch and want to see how your tech pack translates into production-ready visuals, get in touch with our team. Send us your specs and swatches, and we’ll tell you honestly what’s achievable and what additional inputs would sharpen the result.