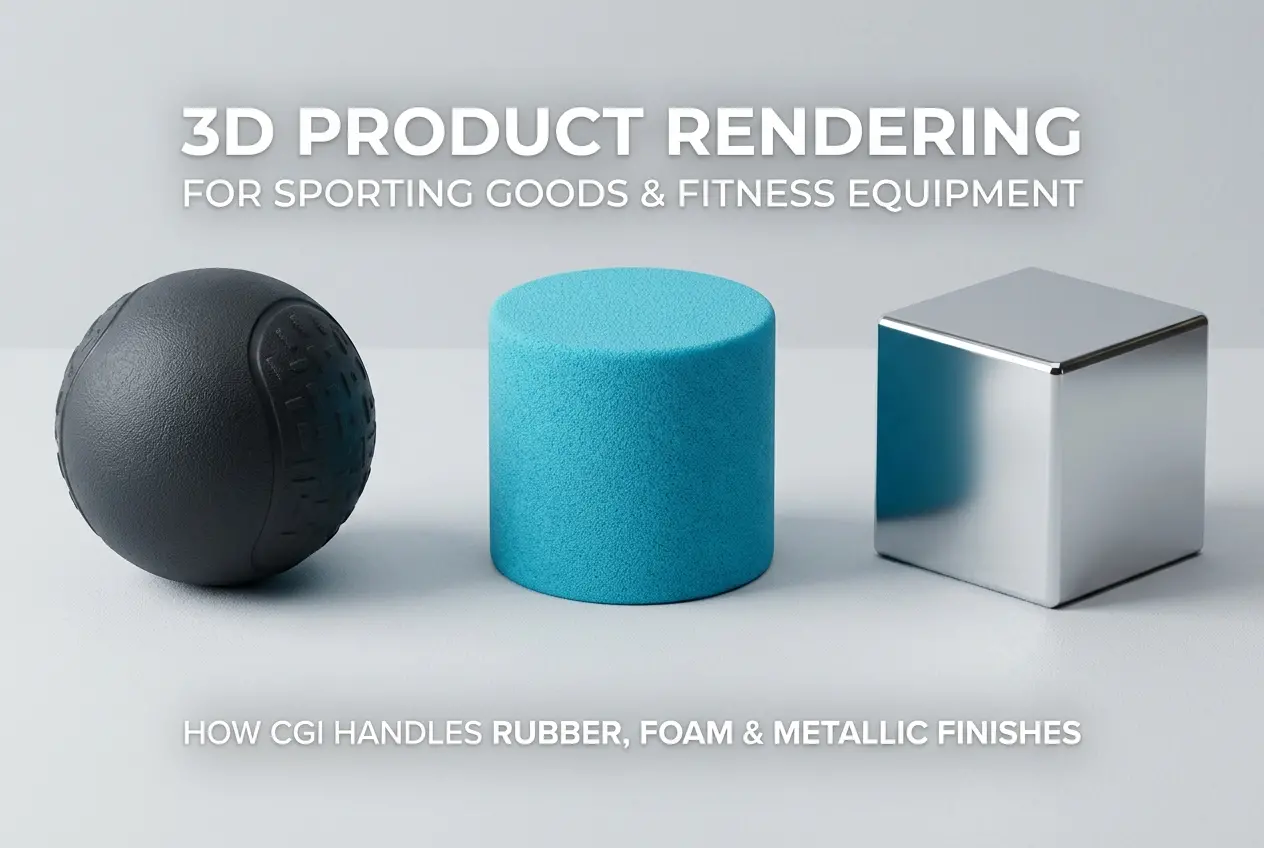
When a fitness brand approaches us to render their new line of resistance bands, kettlebells, or foam rollers, the first challenge isn’t composition or lighting — it’s materials. 3D Product Rendering for Sporting Goods and Fitness Equipment: How CGI Handles Rubber, Foam and Metallic Finishes is a genuinely technical subject because these products live at the intersection of the most difficult surface types in rendering. Matte rubber that absorbs light. Dense foam with micro-texture. Brushed steel that catches every reflection. Getting any one of these wrong makes the render feel fake instantly. Get them all right, and a client can launch a global product campaign without ever doing a traditional photo shoot.
Sporting goods are unforgiving in CGI. Unlike a decorative vase or a piece of furniture where a slightly off material might go unnoticed, fitness equipment is something people touch and use. Buyers know what a barbell feels like. They know the slight sheen on a yoga mat versus the matte grip of a deadlift platform. If your render doesn’t communicate that tactile reality, it loses trust — and trust is what converts browsers into buyers. This is why the material work has to be technically exact before you even think about scene setup or post-processing.
In our studio, we’ve worked across dumbbells, resistance equipment, treadmill frames, gym flooring tiles, boxing gloves, and ergonomic padding. Each project taught us something new about how these specific materials behave under light. This post breaks down exactly how we approach the three dominant surface categories in fitness equipment rendering: rubber, foam, and metallic finishes.
Why Material Accuracy is Everything in 3D Product Rendering for Sporting Goods and Fitness Equipment
Before getting into the technical workflow, it’s worth explaining why sporting goods are particularly demanding compared to, say, rendering a ceramic bowl or a wooden cabinet.
Fitness products serve a dual purpose visually. They need to look functional and aspirational at the same time. A pair of adjustable dumbbells on an e-commerce listing has to communicate weight, grip quality, durability, and finish — all within a single still image. That’s a lot of work for a render to do. And the materials are doing most of the heavy lifting.
The other complication is that sporting goods typically combine multiple materials in a single product. A kettlebell might have a cast iron body with a powder-coat finish, a rubberized base, and a smooth chrome handle section. A rowing machine has plastic housing panels, foam grip pads, metal rail tracks, and rubber feet. Each surface needs its own shader logic, and they all need to coexist convincingly in the same lighting environment.
Clients who come to us with low-quality renders often had artists who built one generic “shiny” shader and applied variations of it to everything. That’s the fastest way to make a fitness product look like a toy.
Rendering Rubber: Grip, Glossiness, and Getting the Sub-Surface Right
Rubber is one of the trickiest materials in product rendering because the word covers an enormous range of real-world surfaces. The rubber on a gym floor tile is thick, dense, and nearly matte with visible texture grain. The rubber coating on a dumbbell handle is slightly different — it has a faint sheen because of the coating process. A resistance band has translucency and stretch memory baked into its visual character. These are not the same material, even though clients often label them all as “rubber.”
In PBR (Physically Based Rendering) workflows, rubber surfaces are built with low roughness values in the 0.6–0.9 range, with very low metallic values (essentially zero), and a specific IOR (Index of Refraction) that gives them that subtle surface highlight without making them look glossy like plastic. The difference between rubber and plastic in CGI is very subtle but immediately noticeable to the human eye — plastic has a slightly higher specular response and a cleaner highlight. Rubber scatters light more diffusely.
For textured rubber — like the grip knurling on a kettlebell or the surface pattern on a resistance mat — we almost always use a combination of a displacement map and a normal map. Displacement handles the actual geometric depth of the texture, while normal maps add the finer surface detail. Using only normal maps on rubber grip textures tends to fall apart at glancing angles, which is exactly where the texture reads most strongly in real product photography.
One thing we’ve found is that rubber also benefits from a very subtle Sub-Surface Scattering (SSS) component, especially for thick rubber items like bumper plates or rubber resistance bands. Real rubber isn’t fully opaque — light penetrates the surface just slightly, giving it a soft, organic quality. Without SSS, rubber in CGI can look like painted plastic. It’s a small tweak but it makes a noticeable difference.
Foam Materials: Density, Compression Memory, and Lighting Traps
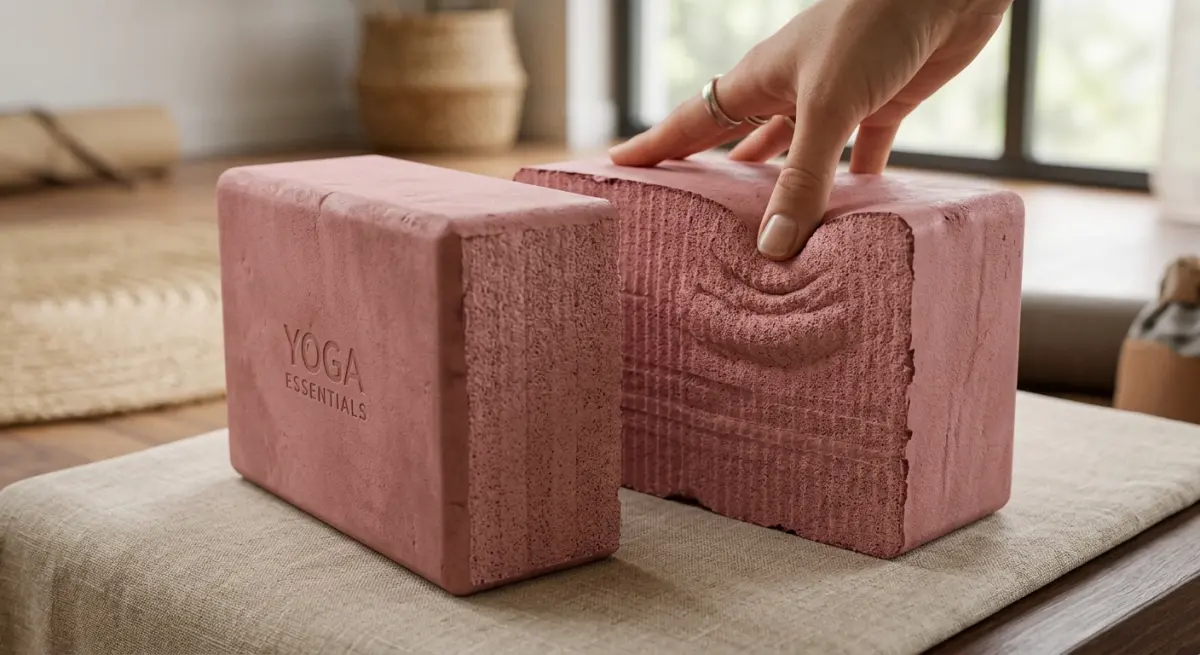
Foam surfaces appear in fitness equipment constantly — yoga blocks, gym padding, boxing gloves, foam rollers, ergonomic seat cushions on exercise bikes. Each foam type has different visual characteristics based on its density and surface treatment.
High-density foam like a yoga block has a smooth, slightly matte surface with very little specular response. The edges catch the most light because that’s where the compression lines and corner radii read. Open-cell foam like the padding on boxing gloves has a fabric covering, which adds another layer — you’re actually rendering fabric over foam, and the fabric needs to show the slight compression contours of the foam underneath.
The most common mistake we see with foam materials is over-smoothing. Artists will often make foam look too perfect, too uniform. Real foam has micro-variations in surface density. It shows contact marks, slight irregularities at seams, and variation in color value across its surface. Adding subtle noise maps to the roughness channel and a gentle ambient occlusion bake into the diffuse helps enormously. These small imperfections are what make the material feel physically real.
Foam is also a lighting trap. Because it’s so matte, it requires deliberate light placement to read well. Too many lights flatten it out and it looks like a grey blob. In our studio, we typically set up a key light that hits the primary face, a rim light to define edges, and a fill card that bounces soft light into the shadow side. The goal is to show the material’s softness without losing its form definition.
Metallic Finishes: Brushed, Chrome, Powder Coat, and Anodized
Metal is where sporting goods rendering gets both exciting and technically demanding. There are several distinct metal finishes in fitness equipment, and they each need their own approach.
| Metal Finish Type | Common Application | Key Rendering Parameters |
|---|---|---|
| Brushed Steel / Aluminum | Barbell shafts, cable machine frames | High metallic value, anisotropic roughness map with directional grain |
| Chrome / Mirror Polish | Dumbbell collars, machine handles | Near-zero roughness, very high metallic, clean environment reflections |
| Powder Coat | Kettlebell bodies, rack frames | Low metallic, medium-high roughness, subtle texture grain |
| Anodized Aluminum | Bike frames, machine panels | Medium metallic, slight color saturation shift, controlled specular |
| Cast Iron | Traditional weights, barbell plates | Low metallic, grainy roughness, slight surface pitting detail |
Brushed metal is the most technically interesting because of its anisotropy. Real brushed steel reflects light differently depending on the direction you view it — the brushing creates microscopic directional grooves that scatter light along one axis more than the other. In Arnold, V-Ray, or Cycles, this is handled with an anisotropic value in the metallic BRDF and a tangent map that defines the direction of the brushing. Get this wrong and brushed steel looks like plain grey metal. Get it right and it has that characteristic streak highlight that makes it immediately recognizable.
Chrome is actually one of the easier metal finishes to render correctly — but only if your HDRI environment is high quality. Chrome is basically a mirror. It reflects everything around it. If your studio environment HDRI has obvious seams, low resolution, or an unrealistic light distribution, that will show directly in the chrome surface. We use high-resolution, professionally shot HDRIs for anything with chrome or near-mirror finishes. There’s no hiding behind material settings with chrome — the environment is the material.
Powder coat finishes are common on gym equipment frames and are actually somewhat forgiving to render. The challenge is making them look tactile rather than painted. A light noise map on the roughness channel and a subtle bump map simulating the slightly granular texture of real powder coat makes all the difference.
What Clients Often Get Wrong When Briefing for Fitness Equipment Renders
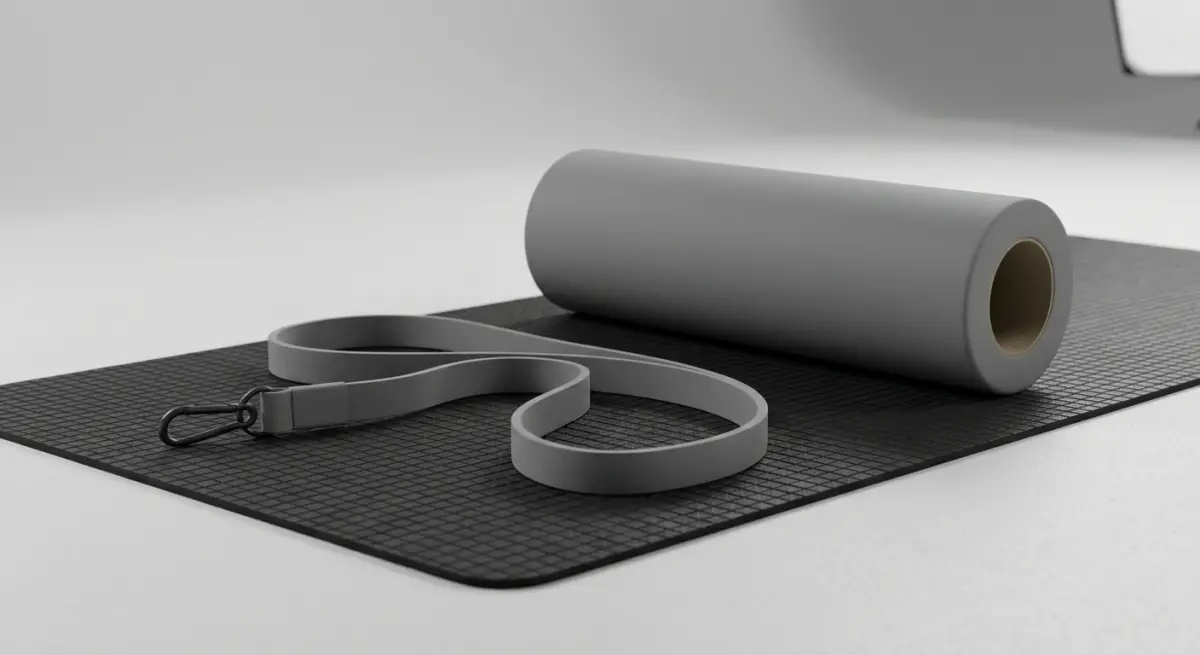
After running through dozens of fitness product projects, a few patterns emerge in how clients brief renders — and where the disconnects happen.
The most common issue is sending generic reference images from competitors’ websites rather than actual product samples or material callouts. “Make it look like this competitor’s dumbbell” is not a material brief. We need to know: is the handle chrome-plated or polished aluminum? Is the rubber over-mold matte or semi-gloss? What color is the powder coat, and is it a standard RAL color or custom mixed?
The more specific clients are about their materials upfront, the faster and more accurate the rendering process is. We always recommend asking your manufacturer for material samples or finish swatches before briefing a render project. If you’re rendering a product that doesn’t exist in physical form yet — which is one of the strongest use cases for professional product rendering services — then providing competitor product references combined with a clear written spec sheet works well.
Another common mistake is requesting renders without considering the intended use. Renders for an Amazon listing have different resolution, aspect ratio, and background requirements than renders for a brand lookbook or a trade show display. This affects lighting decisions, camera angles, and how aggressively we process the final output. Always tell your rendering team where the images will be used.
Scene Setup and Lighting Strategy for Gym Equipment
The physical product aside, scene setup for fitness equipment has its own logic. Most gym products are photographed in one of three contexts: pure white studio backgrounds, lifestyle gym settings, or gradient backdrop setups. Each context changes how you approach the lighting.
For e-commerce renders on white backgrounds, we use a three-point lighting setup with careful management of shadow softness. Hard shadows make equipment look dramatic but can obscure material detail. Soft shadows are safer for product listings. We also add a subtle ground shadow that grounds the product — floating objects look unfinished even if every material is perfect.
For lifestyle gym settings, the product needs to integrate with the environment. This is where 3D interior rendering techniques become relevant — we’re building out a believable gym space that supports the product without overshadowing it. The floor material (rubber flooring, concrete, wood), the wall finish, ambient lighting sources, and even background equipment all contribute to the believability of the scene.
One lighting principle that applies across all fitness equipment renders: avoid flat, even illumination. Real gym lighting — whether from overhead strips, natural windows, or spot fixtures — creates contrast, and contrast is what shows material quality. Flat lighting collapses the difference between rubber and metal, between foam and plastic. Light with intention, and the material work reads properly.
Conclusion
3D Product Rendering for Sporting Goods and Fitness Equipment requires a disciplined, material-first approach. The rubber, foam, and metal finishes that define these products each carry a strong tactile expectation in the viewer’s mind, and the CGI needs to meet that expectation accurately. When it does, the render becomes a genuine marketing asset — one that can communicate product quality more consistently than traditional photography in many cases, and at a fraction of the cost for variant-heavy product lines.
If you’re a fitness equipment brand, e-commerce seller, or sporting goods manufacturer looking to build out a product render library — or if you’re launching a new product and need photorealistic visuals before manufacturing is complete — we’d be glad to talk through the project. Get in touch with our team at 360render.com and let’s work out what your product line needs.
Frequently Asked Questions
What are the biggest CGI challenges when rendering mixed-material fitness equipment that combines rubber grips, metal frames, and foam padding in a single product?
The primary challenge is balancing material complexity in a single scene, as rubber, foam, and metal each require distinct shader settings, lighting responses, and texture resolutions that can conflict or create unrealistic results if not carefully calibrated. Artists must manage render times while ensuring that reflections from metallic frames do not incorrectly bleed onto adjacent matte rubber or foam surfaces, which requires precise material isolation and light path configuration. Working with experienced CGI studios that specialize in sporting goods ensures these multi-material interactions are handled accurately, resulting in final images that satisfy both marketing teams and technical product reviewers.