If you sell home decor — throw pillows, rugs, lighting, furniture, or decorative accents — you already know the core problem: customers can’t touch your product, can’t see it in their home, and can’t imagine how it fits into their life from a flat product photo on a white background. That gap between “product shot” and “purchase confidence” is exactly where 3D lifestyle images for home decor brands shine. And here’s the part most brands don’t realize until they’ve worked with a 3D studio: you don’t need a physical sample to create a scene that looks more compelling than most photography. We’ve staged hundreds of lifestyle scenes without a single physical prop, and the results consistently outperform white-background product images when it comes to engagement and conversion. This post breaks down exactly how we do it — and what you need to get it right.
The shift toward 3D-rendered lifestyle imagery isn’t just about convenience. It’s about control. When you photograph a product in a real room, you’re at the mercy of lighting conditions, available props, seasonal availability, and the cost of renting or building a set. In 3D, you set the time of day, the quality of light coming through a window, the exact shade of wall paint, and the precise mix of supporting decor items — all without logistics. A client came to us with a new collection of ceramic vases and needed lifestyle imagery before the first production run had even been completed. The 3D route wasn’t just faster; it was the only option that made commercial sense.
But doing this well requires more than dropping a product model into a pre-built room scene. There’s a discipline to staging a 3D lifestyle scene that actually sells — and it starts long before you open your rendering software.
Why 3D Lifestyle Images for Home Decor Brands Work Better Than You Expect
Most people assume 3D rendering looks “digital” or cold. That assumption comes from seeing badly done work. When a scene is staged correctly — with realistic material behavior, properly scattered ambient occlusion, believable depth of field, and intentional imperfections — the brain reads it as a photograph. The secret is that good 3D doesn’t try to look perfect. It tries to look real, and real means slightly imperfect.
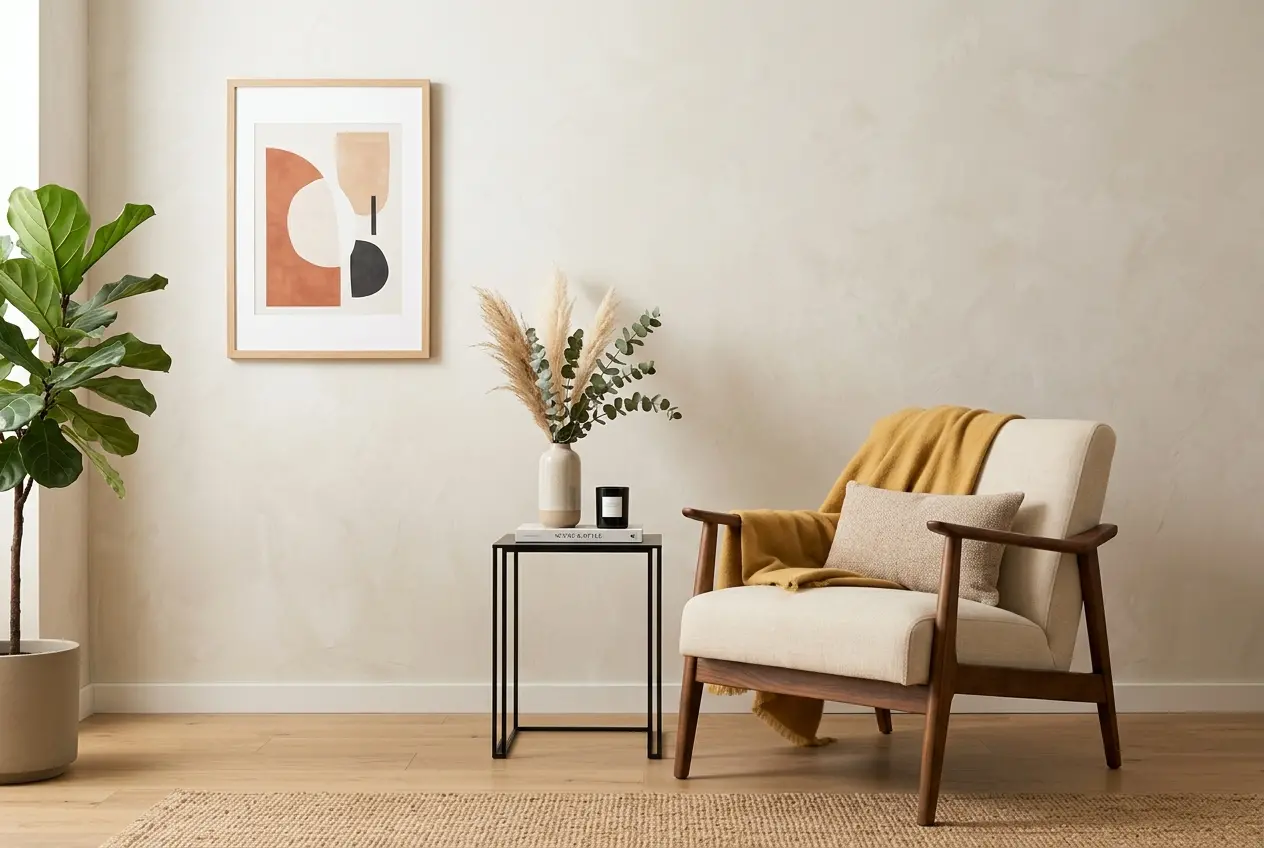
Home decor lifestyle images in 3D work particularly well for a few reasons. First, the product is typically surrounded by complementary items — a styled bookshelf, a linen sofa, a plant — and those supporting elements can be sourced from existing 3D asset libraries without any additional cost to the client. You’re not renting furniture or hiring a set designer. Second, 3D gives you the ability to create multiple scene variations from a single scene file. Same room, different rug. Same rug, different wall color. That flexibility makes it practical for A/B testing creative, building out a full content library, or adapting imagery for different markets.
Starting With the Right Product Brief
The most common mistake home decor brands make when commissioning 3D lifestyle images is providing incomplete product information. A 3D artist cannot guess the exact weave density of a cushion fabric or the specific warmth of a brass finish. Before any scene work begins, the product itself has to be built accurately. That means submitting:
- High-resolution reference images from multiple angles (front, back, detail shots)
- Exact dimensions with unit specifications
- Material references — fabric swatches, finish samples, Pantone or RAL codes where applicable
- Any manufacturer or product spec sheets
- Brand guidelines that affect how the product should be presented
The more specific the input, the more accurate the output. If you provide a blurry single-angle photo and tell us the fabric is “beige,” we’ll make reasonable creative choices — but they may not match the actual product. For brands that haven’t yet gone into production, this is also a useful quality check: building a 3D model often reveals sizing issues or material conflicts before manufacturing begins.
Scene Composition: The Principles That Actually Sell
Staging a lifestyle scene isn’t interior design — it’s directed storytelling. Every element in the frame should either support the product, reinforce the brand aesthetic, or contribute to the lifestyle narrative. Here’s how we approach it:
Choose a Scene Format Based on Customer Psychology
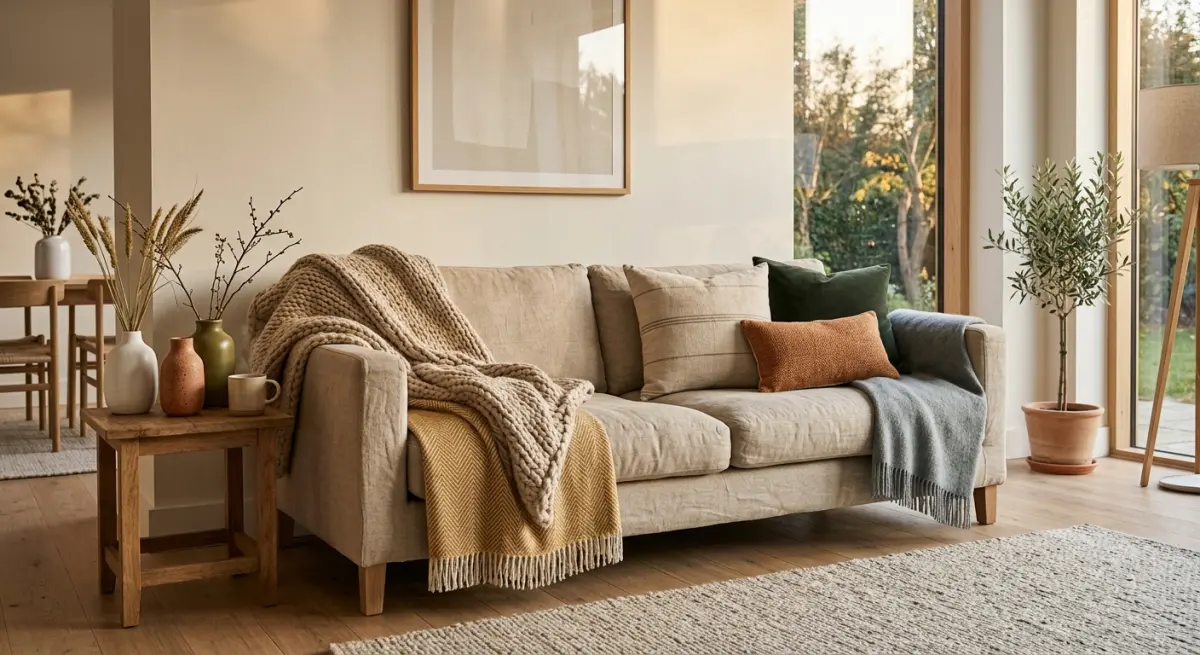
Tight scenes work better for smaller products — a candle on a marble shelf, a throw draped over a chair arm. The product needs to fill enough of the frame that details read clearly. Wide shots work for furniture or large textiles where the spatial context is part of the value proposition. A rug looks completely different at 5×8 feet in an actual living room versus cropped to just the corner of the weave.
Lighting Does More Work Than Props
Photographers know this instinctively. In 3D, it’s just as true. Soft directional window light with a warm afternoon color temperature reads as aspirational and calm — it’s the dominant mood in most successful home decor campaigns. Harsh overhead lighting kills texture. We typically set up an HDRI environment first, then layer in area lights specifically designed to catch the product’s key textures. A woven basket needs side-grazing light to show its depth. A lacquered surface needs careful reflection management so it reads as glossy without becoming a mirror.
The Rule of Supporting Items
Every background element in a lifestyle scene should be either more neutral or clearly subordinate to the hero product. A common error in 3D staging — and in photography — is placing equally eye-catching items next to the product you’re trying to sell. A client once asked why their lamp didn’t “read” in their lifestyle images. The background had a bold graphic art print, a highly patterned throw, and a bright red book stack. The lamp had nowhere to stand out visually. We cleared the background, brought in softer supporting objects, and the same lamp immediately became the focal point.
Material Realism: Where 3D Wins or Loses
For home decor, material rendering is everything. Customers are buying fabric, wood grain, ceramic glaze, stone texture. If those materials don’t look physically correct, the image undermines trust rather than building it. In our studio, this means:
| Material Type | Key Rendering Consideration | Common Mistake |
|---|---|---|
| Fabric / Textiles | Subsurface scattering, translucency, fiber-level displacement | Too-smooth normals; fabric looks plastic |
| Polished Metal | Environment reflections, IOR accuracy, micro-scratches | Mirror-like finish with no imperfection; looks fake |
| Ceramic / Glazed | Fresnel reflectance, slight surface variation in glaze | Uniform gloss; real glazes have subtle variation |
| Wood Grain | Procedural + texture map combination, grain direction matching geometry | Tiling artifacts; grain that doesn’t follow the form |
| Natural Stone / Marble | High-res texture, specular variation, translucency in thinner sections | Flat uniform surface; no depth in the stone |
This is also why we always ask for physical swatches or detailed close-up shots of real-world material samples when they exist. Even if the product isn’t manufactured yet, a reference from a similar existing material gets us much closer than working from a description alone.
Composing for Multiple Platforms Without Re-Rendering
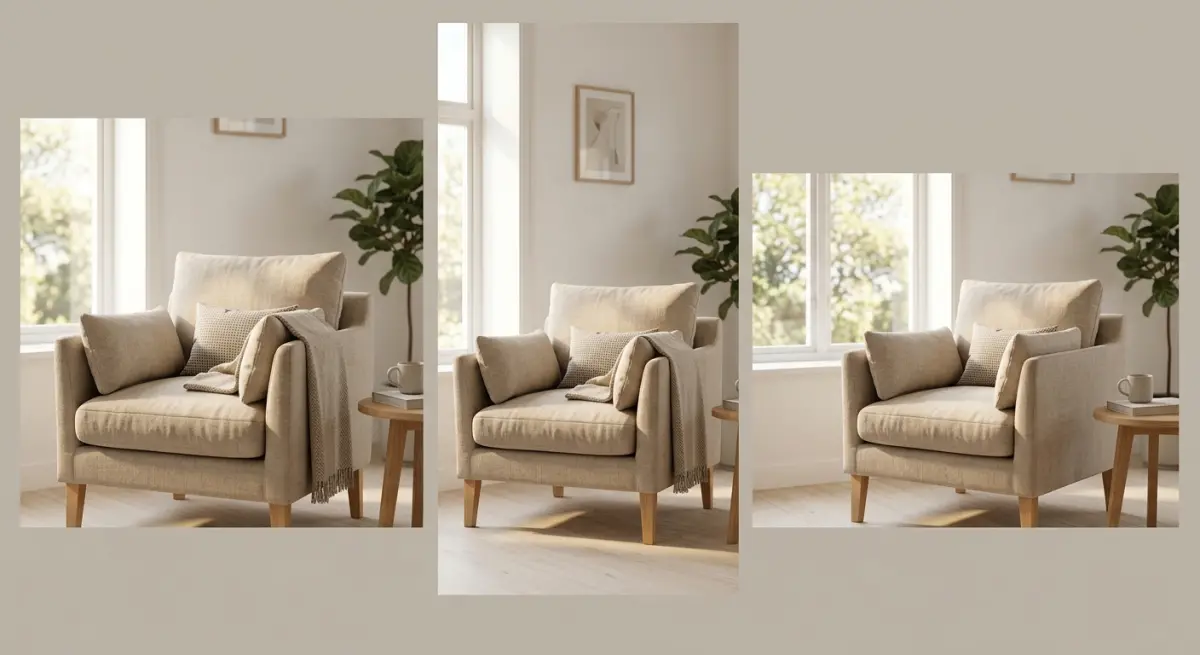
One thing most home decor brands don’t think about at the brief stage: different platforms need different image formats. Instagram needs a square or 4:5 vertical crop. Website banners need a 16:9 horizontal with room for text. Marketplace listings like Wayfair or Amazon have their own image ratio requirements. If you plan your 3D scene composition knowing you’ll need multiple crops, you can render a single high-resolution image that accommodates all of them — or render alternate compositions efficiently within the same scene setup.
We always render at a resolution that gives at least 3000px on the short side. This gives enough room to crop without losing quality, and it supports retina displays without upscaling artifacts. Some clients also ask for the scene to be set up so that additional SKUs — color variants, size variants — can be dropped in later without rebuilding the scene. That’s a smart approach, especially for collections where new products will launch throughout the year.
What Clients Most Often Get Wrong
After working with dozens of home decor brands on 3D lifestyle projects, a few patterns in client briefs come up repeatedly that cause delays or require costly revisions:
Ambiguous mood direction. “Warm and cozy” means something different to every person. Instead of adjectives, share reference images. A Pinterest board of real rooms you admire is more useful than three paragraphs of written description.
Underestimating material complexity. Clients sometimes assume that because a product looks simple — a plain linen cushion, for example — the 3D work should be fast. But realistic linen is technically demanding. Fibers need to catch light the right way, the weave needs to deform correctly if the cushion is shown compressed, and the seam stitching needs enough detail to read at close crop.
Requesting changes to “make it look more real” without specifying what isn’t working. This gives the artist nothing actionable to fix. If something looks off, try to identify whether it’s the lighting, the material, the scale, or the composition. The more specific the feedback, the faster the revision.
Skipping the modeling sign-off stage. Many studios, including ours, offer a wireframe or clay render review before final texturing begins. Clients who skip this step to save time often end up requesting structural changes after full texturing — which costs more time and money than the review would have.
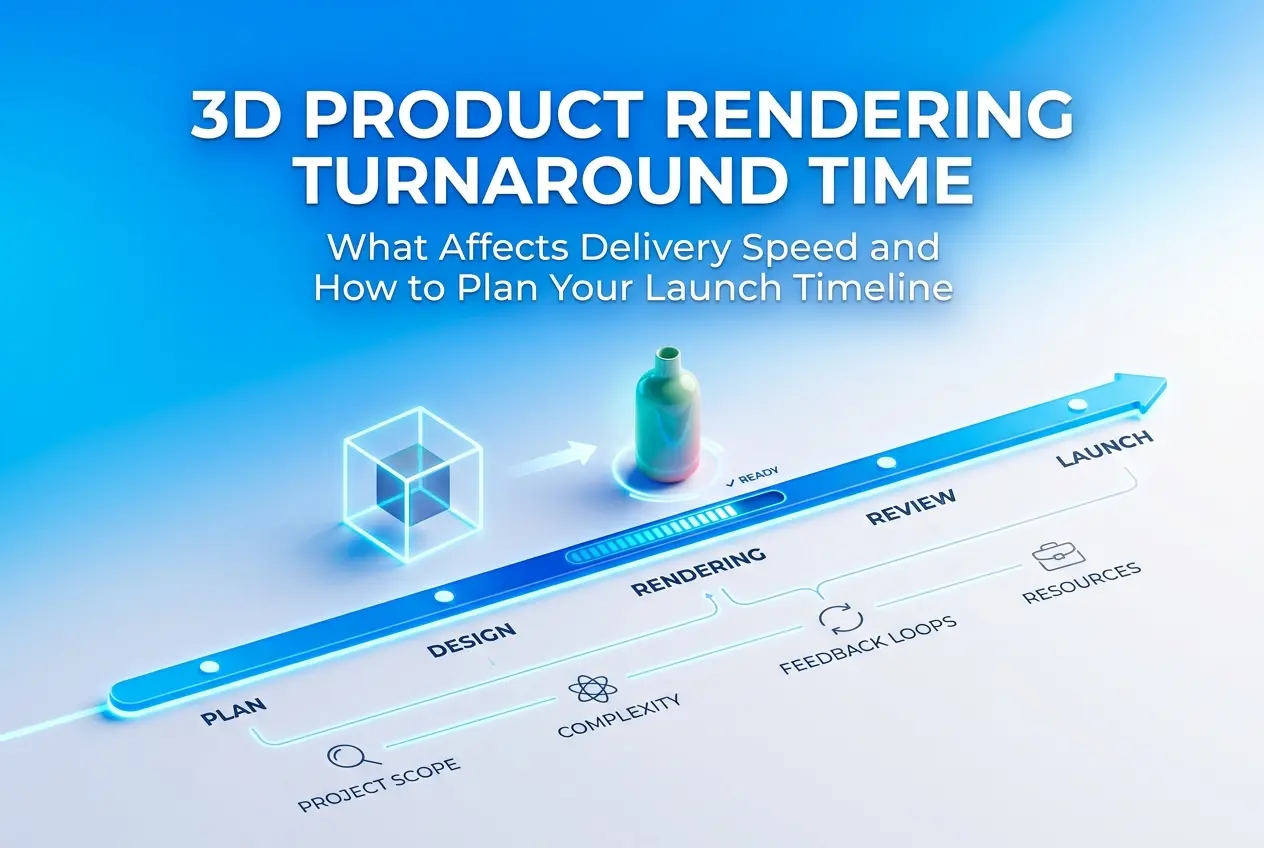
Getting Started With Your First 3D Lifestyle Scene
If you’re a home decor brand considering 3D lifestyle imagery for the first time, a good starting point is one hero product in one well-composed room scene. This gives you a production benchmark — you’ll see how the process works, how long revisions take, and whether the style direction lands before committing to a full collection rollout.
Our typical workflow moves through product modeling, material development, scene composition, lighting, rendering, and post-processing — with client review checkpoints at each stage. For brands with an existing product library already in 3D formats (OBJ, FBX, or CAD files), the modeling phase is often skipped or shortened significantly, which reduces cost and turnaround time.
The goal of any lifestyle scene is simple: help the customer see the product in their home before they buy it. When that image is staged with intention — right light, right context, right material quality — it does more selling than a paragraph of product copy ever could. If you’re ready to build out your brand’s visual library without waiting on physical samples or photo studio schedules, get in touch with our team and we’ll walk you through what’s possible for your product category.
Frequently Asked Questions
What are 3D lifestyle images and how are they used by home decor brands?
3D lifestyle images are photorealistic visuals created entirely through computer-generated imagery (CGI), showing products styled within a fully virtual room or setting. Home decor brands use them to showcase furniture, textiles, and accessories in aspirational environments without needing a physical product or a photography studio. This allows brands to produce high-quality marketing visuals during the product development stage, long before manufacturing is complete.
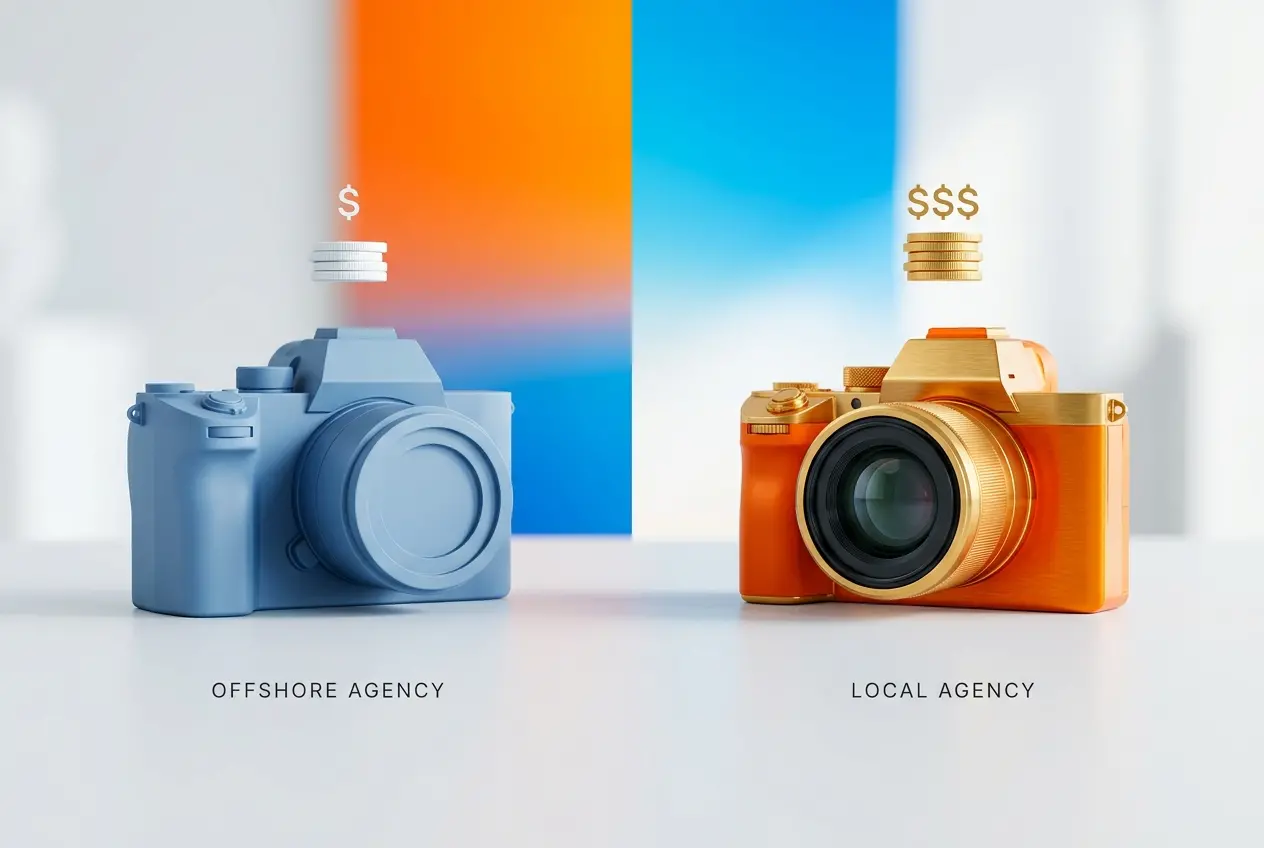
How much does it cost to create 3D lifestyle images for home decor products compared to traditional photography?
Traditional lifestyle photography for home decor can cost anywhere from $2,000 to $10,000 or more per scene when you factor in studio rental, props, set design, photographer fees, and model costs. 3D lifestyle rendering typically ranges from $300 to $2,500 per scene depending on complexity, revision rounds, and the studio or freelancer you hire. Over a product catalog with dozens of SKUs, brands frequently report saving 40–70% by switching to CGI-based workflows.
What information does a 3D artist need to create a realistic lifestyle scene for a home decor product?
A 3D artist needs detailed product specifications including dimensions, material references, texture swatches, finish samples, and any brand style guidelines you want reflected in the scene. High-resolution reference photos of the product, mood boards showing the desired room aesthetic, and information about target lighting conditions (natural vs. artificial) are also critical inputs. The more precise your brief, the fewer revision rounds you will need, which directly reduces turnaround time and cost.
Can 3D lifestyle images be used across all marketing channels including social media, e-commerce listings, and print catalogs?
Yes, professional 3D lifestyle renders can be exported at any resolution and aspect ratio, making them fully adaptable for Instagram posts, Pinterest boards, Amazon or Wayfair product listings, website banners, and high-resolution print catalogs. Unlike traditional photography files that are locked into a single composition and resolution, CGI files can be re-lit, re-cropped, or repositioned after delivery if you retain the working project files. This flexibility gives home decor brands significant long-term value from a single rendering investment.
How do you ensure a 3D lifestyle scene looks realistic enough to convert shoppers who cannot physically touch the product?
Realism in 3D lifestyle imagery depends on accurate material rendering, correct light behavior, and contextually believable scene composition — elements like realistic shadows, subtle imperfections in fabrics, and appropriately scaled furniture arrangements all build consumer trust. Working with a CGI studio that specializes in home decor and uses physically-based rendering (PBR) software such as Corona, V-Ray, or Unreal Engine significantly raises the quality ceiling. Pairing photorealistic renders with detailed written descriptions and customer reviews further closes the credibility gap for shoppers who cannot interact with the product in person.