
How to Pick the Best Resolution for 3D Rendering
In the world of 3D visualisation, especially for architecture, interiors, product design or virtual walkthroughs, resolution is one of the key decisions that influences image quality, rendering time, and cost. Choose it well, and your visuals shine. Get it wrong, and you’ll either waste resources or disappoint with blurry renders.
In this article, we’ll walk you through:
- What “resolution” really means in 3D rendering
- Why it matters
- How to choose the right resolution based on use case
- Trade-offs and practical tips
- A sample resolution guideline table
Let’s get started.
What is Render Resolution?
Render resolution refers to the pixel dimensions (width × height) of your final rendered image. For example, a render of 1920 × 1080 means the image is 1,920 pixels wide and 1,080 pixels tall. (3dsource.com)
It’s distinct (though related) to DPI (dots per inch) or PPI (pixels per inch), which matter when you print images or match them to physical dimensions. (XO3D)
The more pixels an image has, generally:
- The sharper and more detailed it can appear
- The heavier the file size
- The longer time it takes to render
But higher resolution isn’t always necessary—or optimal. It depends on how and where the image will be used.
Why Resolution Matters
1. Clarity & Detail
Higher resolutions capture finer details—textures, sharp edges, subtle lighting variations. Low resolution may lead to aliasing (jagged edges), blurriness, or visible pixelation when viewed large or close. (3dsource.com)
2. Usage Context
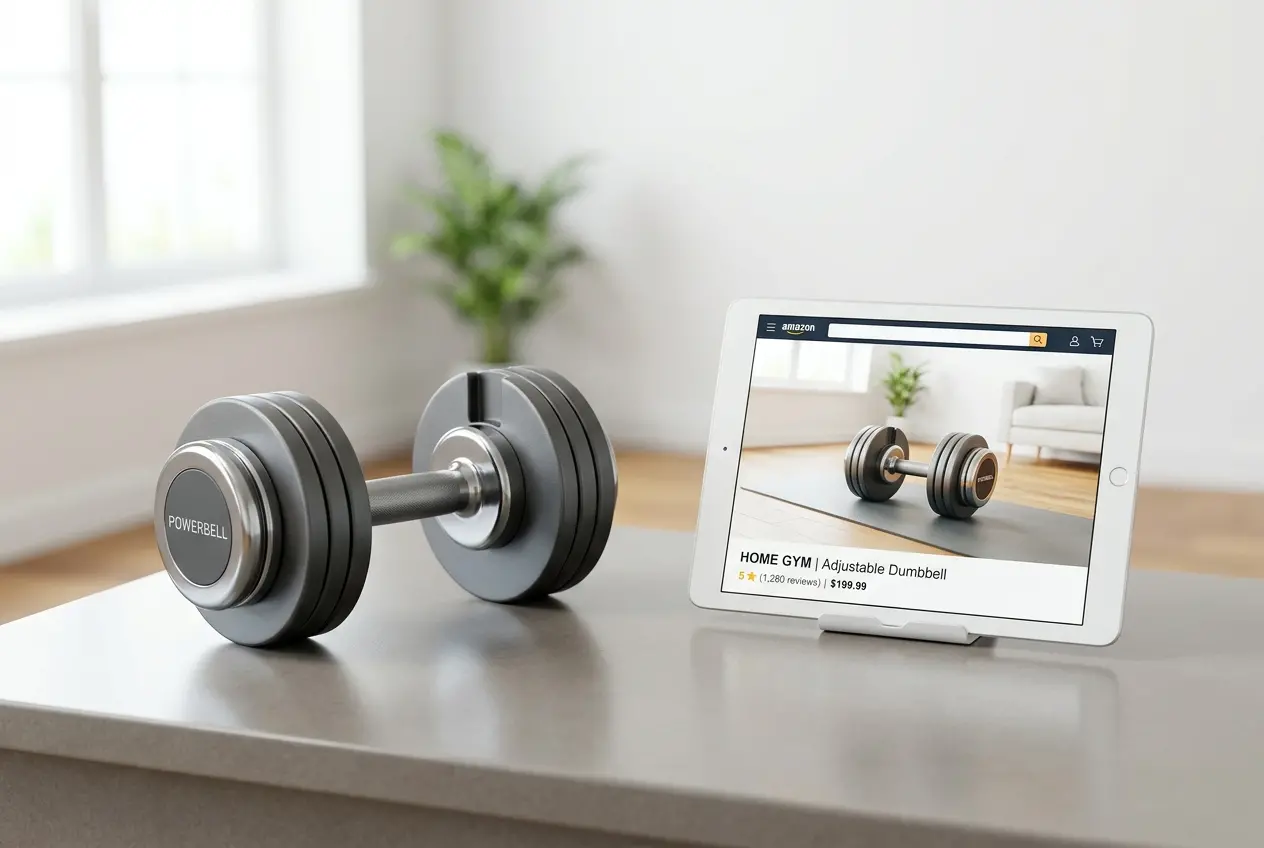
If your render will only appear on a website or mobile screen, ultra-high resolution may be overkill (and slow). If the same image is intended for print (e.g., brochures, posters, signage), you might need much higher resolution or DPI. (XO3D)
3. Rendering Resources & Time
Rendering is computationally intensive. Doubling resolution (in both width and height) quadruples the number of pixels, which can significantly increase rendering time and memory usage. You must balance desired quality against your GPU/CPU capacity and deadlines.
4. Flexibility / Reuse
If you render in a higher resolution than strictly needed, you have flexibility to crop, zoom, or reuse the image for different formats (print, marketing, etc.) without re-rendering. But that flexibility comes with cost (time, resources).
How to Choose the Right Resolution: Use Case-Based
Here are key factors to consider:
| Use Case | Typical Resolution / Notes | Considerations |
|---|---|---|
| Web / Digital / Social Media | 1920 × 1080 (Full HD), 2560 × 1440, or up to 4K (3840 × 2160) | Use standard aspect ratios (16:9, 4:3). Ensure file optimization (compression) so page load isn’t slow. |
| Presentation / PDF / Slide Decks | ~2000 × 1500 up to ~3000 × 2000 | The image will often be downscaled in the slide, so don’t go extreme unless needed. |
| Print / Brochures / Posters | Depends on physical size; aim for 300 DPI or more | For example, if you want a 10″ × 8″ print at 300 dpi, your image should be ~3000 × 2400 px. (XO3D) |
| Billboards / Large-Scale Format | Lower DPI (like 100–150 dpi) might suffice at large viewing distance | You can get away with lower DPI because viewers will stand far away. |
| Animation / Video | 1080p, 2K, 4K (depending on target output) with 24–60 fps | Higher resolution for video demands more time per frame. (XO3D) |
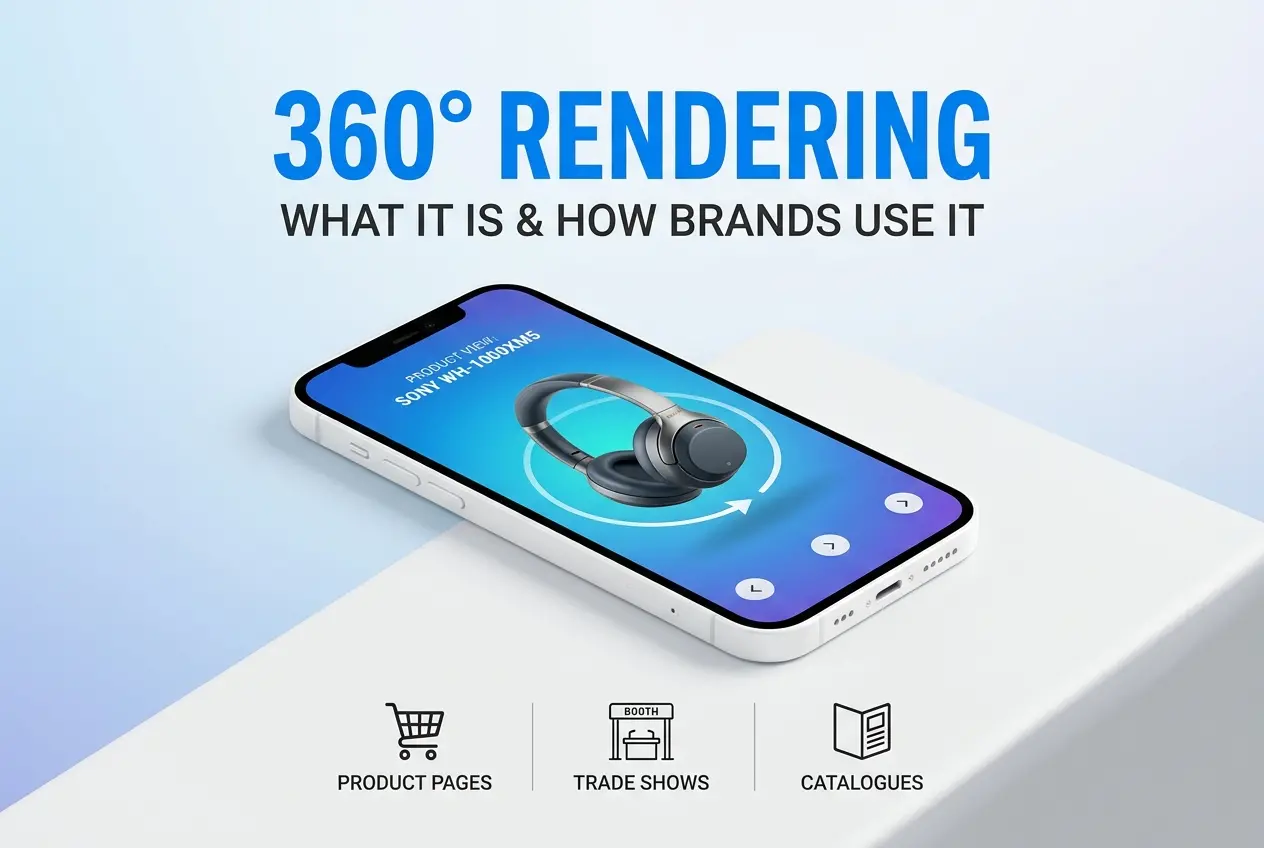
| VR / 360° / Panoramic Renders | Equirectangular panoramas often use very high widths (e.g. 6000 px+, depending on device) | Because you “see” across wide angles, resolution is critical to avoid distortions. |
A practical workflow is:
- Start with a draft / preview resolution that is moderate (e.g. 720×480, or 1280×720)
- Use that to test lighting, cameras, materials
- Once your scene is locked, switch to a final deliverable resolution based on the above usage.
- If in doubt, render a small crop or check zoomed areas to see whether details survive scaling.
Trade-Offs & Practical Tips
- Don’t always chase “highest possible” — sometimes it’s wasted effort.
- Focus resolution where it matters — e.g. in focal areas, key views. Backgrounds or less visible angles might afford lower resolution or lower sampling settings.
- Use tiling or bucket rendering to break the render into parts for memory management.
- In animations, consider progressive rendering or rendering at a lower resolution + upscaling / post filtering if GPU constraints exist.
- Be aware of file formats (PNG, EXR, TIFF, etc.) and compression artifacts when saving very high resolution images.
- Always preview zoomed or enlarged areas (100%, 200%) to ensure no artifacts appear.
- For 360° / VR renders, ensure seamless edges and consistency across the sphere or panorama — resolution misalignment can cause problems.
Example Resolution Suggestions (for Architectural / Interior Renders)
Here’s a rough guideline (you should adjust based on your hardware, scene complexity, and client needs):
- Draft / concept render: 1280 × 720
- Client review render / internal presentation: 1920 × 1080 or 2560 × 1440
- High-quality final render (web + print): 3000 × 2000, 3840 × 2160 (4K)
- Large poster / brochure: 4000 × 3000+ (depending on print size)
- Panoramic / 360°: 6000 px width or more (depends on target viewer device)
If your hardware or render farm can handle it and deadlines permit, pushing even higher (e.g. 5K, 8K) can future-proof your visuals. But make sure you truly need that extra detail.
Why 360Render Should Help You Get the Right Balance
At 360Render, we understand that your success depends on not just creating beautiful visuals, but doing so efficiently, predictively, and tailored to your needs. Our process includes:
- Early resolution planning (so you don’t face surprises)
- Test / draft passes before final render
- Client-guided feedback loops (so you see how resolution affects visuals)
- Optimization strategies (e.g. smart sampling, region rendering)
- Experience in delivering for web, print, VR / 360° formats
We can advise on the “sweet spot” resolution for your project, so you get crisp, compelling images without overpaying in render time or resource usage.
Conclusion
Picking the best resolution for 3D rendering is a balance between quality, purpose, and resources. It’s not simply “higher is always better,” but “higher when needed and just sufficient for the use case.” By understanding the end medium (web, print, VR, etc.), being methodical with previews, and optimizing smartly, you can deliver outstanding visuals without overburdening your pipeline.
If you’d like help deciding the right resolution for your project, or want to see examples based on your own designs, feel free to reach out. I’d be happy to help optimize your next rendering job.
If you like, I can also generate a version of this blog optimized for SEO (keywords, headers, meta descriptions) and with some custom 360Render-branded callouts. Would you like me to do that?
1 comment
Xo So
Really helpful post — clear, practical, and well-structured for readers.