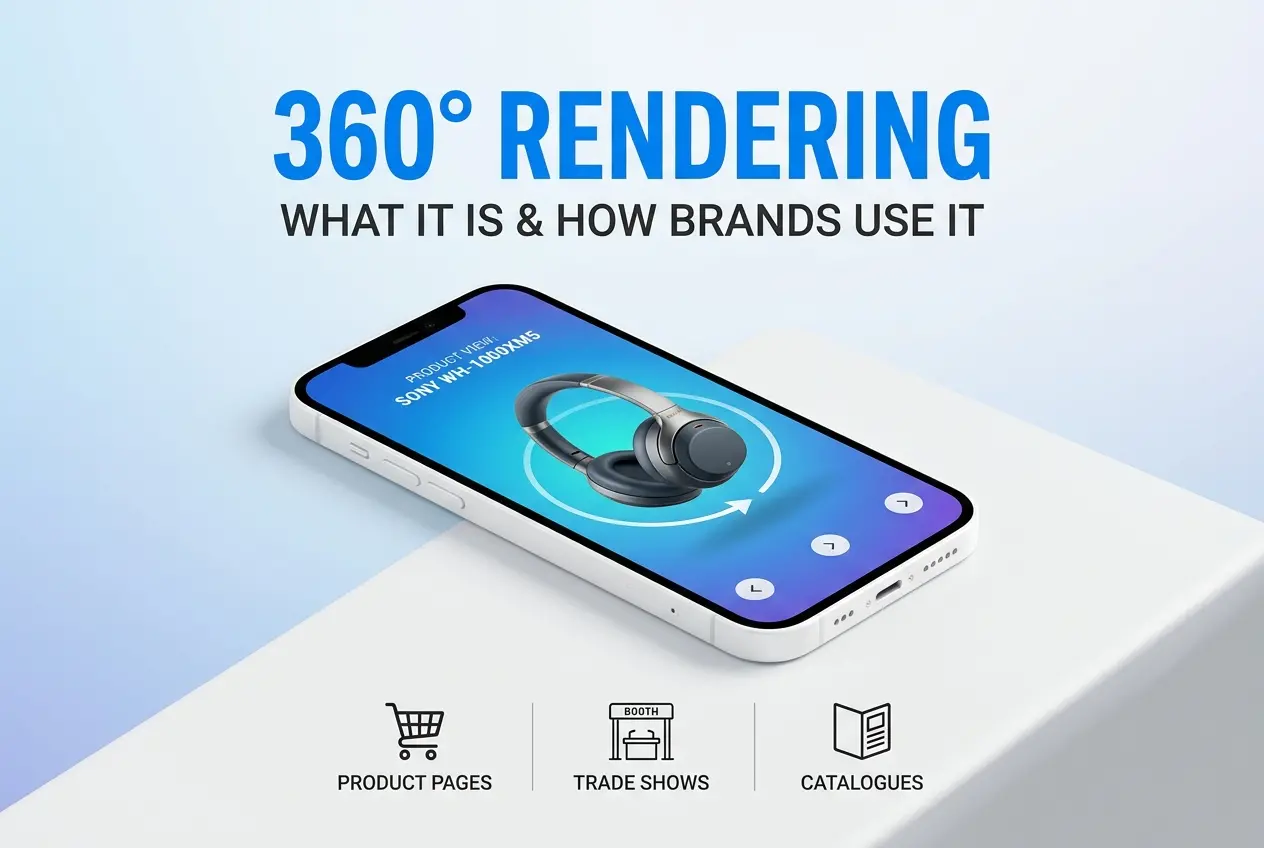
If you’ve ever looked at a polished product image on a brand’s website and wondered whether it was a real photograph or a computer-generated render, you’re already thinking like someone who needs to understand 3D Product Rendering Requirements for Beginners: Software, Hardware, and Skills You Need to Get Started. The truth is, a lot of what you see in e-commerce catalogs, product launch campaigns, and even furniture brochures is rendered — not photographed. And the gap between “I want to learn this” and “I can actually do this professionally” is mostly about understanding what tools you need, what your computer has to handle, and what skills you genuinely have to build before anything looks good.
We work with clients across product design, architecture, and e-commerce at 360render.com, and one of the most common conversations we have is with someone who just started out — or is thinking about starting — and has no clear picture of the full stack required. This post is meant to fix that. We’re going to go through the software landscape, the hardware realities, the skills that actually matter, and the mistakes beginners consistently make.
Understanding What 3D Product Rendering Actually Involves
Before talking about tools, it helps to understand the pipeline. 3D product rendering is not a single action — it’s a sequence. You start with a 3D model of the product, either built from scratch or imported from a CAD file. That model gets placed in a virtual scene where you set up materials and textures (what the surface looks like), lighting (where light comes from and how it bounces), and camera angles. Then you hit render — which is the process where the software calculates how light interacts with every surface in that scene — and outputs a final image.
Each stage has its own complexity. The modeling stage demands accuracy. The shading and materials stage is where artistic judgment comes in. Lighting is where most beginners struggle, because it’s the difference between a render that looks real and one that looks like a video game screenshot from 2009. And the render engine itself is a technical decision that affects speed, quality, and your hardware requirements.
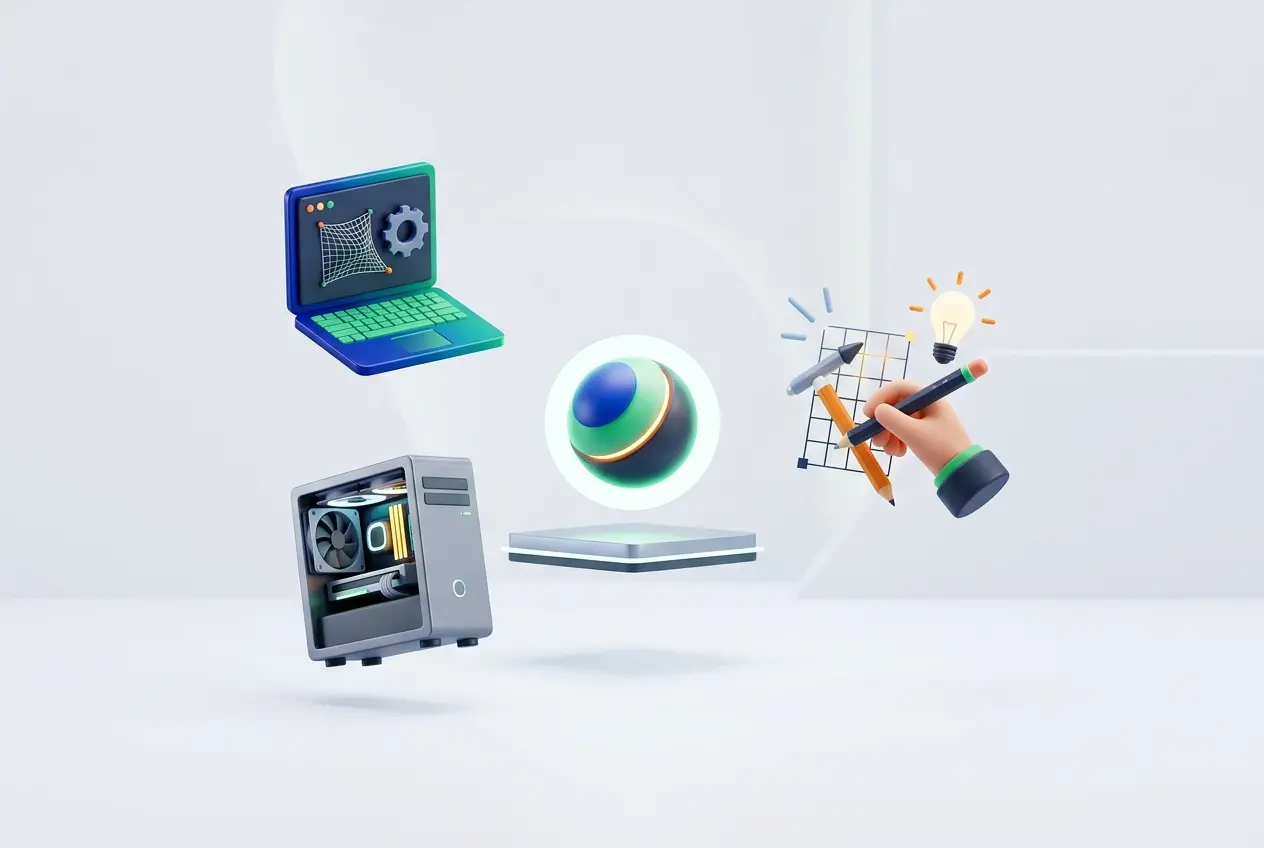
3D Product Rendering Requirements for Beginners: The Software You Actually Need
There’s no single “correct” software stack. But there are practical options that have real industry adoption.
Modeling Software
For product rendering specifically, the most commonly used tools are **Blender**, **Autodesk 3ds Max**, **Cinema 4D**, and **Rhino 3D**. Blender is free and has become genuinely professional-grade — we use it in parts of our pipeline at 360render.com. 3ds Max has deep roots in product and architectural visualization and is still dominant in studio environments. Cinema 4D tends to attract motion designers and product teams who need clean, parametric modeling. Rhino is popular when the products come from an industrial design or engineering background because it handles NURBS geometry cleanly.
If you’re just starting, Blender is the honest recommendation. Not because it’s the easiest — it isn’t — but because it’s free, the community is enormous, and once you understand it, the concepts transfer to other software.
Render Engines
This is where things get interesting. Your modeling software typically has a built-in render engine, but most professionals use a third-party engine for higher quality output. The main ones you’ll encounter are:
– **V-Ray** — industry standard in architectural and product visualization, photorealistic output, steep learning curve
– **Corona Renderer** — physically accurate, known for easier setup and beautiful natural lighting
– **Cycles** (Blender’s built-in) — GPU-accelerated, genuinely capable of professional results
– **KeyShot** — standalone renderer popular in product design and industrial workflows, easier to learn
In our studio, different projects call for different engines. KeyShot is fast and excellent for client approvals and early-stage previews. V-Ray gives you more control over complex scenes. There’s no universal answer — understand what the engine does and match it to what you need.
Hardware Requirements: What Your Machine Actually Has to Handle
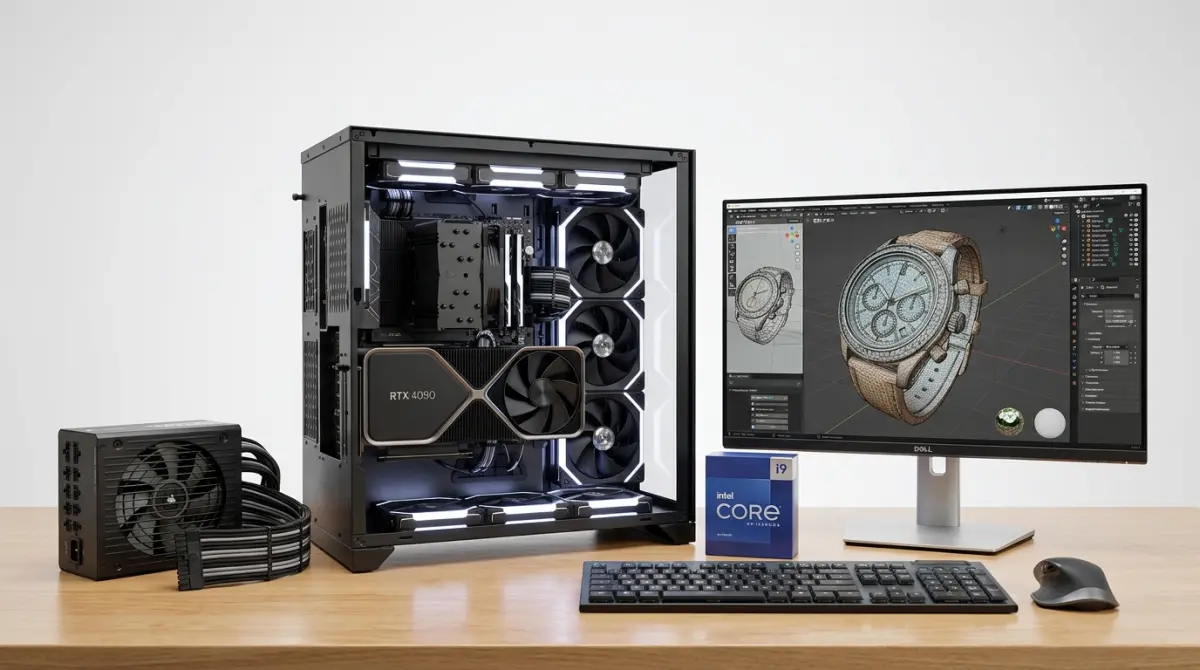
This is where beginners often get burned. They invest time learning the software on an underpowered machine and then wonder why everything is slow or why renders look grainy and incomplete.
CPU vs GPU Rendering
Some render engines primarily use the CPU (Central Processing Unit) — V-Ray CPU, Corona. Others run on the GPU (Graphics Processing Unit) — Cycles, V-Ray GPU, Redshift. CPU rendering generally handles complex scenes with high memory demands better. GPU rendering is significantly faster but is limited by your graphics card’s VRAM.
For a beginner setup: a modern multi-core CPU (anything recent from AMD Ryzen or Intel Core i7/i9 generation) paired with a dedicated NVIDIA GPU with at least 8GB VRAM will give you a workable starting point. 16GB of system RAM is a practical minimum; 32GB is where you’ll stop hitting walls on mid-complexity scenes.
A client once reached out to us after spending months trying to render a packaged consumer product on a laptop with integrated graphics. The renders either crashed or took hours for low-quality output. The honest advice we gave: either upgrade the hardware or outsource the rendering until the investment makes sense.
Storage and Display
An SSD makes a noticeable difference in how fast scenes load and how responsive your software feels. For display, a color-accurate monitor matters — if you’re rendering packaging or products where color accuracy is part of the deliverable, a cheap monitor will lie to you about what your output actually looks like.
Skills That Actually Matter in 3D Product Rendering
Software is learnable. Hardware can be purchased. Skills take time, and this is where most beginners underestimate the investment.
Modeling Accuracy and Clean Geometry
Product rendering is unforgiving. A sofa in an interior scene can get away with slightly imperfect proportions. A product render — especially for e-commerce or packaging — has to be dimensionally accurate and match the real object. Learning to model from reference, to work with real-world dimensions, and to build clean topology is foundational.
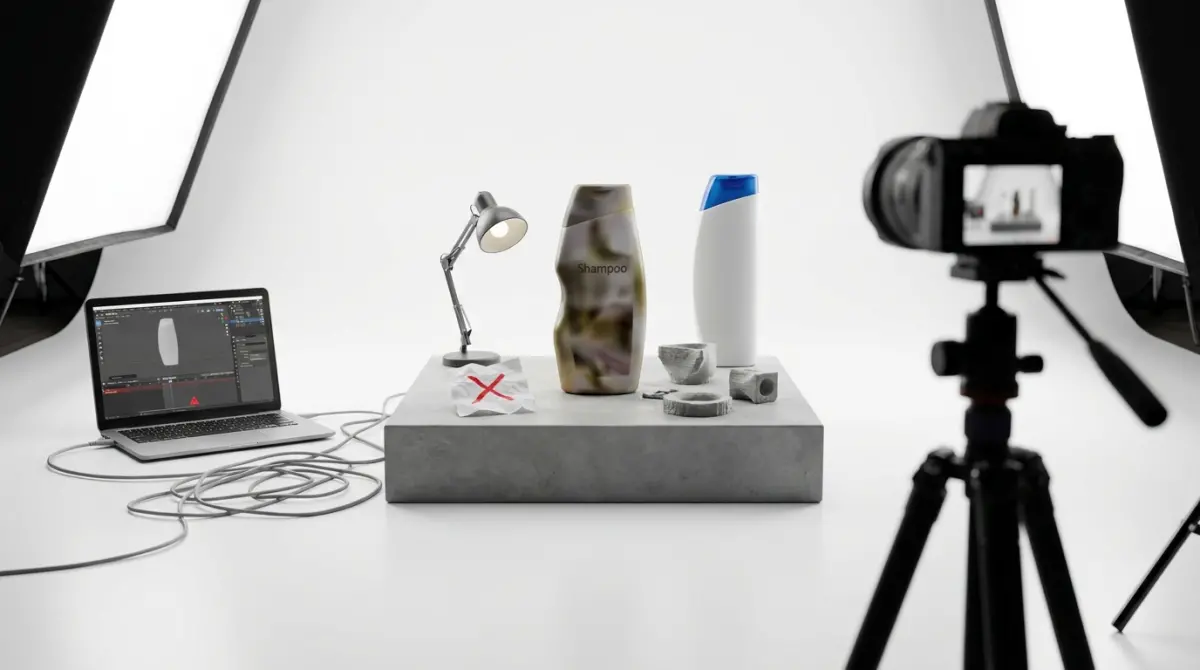
Materials and Texturing
This is arguably the most visually impactful skill. Physically Based Rendering (PBR) materials have become the standard — they simulate how real materials reflect, absorb, and scatter light. Understanding roughness, metallic values, subsurface scattering (for skin, wax, soap), and specular response is what separates renders that look believable from ones that look digital.
Lighting
Light is everything. Natural light, studio light, HDRI environment lighting — each creates a completely different mood and context for the product. We’ve found that beginners tend to over-light scenes trying to make everything visible, which kills depth and realism. Less light, placed thoughtfully, almost always looks better.
Compositing and Post-Processing
A raw render is rarely the final deliverable. Basic understanding of compositing in software like Photoshop or Blender’s own compositor — adjusting exposure, color grading, adding depth of field in post — is part of professional output. This doesn’t require advanced skills, but it requires understanding why it’s done.
What Beginners Consistently Get Wrong
After working with clients who are building in-house rendering capabilities and helping newer artists understand professional workflows, a few patterns come up repeatedly.
The first is prioritizing software over fundamentals. Someone spends weeks figuring out V-Ray settings before they understand basic lighting principles. The render engine doesn’t matter if you don’t know why light behaves the way it does.
The second is ignoring reference. Professional renders are built by looking at real-world photographs of the same type of product or material constantly. If you’re rendering a brushed steel surface, you should have a dozen reference images open of brushed steel in similar lighting. Most beginners render from imagination — and imagination isn’t accurate enough.
The third is hardware compromise. Good rendering requires real computational power. Trying to do professional-grade product visualization on hardware that isn’t equipped for it creates a frustrating loop where you can never actually evaluate whether your work is improving.
The fourth — and this is something 3D Product Rendering Requirements for Beginners: Software, Hardware, and Skills You Need to Get Started posts rarely address directly — is underestimating the time investment in software mastery. Most render engines and modeling tools have years of depth to them. Expecting professional output after a few weeks is a setup for disappointment.
When to Learn It Yourself vs. When to Use a Professional Service
This is a practical question. If you’re a product developer who wants to build long-term in-house capability, learning the pipeline makes sense — and the investment in hardware, software, and time will pay off over many projects. If you need high-quality product renders for a launch, a pitch, or an e-commerce catalog this month, outsourcing to a professional rendering studio is almost always faster and more cost-effective than trying to produce the same quality output while still learning the tools.
At 360render.com, we work with both kinds of clients — teams building capability who need guidance and quality benchmarks, and clients who simply need the work done. If you’re evaluating where you sit on that spectrum, the honest metric is: how many renders do you need, how quickly, and how much does quality affect the commercial outcome? Those answers tell you whether to invest in learning or invest in a service.
If you’re ready to get started with professional-grade 3D product renders without the learning curve, reach out to us through our 3D rendering services contact page — we’re happy to discuss your project, your timeline, and what the process actually looks like.
Frequently Asked Questions
What is the best 3D rendering software for beginners with no experience?
Blender is widely considered the best starting point for beginners because it is completely free, open-source, and has a massive community with thousands of free tutorials. It supports both Cycles and EEVEE rendering engines, giving beginners professional-quality results without any upfront cost. Other beginner-friendly paid options include KeyShot and Cinema 4D, which offer more intuitive interfaces but come with subscription fees.
What minimum computer specs do I need to start 3D product rendering?
For basic 3D product rendering, you need at minimum an Intel Core i7 or AMD Ryzen 7 processor, 16GB of RAM, and a dedicated GPU with at least 6GB of VRAM such as an NVIDIA RTX 2060 or equivalent. A solid-state drive (SSD) is also strongly recommended to handle large texture files and reduce scene loading times. While these are minimum specs, investing in 32GB of RAM and a more powerful GPU like the RTX 3080 will significantly reduce render times as your projects grow in complexity.
How long does it take a beginner to learn 3D product rendering professionally?
Most beginners can produce basic but presentable 3D product renders within 3 to 6 months of consistent daily practice using free resources and tutorials. Reaching a professional or freelance-ready skill level typically takes between 1 to 2 years, depending on how much time you dedicate weekly and whether you focus on a specific niche like jewelry, electronics, or furniture. Structured online courses on platforms like Udemy or CGMA can accelerate this timeline significantly compared to self-guided learning alone.
Do I need to know 3D modeling to start learning product rendering?
You do not necessarily need to master 3D modeling first, as many beginners start rendering by using pre-made or purchased 3D models from marketplaces like TurboSquid, CGTrader, or Sketchfab. However, having a basic understanding of modeling helps you fix mesh errors, adjust geometry, and eventually create custom assets tailored to client specifications. Learning both modeling and rendering together is the most practical approach for building a complete and marketable skill set in 3D product visualization.
What file formats and assets do I need to start a 3D product rendering project?
The most common 3D file formats used in product rendering are OBJ, FBX, and STL, with OBJ and FBX being preferred because they support material and texture data alongside geometry. You will also need high-resolution texture maps including diffuse, roughness, metalness, and normal maps, which can be sourced for free from sites like Poly Haven or AmbientCG. Additionally, having access to an HDRI lighting library is essential for achieving realistic lighting environments, and free HDRI packs are readily available on Poly Haven as well.
Also read: GPU vs CPU for 3D Modeling and Rendering: What Hardware Do You Actually Need?