Why Outsourcing 3D Rendering Makes More Sense Than You Think
If you’ve been searching for a clear, practical breakdown of How to Outsource 3D Rendering – 5 Steps | 360 Render, you’re already ahead of the curve. Whether you’re an architect juggling multiple projects, a real estate developer trying to close sales faster, or an interior designer who needs stunning visuals without the overhead of an in-house rendering team — outsourcing is worth a serious look. The good news? It doesn’t have to be complicated. With the right process, the right partner, and a little upfront preparation, you can get professional-quality renders without the stress.
Outsourcing 3D rendering has become standard practice across the architecture, real estate, and product design industries. Studios and solopreneurs alike rely on specialist agencies to handle visualization work because it’s genuinely faster and more cost-effective than building internal capacity. Think about it — buying the software licenses, training staff, upgrading hardware — the costs stack up quickly. Outsourcing lets you skip all of that and go straight to results.
In this post, we’ll walk you through the exact process, step by step, so you know what to expect, what to prepare, and how to avoid the common pitfalls that slow projects down.
How to Outsource 3D Rendering – 5 Steps | 360 Render: The Complete Process
Let’s get into the actual steps. These aren’t abstract theory — this is the real workflow that works, refined through hundreds of client projects. Follow this process and you’ll have a much smoother experience from first contact to final deliverable.
Step 1: Define Your Project Scope Clearly Before You Reach Out
This one step will save you hours of back-and-forth. Before you contact any rendering studio, get specific about what you actually need. Are you looking for exterior architectural renders? Interior visualizations? A full 3D rendering services package that includes multiple angles and a virtual walkthrough? The more clarity you bring to the table, the faster and more accurately a studio can quote you — and the better your final output will be.
Here’s what to think through:
- Type of render: Exterior, interior, aerial, product, or a combination
- Number of views or angles: Two hero shots? Ten room views? A full 360-degree tour?
- Resolution and usage: Will these be used in print, on a website, in a sales presentation?
- Style and mood: Photorealistic? Warm and lifestyle-driven? Clean and minimal?
- Deadline: What’s your hard deadline, and what’s your ideal turnaround?
Vague briefs lead to vague results. A good studio will ask clarifying questions, but the more you arrive prepared, the smoother everything goes. Think of it like hiring a contractor — if you show up with blueprints, you get a better quote than if you just wave your hands and say “I want a nice kitchen.”
Step 2: Gather and Organize Your Source Files
Once you know what you need, it’s time to pull together everything the rendering team will need to actually build your scene. This is often where delays happen. Don’t underestimate how much time you’ll save yourself — and your studio — by organizing your files properly upfront.
Typical files a 3D rendering agency will need include:
- CAD files, floor plans, or architectural drawings (in formats like DWG, DXF, PDF, or Revit files)
- Furniture and material references — manufacturer links, finish samples, or mood board images
- Brand guidelines or style references if this is for a specific developer or brand
- Site photos or Google Maps screenshots for context on exterior projects
- Camera angle references or inspiration images showing the vibe you’re going for
If you’re working on a real estate development project, for example, having your floor plans converted early can significantly speed up the pipeline. You can explore how floor plan rendering fits into the overall visualization workflow and how it complements your hero exterior shots or interior views.
A quick tip: create a shared folder (Google Drive, Dropbox, WeTransfer — whatever you prefer) and label everything clearly. “Final_FloorPlan_LevelOne_v3” is infinitely better than “image(2)_FINAL_USE THIS ONE.” Trust us on this one.
Step 3: Choose the Right Rendering Partner
Not all rendering agencies are created equal. Some specialize in residential real estate. Others focus on commercial architecture, product visualization, or hospitality design. Picking a studio that has a proven track record in your specific niche matters more than you’d think.
When evaluating potential partners, look at:
- Portfolio relevance: Do their previous projects look similar to yours in scale and style?
- Communication: Are they responsive and clear, or do they go quiet for days at a time?
- Revision policy: How many rounds of revisions are included? What’s the process?
- Turnaround time: Can they realistically meet your deadline?
- Pricing transparency: Is their quote detailed, or is it a vague number that might balloon later?
If your project involves showcasing a multi-unit residential development, look for agencies experienced in real estate rendering specifically — they’ll understand the sales context, know how to make spaces feel aspirational without looking fake, and likely have efficient workflows for large-scale projects.
Don’t be afraid to ask for a small test project or a sample render before committing to a large scope. A reputable studio won’t have a problem with this.
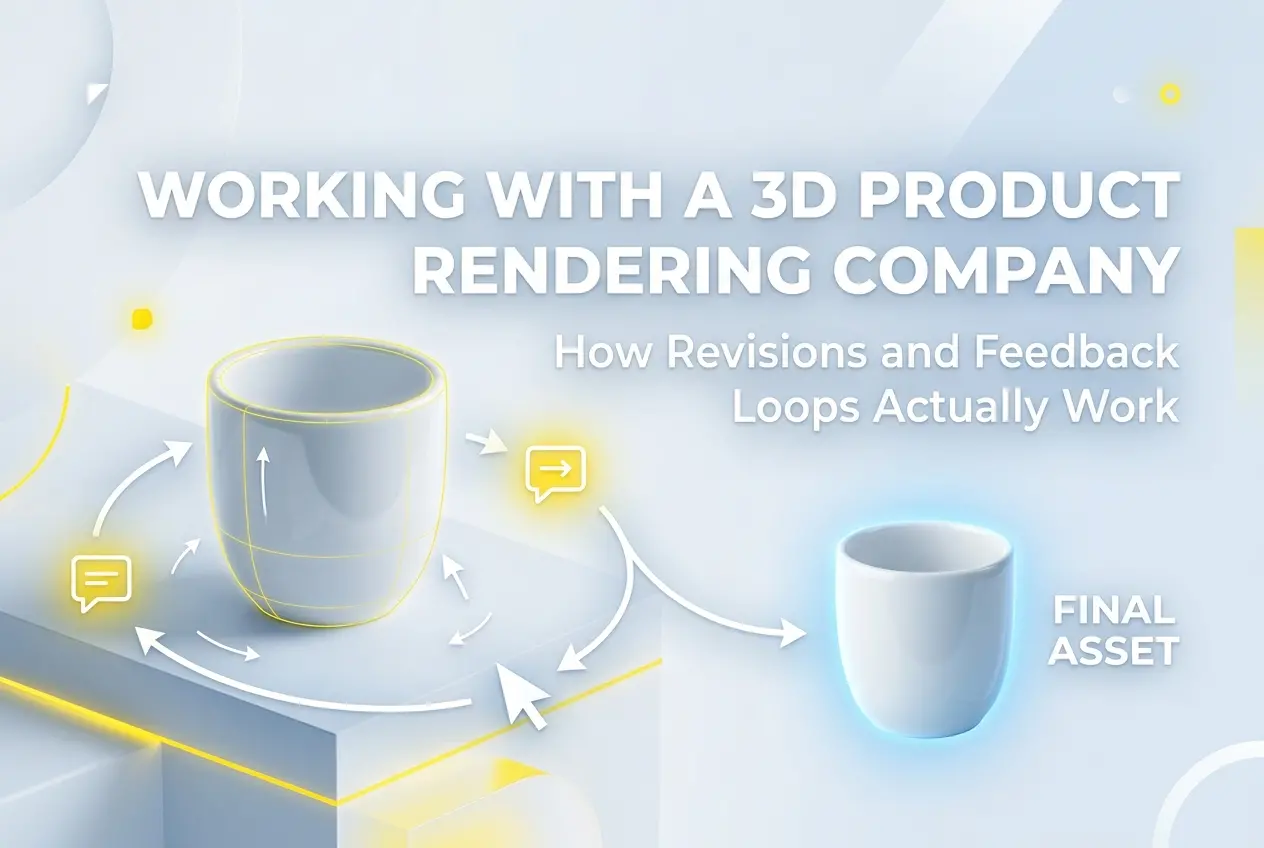
Step 4: Nail the Feedback and Revision Process
Here’s where many outsourcing relationships go sideways — not because anyone is incompetent, but because feedback is given poorly. Vague feedback like “it doesn’t feel right” or “make it more modern” wastes everyone’s time. Great feedback is specific and visual.
When you receive your first draft renders, try to approach your review systematically:
- Check the geometry and proportions first — are the spaces the right size and shape?
- Review materials and finishes — are the floors, walls, and furniture reflecting the correct specifications?
- Evaluate the lighting — does the mood match what you described in the brief?
- Look at camera angles — are you seeing the right areas of the space?
- Consider styling and props — does the scene feel lived-in and realistic?
Use annotated screenshots when possible. Circle the area you’re commenting on, and be direct. “The sofa looks too large relative to the coffee table — can we scale it down by about 20%?” is feedback that gets actioned instantly. “Something seems off in the living room” sends the team back to guess.
For projects involving interactive deliverables, this feedback phase is even more important. If you’re exploring something like a 3D virtual tour, you’ll want to review the navigation flow and hotspot placement carefully before approving the final version.
Step 5: Review Finals, Approve, and Plan for Future Projects
Once revisions are done and you’ve approved the final renders, there’s one more thing to do that most people skip: document the process. Make a note of what went well, what caused delays, and what you’d do differently. This is especially valuable if you’ll be outsourcing rendering again — which, once you see the results, you almost certainly will.
Keep a record of the files you submitted, the brief you used, and any style references that resonated. Next time, you’ll have a head start. You can even establish a standing relationship with your rendering partner so they become familiar with your preferences, your typical project types, and your brand standards over time. This ongoing relationship model tends to produce the best results at the fastest turnaround.
Practical Tips to Get the Most from Outsourced 3D Rendering
Beyond the five core steps, here are a few practical things that can make a real difference:
Be Realistic About Timelines
Quality rendering takes time. Rush jobs are possible — most studios offer expedited turnaround — but they usually come at a premium and sometimes at the cost of polish. If you have a presentation next Tuesday, reach out this Monday is not a great strategy. Build rendering into your project schedule early, ideally two to three weeks ahead of your deadline for complex scenes.
Think About the Full Visual Suite
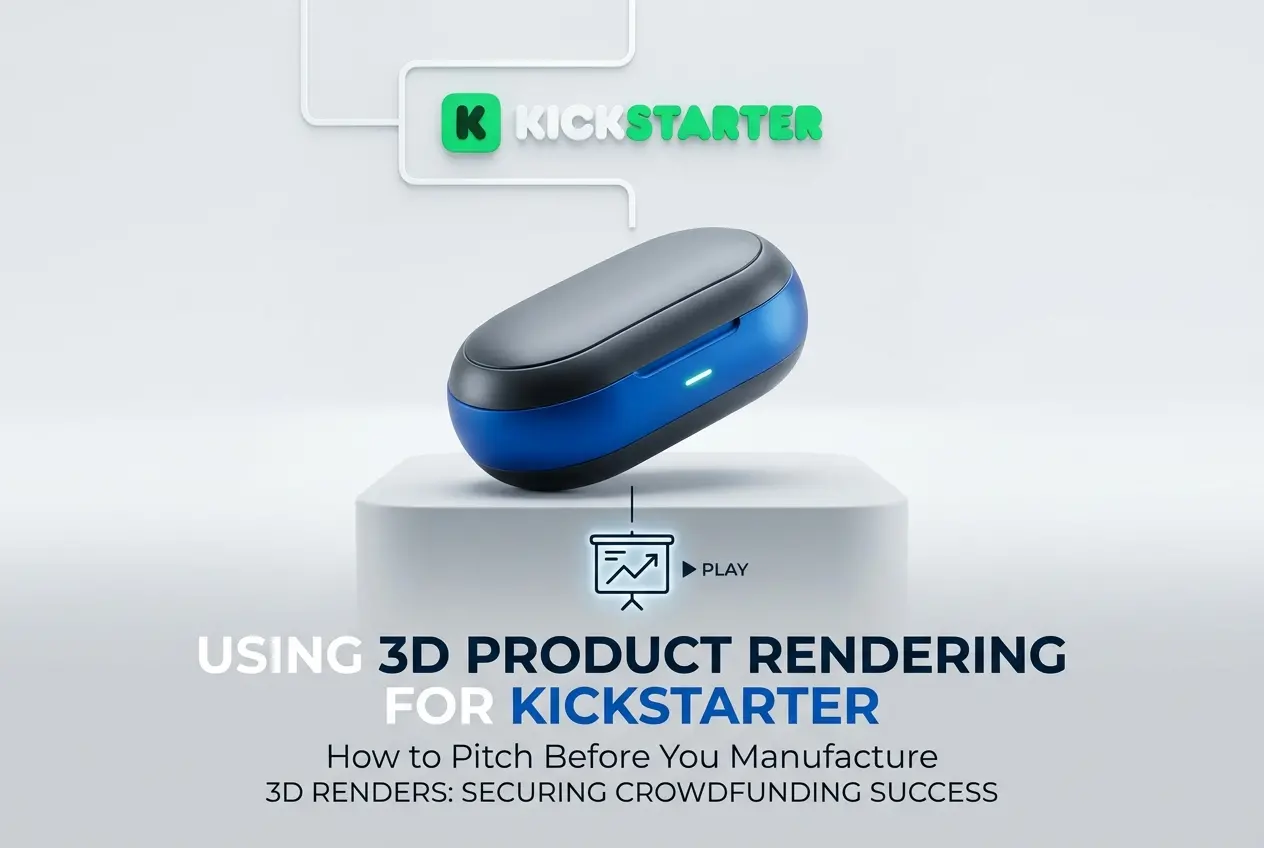
Rather than ordering one render at a time, think about what a complete set of visuals looks like for your project. Developers pitching a luxury apartment building might need exterior hero shots, interior lifestyle renders, a site aerial view, and an interactive walkthrough. Bundling these into one brief often gets you better pricing and consistency across all deliverables. For commercial projects, looking into architectural rendering packages designed to cover all the angles can be a smarter approach than piecing things together one request at a time.
Use Competitor Projects as Reference — Carefully
Showing your rendering partner examples of visuals you love is genuinely helpful. Just make sure you’re framing them as style references, not as requests to copy another project’s exact look. Good studios will use those references to understand your taste and translate it into original work that’s right for your specific project.
Trust the Experts on Lighting and Styling
Sometimes clients over-specify every single element of a scene and leave no room for the rendering team to do what they do best. Lighting, camera positioning, and scene styling are areas where experienced 3D artists have a trained eye. Give them your parameters, share your references — but also give them room to make creative decisions. The results are often better when there’s a bit of creative latitude.
Conclusion: Ready to Start Outsourcing Your 3D Renders?
Now you have a clear picture of How to Outsource 3D Rendering – 5 Steps | 360 Render — from defining your scope and organizing your files, right through to approving finals and building a long-term relationship with your rendering partner. The process is straightforward once you know the steps. The biggest difference between projects that go smoothly and those that don’t usually comes down to preparation and communication.
Outsourcing 3D rendering isn’t just about convenience — it’s about getting access to specialist talent, faster turnaround, and professional-quality output that helps you win clients, close deals, and showcase your projects at their absolute best. Whether you need a single exterior render or a full suite of visuals for a major development, the right partner can handle it at a level that’s difficult to replicate in-house.
If you’re ready to take the next step and start a conversation about your project, the team at 360 Render is here to help. Reach out through our contact page and let’s talk about what you need — no pressure, no jargon, just a straightforward conversation about how we can bring your vision to life.
Frequently Asked Questions
What is the best way to outsource 3D rendering for my architectural project?
The best way to outsource 3D rendering is to follow a structured process: define your project scope, research reputable studios like 360 Render, share detailed briefs and reference materials, agree on timelines and revisions, and review deliverables carefully before final approval. Choosing a studio with a strong portfolio in your specific rendering type—whether architectural, interior, or product—ensures you get the quality you need. Clear communication and detailed documentation at every step are key to a successful outsourcing experience.
How much does it cost to outsource 3D rendering services?
The cost to outsource 3D rendering varies depending on project complexity, image resolution, and the studio’s expertise, typically ranging from $200 to over $2,000 per image for high-quality architectural visualizations. Factors like number of views, level of detail, turnaround time, and post-production work all influence the final price. Requesting a detailed quote from studios like 360 Render with your project brief helps you get an accurate and competitive estimate.
How do I find a reliable 3D rendering studio to outsource my project to?
To find a reliable 3D rendering studio, review their online portfolio for quality and diversity of completed projects, check client testimonials and case studies, and assess their responsiveness and communication during initial contact. Look for studios that specialize in your specific rendering niche, such as real estate, product design, or interior visualization, to ensure relevant expertise. Platforms like Clutch, Behance, and direct Google searches for specialized studios like 360 Render can help you shortlist credible partners.
What information do I need to provide when outsourcing 3D rendering?
When outsourcing 3D rendering, you should provide architectural drawings, floor plans, CAD files, material specifications, reference images, brand guidelines, and details about lighting preferences and camera angles. The more detailed and organized your project brief, the fewer revision rounds you will need, saving both time and cost. Including mood boards and competitor examples also helps the rendering studio understand your vision and deliver results that match your expectations on the first attempt.
How long does it take to outsource and receive completed 3D renders?
The turnaround time for outsourced 3D rendering typically ranges from 3 to 10 business days per image, depending on the complexity of the scene, number of revisions, and the studio’s current workload. Rush delivery options are often available at an additional cost for urgent projects. Establishing a clear timeline and milestone schedule at the start of the project with your chosen studio like 360 Render ensures deadlines are met without compromising quality.
Also read: Best Graphics Card for 3D Rendering and Modeling: Top Picks Tested

1 comment