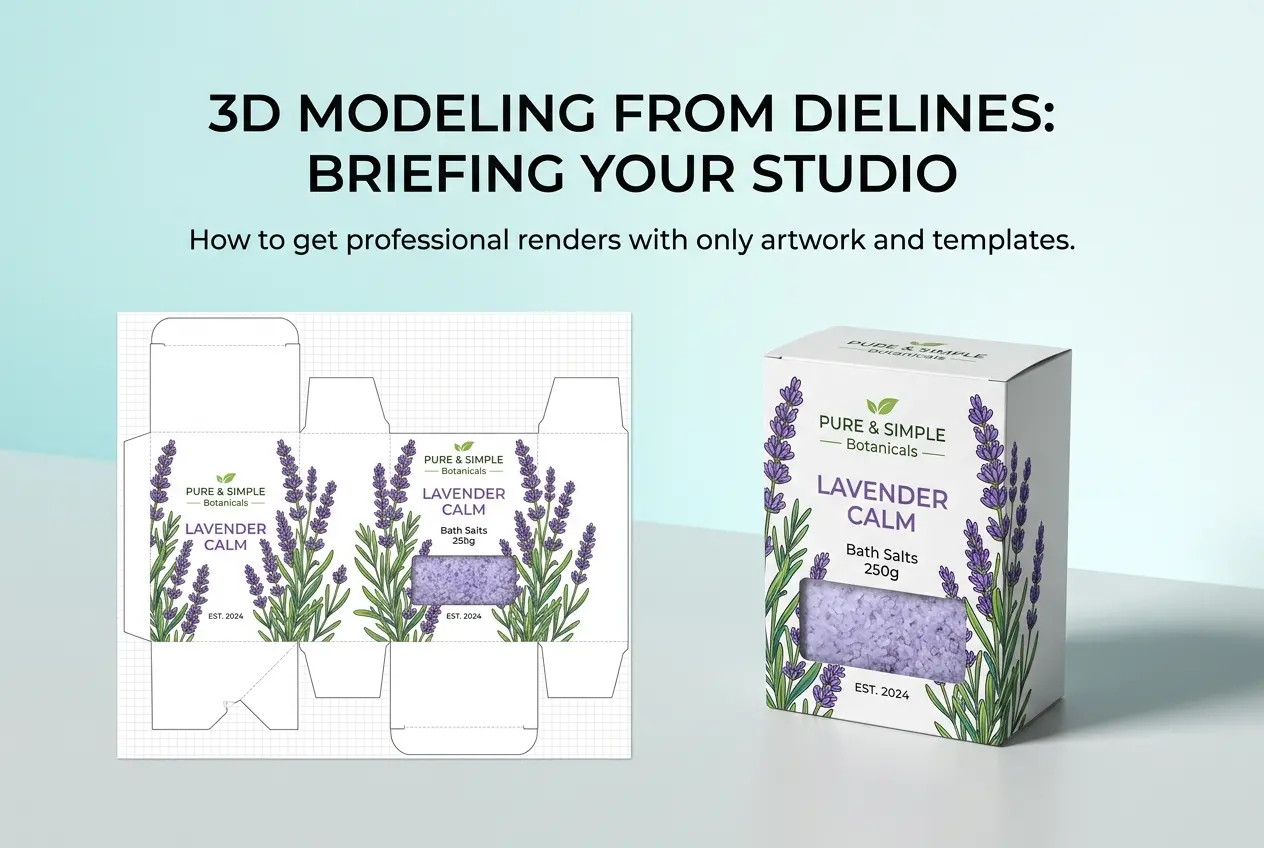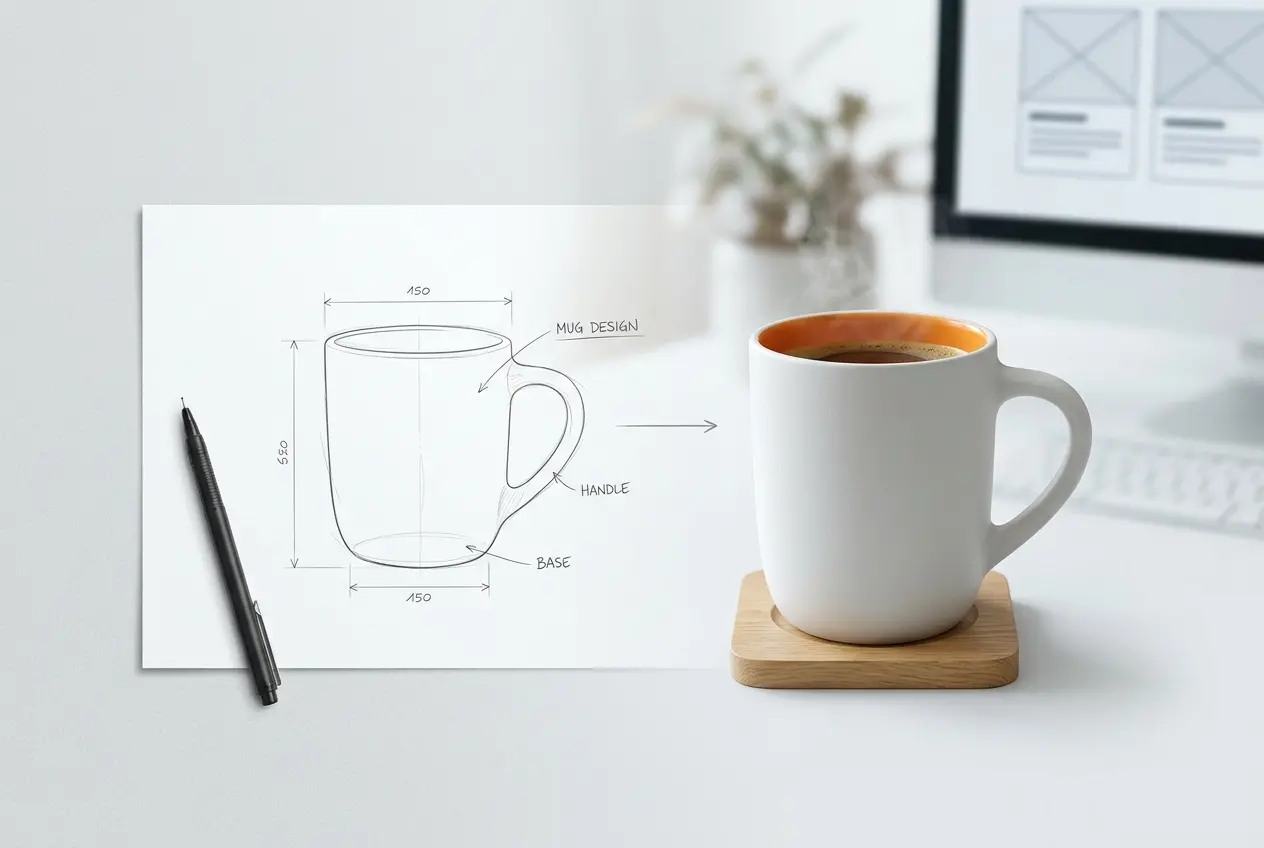
A sketch on a napkin, a rough CAD file, or even just a verbal description of a product idea — that’s usually where the real work begins for us. By the time a bottle of shampoo, a kitchen gadget, or a pair of headphones shows up on Amazon looking polished and lit like a magazine ad, it’s gone through a whole pipeline most shoppers never think about. This guide walks through that pipeline in detail: 3D Product Modeling and Rendering for Consumer Goods: How to Go From Sketch to Retail-Ready Visuals, covering the technical decisions that separate a render that looks “fine” from one that actually sells.
We work with a lot of brands who assume rendering is the last step — something you bolt on after the product design is locked. In reality, the earlier we get involved, the better the final images look and the less time gets wasted on revisions. A model built with rendering in mind from the start behaves differently in a scene than one built purely for engineering validation. Topology, scale accuracy, and material zoning all matter long before anyone talks about lighting.
This isn’t just about making things look shiny. Retail-ready visuals have to survive being viewed at full zoom on a product listing, cropped into a square for social media, and placed next to a competitor’s photograph without looking like the fake one. That’s a specific, technical bar to clear, and it’s worth understanding how we clear it.
Why Consumer Goods Are Their Own Category
Architectural rendering and product rendering share software but not much else in terms of approach. A building can tolerate a slightly soft material or an imperfect reflection because the eye is taking in a whole environment. A product shot has nowhere to hide. If you’re rendering a stainless steel kettle, the human eye has seen thousands of real stainless steel kettles and will catch a reflection that’s too clean, too blurry, or physically impossible in about half a second.
Consumer goods also get viewed at brutal proximity. Someone zooming into a product photo to check the stitching on a bag or the texture of a plastic housing is looking for reasons to trust or distrust the purchase. That means our tolerance for error in modeling accuracy and material fidelity is much tighter than in most other rendering disciplines.
Stage One: Turning a Sketch or CAD File Into a Usable 3D Model
Clients come to us at very different starting points, and the workflow changes depending on what we’re handed.
- Hand sketches or reference images: We build the model from scratch, using dimensions if available or estimating proportions against known reference objects. This is common for early-stage products still in concept form.
- CAD files from engineering (STEP, IGES, SolidWorks): These are dimensionally accurate but built for manufacturing, not visualization. We have to retopologize — rebuilding the mesh with rendering-friendly geometry, adding edge bevels that don’t exist in CAD but exist in the real physical part, and fixing n-gons that will break shading.
- Existing 3D scans: Occasionally a client has a photogrammetry scan of a physical prototype. These need heavy cleanup — scan data is noisy and rarely has clean UVs for texturing.
The detail that trips people up most often is edge bevels. In real life, no manufactured object has a perfectly sharp 90-degree edge — injection molding, CNC machining, and casting all leave a tiny radius. A model with perfectly sharp edges catches light in a way that reads as “obviously computer generated” no matter how good the material is. Adding a fraction-of-a-millimeter bevel is one of the cheapest ways to make a render look real, and it’s the first thing we check when a render looks slightly off and nobody can say why.
Stage Two: Materials and Texturing — Where Most Renders Fail
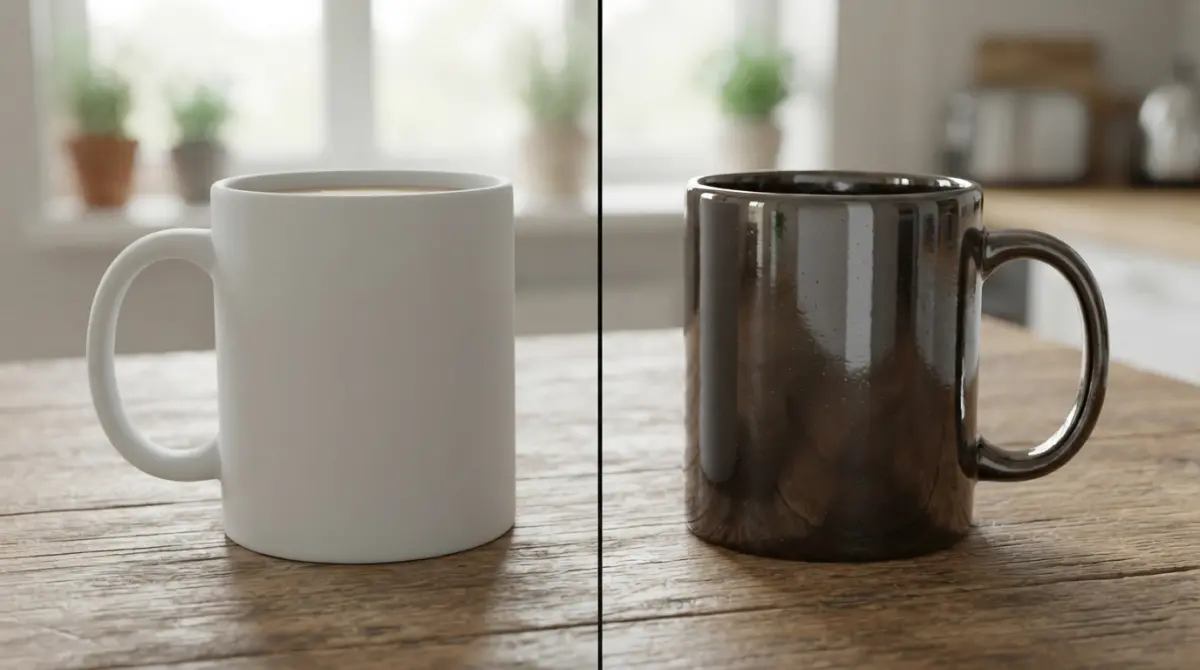
Geometry gets a render 50% of the way there. Materials do the rest, and this is where the gap between amateur and professional work is most obvious.
Physically based rendering (PBR) materials work by defining how a surface interacts with light using several data layers: base color, roughness, metallic value, normal detail, and sometimes displacement. Getting a convincing plastic, glass, brushed metal, or fabric isn’t about picking a preset — it’s about understanding how that specific material behaves in the real world and building the values to match.
| Material Type | Key Technical Challenge | Common Mistake |
|---|---|---|
| Glossy plastic (packaging, casings) | Balancing roughness so reflections look sharp but not mirror-like | Roughness set too low, making plastic look like polished glass |
| Brushed metal | Anisotropic reflection direction must match brush direction | Using a generic metal shader with no directionality |
| Fabric and textile | Fiber-level detail and correct weave scale | Flat color texture with no bump or fiber simulation |
| Glass and liquid | Refraction, caustics, and correct IOR values | Skipping caustics, making liquid look like colored glass |
| Matte cosmetic packaging | Subtle sheen variation across the surface | Uniform matte finish with no micro-variation |
Label and print artwork deserves its own mention. For packaged goods — bottles, boxes, tubes — the label wrap has to follow the actual curvature of the model without stretching or misaligning text. We map artwork using UVs that follow the real product’s print template, not a generic cylindrical projection, because a slightly warped logo is the fastest way to make an otherwise perfect render look wrong to anyone familiar with the brand.
For more on how this applies specifically to bottles, jars, and boxes, our 3D product rendering services page goes deeper into packaging-specific workflows.
Stage Three: Lighting for Retail Context
Lighting a product render isn’t the same as lighting a photo studio, even though the goal is similar. In CG, we have complete control over every light source, which is powerful but also means there’s no “natural” starting point — we’re building the entire lighting environment from nothing.
Most retail product shots use a three-point or environment-based lighting setup: a key light to establish form and shadow, fill light or bounce cards to soften harsh contrast, and a rim or edge light to separate the product from the background. HDRI environment maps are often layered in as well, giving reflective surfaces something believable to reflect instead of a flat studio backdrop.
What clients often ask for — and what we push back on gently — is lighting that’s too flat and too even. It photographs “safe” but doesn’t sell. A little contrast, a highlight that rolls convincingly across a curved surface, a soft shadow that grounds the product on its surface — these are what make an image feel like it was actually photographed rather than pasted onto a white background.
Stage Four: Camera, Composition, and Output Formats

Retail platforms have very specific and sometimes rigid requirements — Amazon’s main image needs a pure white background and the product filling a set percentage of the frame, for instance. We build our camera setups around these constraints from the start rather than rendering a nice cinematic shot and cropping it down afterward, which usually ruins the composition.
A typical retail-ready delivery includes:
- Pure white background hero shots for marketplace listings
- Lifestyle or contextual scenes for the brand website and social media
- 360-degree spin sets for interactive product viewers
- Detail crops showing texture, hardware, or functional features
- Multiple color/material variants rendered from the same base model
That last point is where 3D pays for itself fastest. Once the model and materials are built correctly, generating five colorways of the same product costs a fraction of what reshooting five physical color samples would cost with a camera crew. This is also where 3D quietly replaces traditional photography for a lot of e-commerce catalogs — our 3D rendering services team gets asked constantly to produce variant sets that would be impractical to shoot physically.
What We See Clients Get Wrong
A few patterns come up again and again:
- Sending final-stage renders for feedback instead of early clay renders. Reviewing a fully lit, fully textured image and asking to “just shift the material color slightly” often means redoing lighting too. We push clients to approve geometry and proportions on untextured gray renders first.
- Underestimating scale accuracy. A product that’s 2mm off in wall thickness might not matter for manufacturing tolerances but will visibly change how light catches an edge in a close-up render.
- Wanting photorealism and stylization at the same time. Some brands want a render that looks like a photograph but with unrealistically saturated colors or impossible reflections. We can push realism, but physically implausible lighting always reads as fake no matter how detailed the model is.
- Not providing real reference for materials. “Make it look premium” isn’t a material spec. A swatch, a competitor product photo, or even a phone photo of the actual material sample saves rounds of guesswork.
What works consistently well: clients who send physical samples or detailed spec sheets, who approve stages incrementally, and who trust the render team’s judgment on lighting contrast rather than asking for everything to be lit perfectly flat. The best results come from a genuine back-and-forth, not a one-shot brief.
Bringing It Together
Good product rendering is really a chain of small technical decisions — bevel radii, roughness values, label mapping accuracy, light placement — that individually seem minor but compound into whether an image reads as real or synthetic. None of it is magic, but all of it requires someone who’s done it enough times to know where the traps are.
If you’re planning a product launch, a full catalog refresh, or just need a handful of hero images that can compete with photography, get in touch with our team through our contact page and send us whatever you have — a sketch, a CAD file, or just a reference photo. We’ll tell you honestly what it’ll take to get from there to retail-ready.
Frequently Asked Questions
How much does 3D product modeling and rendering cost for consumer goods?
Costs typically range from $150 to $2,500 per product depending on complexity, level of detail, and number of variations needed. Simple products with basic geometry cost less than items with intricate mechanisms, textures, or multiple color variants. Most brands find that bulk pricing for product lines reduces per-unit costs significantly.
How long does it take to go from sketch to retail-ready 3D render?
The full process usually takes 1-3 weeks depending on product complexity and revision rounds. Initial modeling takes 3-7 days, followed by texturing, lighting, and rendering which adds another 3-5 days. Rush timelines are possible but often increase costs by 25-50%.
What file formats are needed for 3D product renders to be retail-ready?
Retail-ready renders typically require high-resolution JPEG or PNG files for e-commerce listings, plus source files like OBJ, FBX, or GLB for AR/VR integration. Amazon, Shopify, and other platforms have specific resolution and background requirements that should be confirmed before final export. Keeping layered PSD or native 3D files also allows for future edits without remodeling.
Can 3D rendering replace traditional product photography entirely?
Yes, many brands now use 3D rendering exclusively, especially for pre-launch marketing, packaging mockups, and products still in development. It eliminates the need for physical samples, studio setups, and reshoots when colors or designs change. However, some brands still blend photography and CGI for authenticity in lifestyle or unboxing content.
What information do I need to provide to get an accurate 3D model made from my sketch?
You'll need detailed dimensions, material specifications, color references, and multiple sketch angles or CAD files if available. Reference images of similar existing products help clarify design intent and reduce revision cycles. The more technical detail provided upfront, the fewer costly changes are needed during the modeling phase.