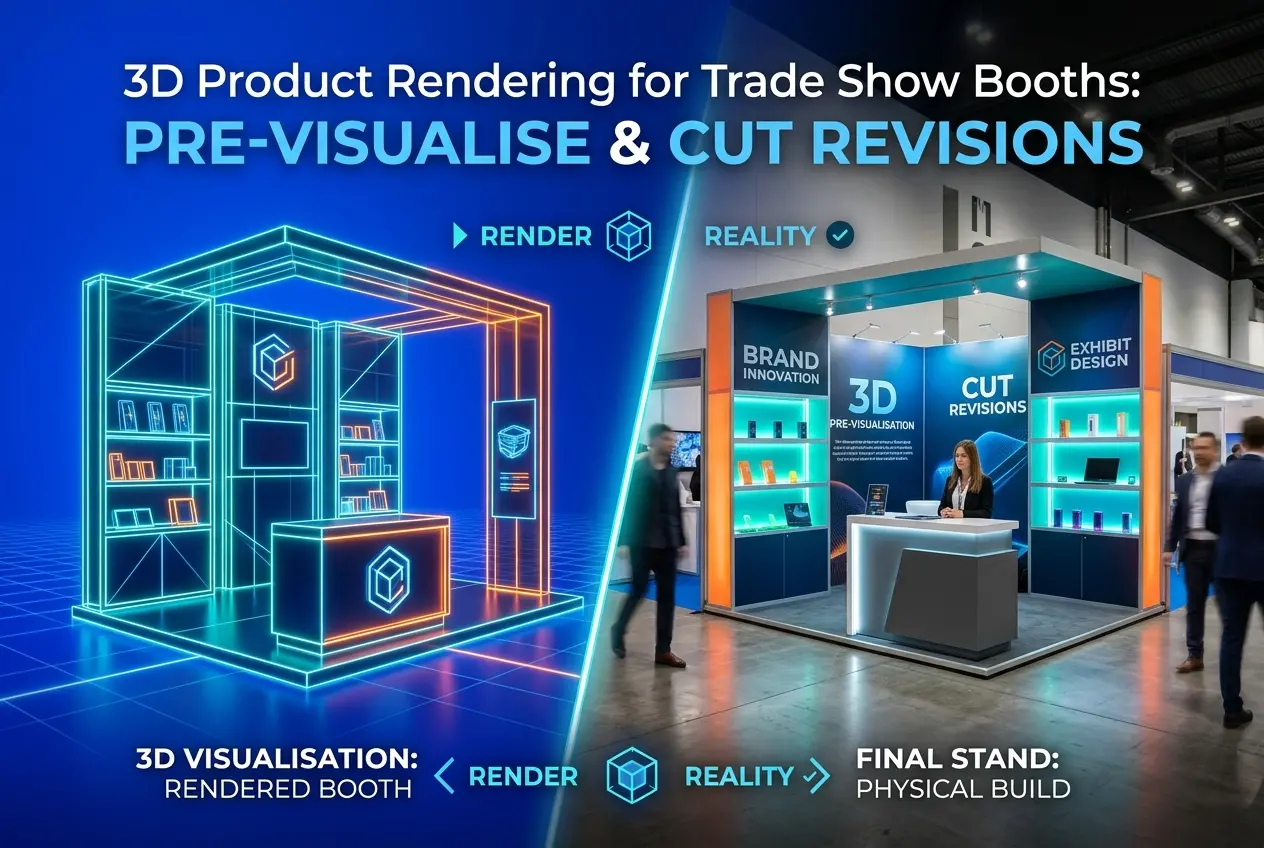
A trade show booth is one of the few marketing assets you pay for, ship across the world, and then get exactly one chance to set up correctly. That is why 3D Product Rendering for Trade Show Booths and Exhibition Stands: How to Pre-Visualise Your Display and Cut Build Revisions has become a standard step for brands that are tired of discovering problems on the show floor, when the fix costs the most and the time to fix it is gone.
In our studio we see the same pattern repeatedly. A client sends a sketch, a few reference photos and a floor plan. The fabricator builds from a 2D drawing. Then someone realises the hero product is hidden behind a pillar, the graphics are unreadable from the aisle, or the lighting turns the glossy counter into a mirror. A good render catches all of this weeks before a single panel is cut.
This post covers what a booth render should actually show, how to brief it, what clients commonly get wrong, and how to use the images to reduce revisions with your fabricator.
Why 2D Drawings Fail Exhibition Stands
Elevations and floor plans are accurate, but they do not show how a human experiences a space. A visitor does not see a booth in plan view. They see it at eye height, at an angle, from 10 metres away in a crowded aisle, partly blocked by other people and neighbouring stands.
Several things only reveal themselves in 3D:
- Sightlines: what a visitor sees first from each approaching aisle.
- Proportion: a 4 m hanging sign can look right on paper and overwhelming in a 9 m x 6 m space.
- Traffic flow: whether the demo area, counter and storage door fight for the same floor space.
- Material interaction: how laminate, fabric, acrylic and metal look next to each other under real lighting.
- Graphic legibility: logo size and headline height from realistic viewing distances.
What a Useful Booth Render Actually Shows
A single pretty hero image is not enough. For pre-visualisation to cut build revisions, you need a small set of views, each answering a different question.
Aisle-level approach views
These are cameras placed at eye height (roughly 1.6 m) in the actual aisles around your plot. For an island booth, that means all open sides. For an inline booth, it means both directions along the aisle. This is where you test whether the brand name reads and whether the stand feels open or closed.
Overhead and plan-style views
A clean top-down render with furniture, product plinths and circulation paths helps the team agree on layout before debating finishes. It is also the view most useful for checking that the stand respects show rules on open sides, height limits and sightlines to neighbours.
Product close-ups
If you sell a physical product, this is where 3D product rendering detail matters. Your hero item needs correct materials, scale and lighting, not a placeholder block. We often model the product once and reuse it across booth views, catalogue images and online listings, so the work does double duty.
Lighting scenarios
Exhibition halls are lit with a mix of overhead rigs, spotlights and ambient light from the hall itself. We test a neutral hall lighting setup and your planned stand lighting separately. Glossy surfaces, backlit fabric graphics and LED strips behave very differently between the two, and this is where many surprises hide.
How to Brief a Booth Render So You Get It Right First Time
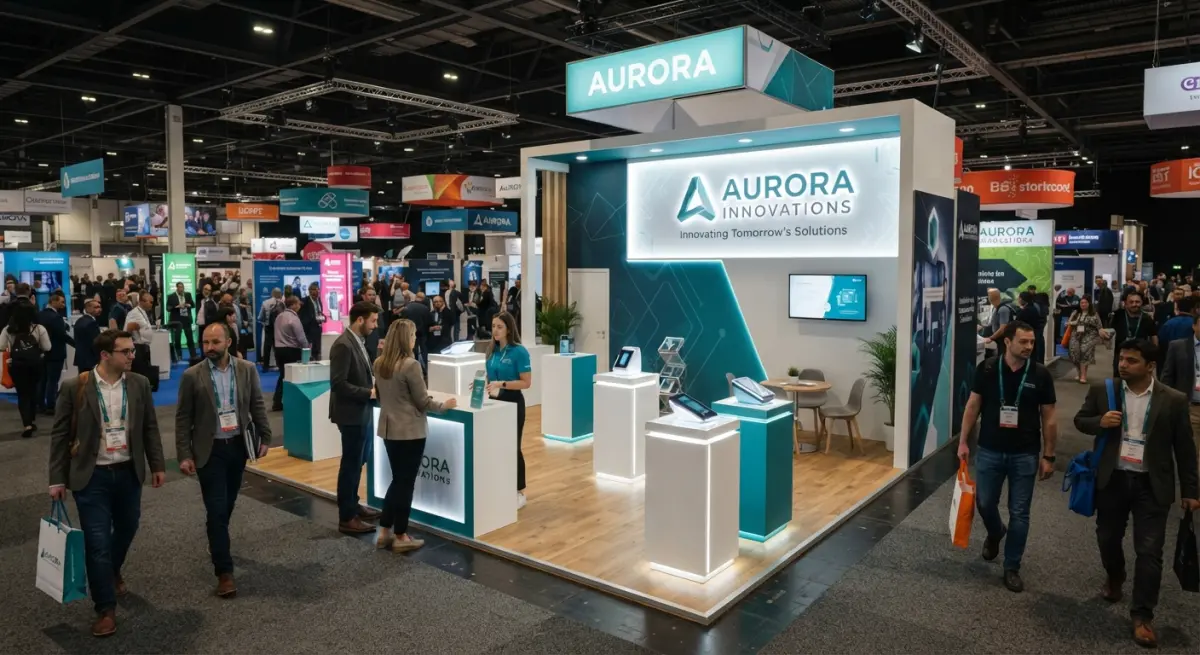
The quality of the render depends heavily on the inputs. The more precise the brief, the fewer rounds of changes you will pay for.
| Input | Why it matters |
|---|---|
| Show floor plan with your plot highlighted | Sets aisle positions, neighbours, columns and open sides |
| Organiser rules (height limits, hanging rig policy) | Prevents designing something that gets rejected |
| Fabricator CAD or drawings | Gives accurate dimensions and construction details |
| Brand guidelines and final artwork | Ensures colours and graphics are tested at real scale |
| Product CAD files or reference photos | Allows accurate modelling of the hero item |
| Material samples or codes (laminate, fabric, paint) | Avoids guesswork on finish and colour |
If you only have a moodboard, that is fine for a concept stage. Just be clear that the render is a design exploration, not a build reference. We label these differently so no one sends a concept image to a fabricator as if it were a drawing.
Using 3D Product Rendering for Trade Show Booths and Exhibition Stands to Cut Build Revisions
Revisions happen in three places: during design, during fabrication, and on site. Rendering pays off most by moving decisions to the first stage, where changes cost a few hours of modelling rather than a rebuilt wall.
Lock decisions in layers
We recommend approving in order: layout first, then structure and volumes, then materials, then graphics and lighting. If a client changes the layout after approving finishes, everything downstream has to be redone. A staged approval keeps feedback focused.
Give the fabricator something to build from
A render is not a shop drawing, but it removes ambiguity. When the fabricator, designer and marketing team all look at the same image, arguments about what a curved counter or a fabric lightbox was meant to look like largely disappear. We often add simple callouts for materials and finishes directly on the images.
Test the awkward details
The details that cause site headaches are rarely the big shapes. They are things like where cables exit, how a screen is mounted, where brochures are stored, and what the back of a feature wall looks like from the neighbouring stand. If these are modelled, problems get found. If they are skipped, they get found on install day.
What Clients Commonly Get Wrong
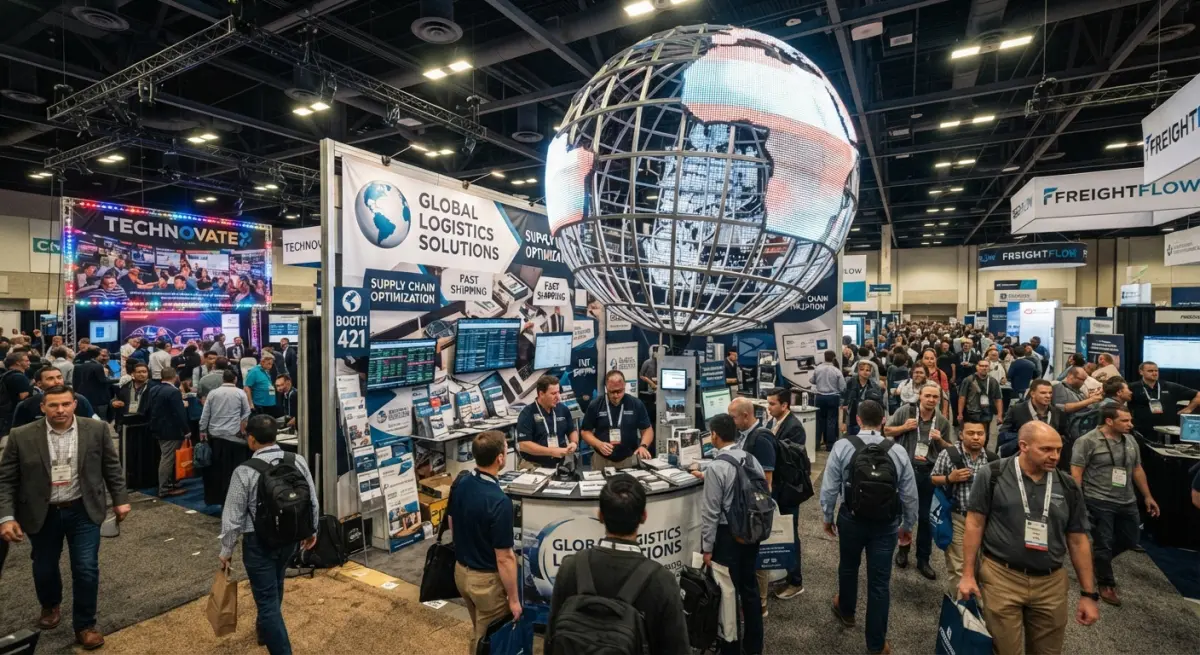
Approving from a single angle. A booth that looks excellent from the front can look unfinished from the side aisle. Always review every open side.
Treating the render as marketing art. Over-stylised images with dramatic lighting and an empty hall look great but hide real problems. Ask for a realistic, slightly boring version too, with people-scale references and neutral hall lighting.
Using placeholder graphics. Final artwork at real scale shows whether text is too small or an image will be pixelated when printed at large format. Placeholder boxes hide that.
Ignoring the show environment. A client once wanted a tall backlit tower that looked striking in an empty scene. Once we placed neighbouring stands and a low ceiling rig, it became clear the tower would be partly hidden and clash with overhead trusses. Context changes decisions.
Forgetting the people. Staff positions, queueing space and demo audiences take up room. Adding simple human-scale figures reveals cramped counters and blocked entrances quickly.
Practical Tips From the Studio
- Ask for at least one render that shows the stand with realistic neighbours, even if they are simple blocks.
- Check reflective materials under spotlights; gloss laminate and acrylic are frequent trouble spots.
- Review colours on a calibrated screen, and treat printed samples as the final reference for brand colours.
- Keep a version history so decisions are traceable when someone asks why a feature changed.
- Reuse the same 3D model for post-show content, such as sales decks, social posts and next year’s redesign.
- If you exhibit at several shows, build a modular base model and adapt it per plot size rather than starting over.
Where Rendering Fits Against Physical Mock-Ups
Physical mock-ups still have a place for ergonomic testing or for very complex mechanisms. But for most booths, they are expensive, slow and rarely at full scale. Rendering lets you test several layouts and finishes in the time it would take to build one sample. Treat it as the main decision tool, and reserve physical samples for finishes and materials you cannot judge on screen.
Conclusion
A booth is a short-lived, high-pressure build, and the best time to find mistakes is before anything is manufactured. Clear views, realistic lighting, final artwork and an organised approval process turn a render into a working tool rather than a nice picture. If you are planning your next exhibition stand and want to see it properly before it ships, explore our 3D product rendering services or get in touch with our team with your floor plan and brief.
Frequently Asked Questions
How much does 3D product rendering for a trade show booth typically cost?
Costs usually range from a few hundred dollars for a single still render of a simple booth to several thousand for multi-angle visuals, walkthrough animations, or complex custom exhibition stands. Pricing depends on booth size, model complexity, the number of camera views, and whether the designer already has CAD files. Supplying accurate dimensions, branding assets, and material specs up front reduces the hours needed and keeps your quote lower.
How can 3D rendering reduce build revisions on an exhibition stand?
Photorealistic renders let you and your stakeholders catch problems such as awkward sightlines, undersized graphics, poor traffic flow, or clashing materials before anything is fabricated. Changes made in a digital model take minutes or hours instead of the days and costs of reworking physical panels, counters, or structural elements. Getting sign-off on approved renders also gives the build team a clear reference, which cuts misunderstandings during production.
What files and information do I need to give a 3D artist to render my trade show booth?
Provide the booth floor plan with exact dimensions, any CAD or SketchUp files, vector logos, brand colors, graphic artwork, and material or finish references such as laminate codes or fabric samples. Also include the show's rules on height limits and neighboring booth positions, plus any product models or lighting plans. The more precise your inputs, the more accurate the render will be to the final build.
Can 3D renders show how my booth will look under real exhibition hall lighting?
Yes, a skilled artist can simulate exhibition hall conditions, including overhead lighting, spotlights, LED backlit graphics, and reflective surfaces like gloss floors or acrylic. This helps you judge color accuracy, glare, and visual impact before committing to materials. For the best results, share the venue's lighting details or floor photos, and note that renders are close approximations rather than exact physical lighting measurements.
What is the difference between a still 3D render, a walkthrough animation, and a VR booth preview?
A still render is a single image of the booth from a chosen angle, which is ideal for quick approvals and client proposals. A walkthrough animation is a pre-set video path that shows flow, scale, and how visitors will move through the space. A VR preview lets you explore the booth interactively at true scale, which is best for large or high-budget stands where spatial decisions are critical, though it costs more and takes longer to produce.