A leather handbag photographed under studio lights and a leather handbag rendered in CGI should be indistinguishable to the untrained eye. That’s the bar. Anything less, and a luxury brand’s customer notices — even if they can’t articulate why the image feels “off.” In our studio, we’ve spent years chasing that exact threshold, and it’s taught us that 3D Product Rendering for Luxury Goods: How CGI Captures Leather, Stitching and Premium Material Finishes is less about software and more about understanding why these materials look expensive in the first place.
Luxury goods sell on tactile promise. A customer can’t touch a screen, so the render has to do the convincing — the slight sheen of tanned leather, the tension in a saddle-stitched seam, the cool weight implied by brushed metal hardware. Get these details right and the product feels premium before anyone reads a spec sheet. Get them wrong and even a well-lit, well-composed image reads as “plastic” or “generic,” no matter how expensive the actual product is.
This post breaks down what actually happens technically when we build these materials — where the difficulty lies, what separates a passable render from one that closes a sale, and where clients most often misjudge what’s needed.
Why Leather Is Deceptively Hard to Render
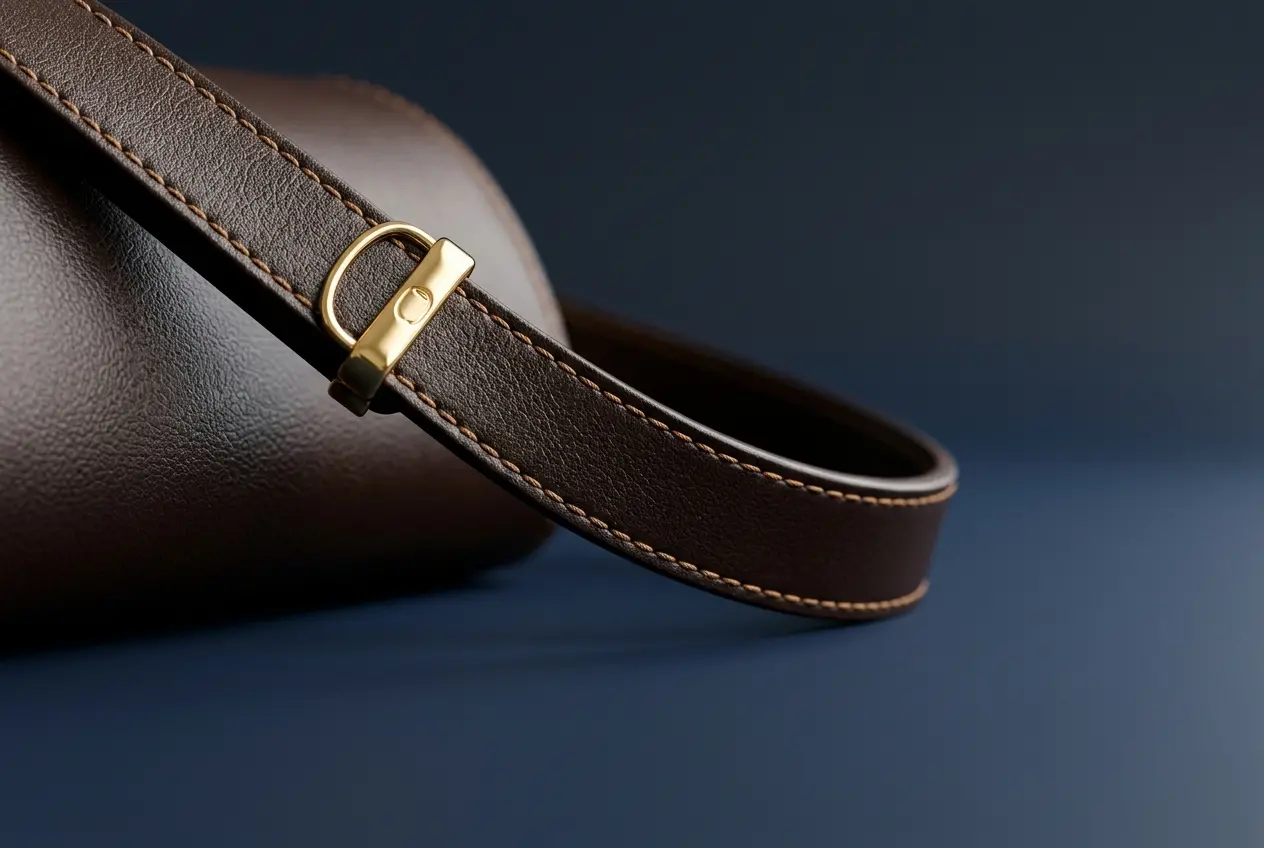
Leather looks simple because it’s a single material with a consistent color, but it’s actually one of the harder surfaces to get right in CGI. Real leather has irregular grain, natural variation from hide to hide, tiny pores, faint creases where the hide stretched, and a subsurface quality — light doesn’t just bounce off it, it penetrates slightly and scatters before coming back out. That subsurface behavior is what gives full-grain leather its warmth. A material that only reflects light looks like vinyl.
We build leather shaders with several layers stacked together: a base color map with natural mottling, a bump or displacement map pulled from real scanned grain data (or hand-sculpted if we’re matching a specific hide), a roughness map that varies across the surface because leather is never uniformly glossy, and a subtle subsurface scattering value tuned low so it reads as skin-like without looking waxy. Each layer is fighting for a small percentage of visual influence, and it’s the interaction between them — not any single map — that sells the material.
The other detail people underestimate is edge wear. Real leather goods develop lighter patches at corners and high-contact points almost immediately. A brand-new bag rendered with zero wear can look strangely sterile, like a product photo taken in a vacuum. We often add a whisper of that natural variation even to “new” product shots, because it’s what our eyes expect from genuine leather.
Stitching: The Detail That Gives Away Cheap CGI
If there’s one element that separates amateur product renders from agency-grade work, it’s stitching. Bad stitching is a dead giveaway — flat, painted-on lines that sit on top of the surface instead of piercing through it. Real stitching has depth. Thread catches light differently depending on the angle of the stitch relative to the camera, there are tiny shadows where the needle punched through the leather, and tension pulls the material slightly at each hole.
We model stitching geometrically wherever the shot calls for a close-up — actual thread geometry following a spline path along the seam, with slight irregularities so it doesn’t look machine-perfect in an unnatural way (ironically, real stitching has more visual noise than a default CGI stitch pattern). For wider shots where the seam won’t fill much of the frame, a well-built normal map with height data baked in can hold up fine and renders faster. Knowing which technique a shot actually needs — rather than defaulting to the heaviest method every time — is part of what keeps production timelines reasonable without sacrificing the shots that matter.
Metal, Glass, and Hardware Finishes
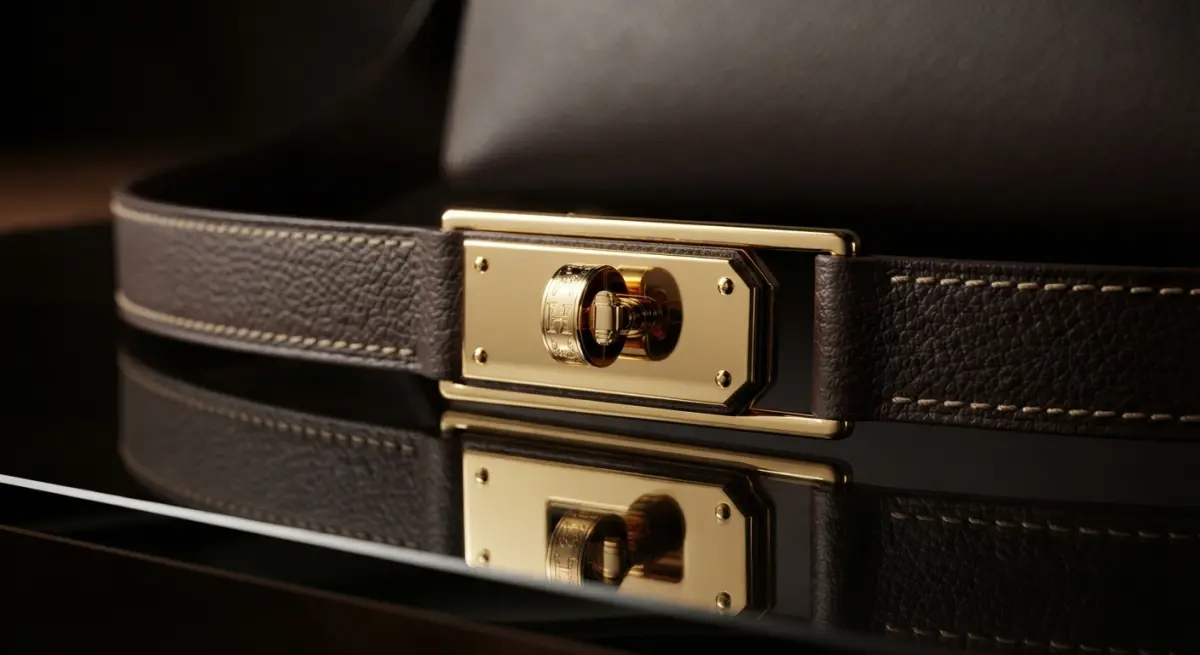
Luxury products rarely rely on one material alone. A handbag has leather, but also zippers, clasps, and often a metal logo plate. A watch might combine brushed steel, polished gold accents, sapphire crystal, and a leather or rubber strap in one frame. Each material has a completely different way of interacting with light, and they all have to sit believably in the same environment.
Brushed metal needs anisotropic reflection — the highlight stretches in the direction of the brushing rather than staying round like it would on polished chrome. Get the anisotropy direction wrong and the metal looks like plastic with a metallic texture slapped on. Polished gold and glass both rely heavily on the HDRI environment we light with, because these are almost pure reflectors — what they show is largely a reflection of the world around them. A cheap or flat HDRI makes expensive materials look dull no matter how correct the shader is underneath.
Fabric, Suede, and Textile Weaves
Textiles bring their own challenge: fiber-level detail. Suede in particular behaves almost like a soft, directional carpet at a microscopic level, with light scattering differently depending on which way the nap is brushed. We handle this either through fiber shaders (built for extreme close-ups) or through carefully tuned sheen and roughness maps for standard product shots. Woven fabrics like canvas or denim need visible thread structure at the weave level once the camera gets close, otherwise the fabric reads as a flat printed pattern instead of something with actual thickness and texture.
Lighting: Where Material Work Either Pays Off or Falls Apart
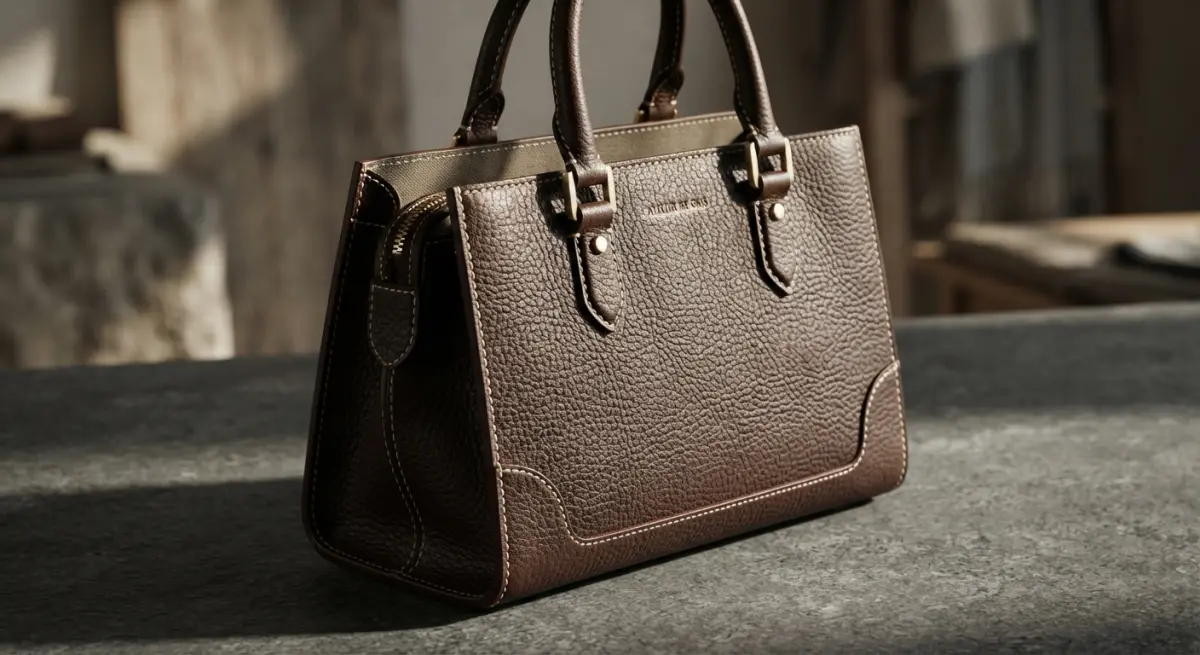
A beautifully built material can still look wrong under bad lighting, and this is where a lot of in-house rendering attempts go sideways. Materials only reveal themselves correctly under the right kind of light. Leather grain needs raking light — light coming across the surface at a low angle — to show its texture; flat frontal lighting flattens it out completely. Polished metal needs a lighting rig with enough contrast and shape in the reflections, otherwise it looks like a gray blob.
We typically build a three-point or HDRI-based studio setup for luxury product work, then adjust based on the specific material story we’re trying to tell. If leather grain is the hero detail, we’ll add a rim or side light specifically to rake across the surface. If it’s a diamond or gemstone, we’re thinking about caustics and how light refracts through the stone, which is a different lighting problem entirely from a leather bag on the next page of the same catalog.
What Clients Get Right (and Wrong) in Practice
The most common mistake we see is clients sending reference photos of the product straight-on, evenly lit, with no texture information visible at all — and then expecting us to invent grain, wear, and material nuance from nothing. The better the reference (macro shots of the leather grain, a close-up of the actual stitching, a sample swatch photographed under angled light), the faster and more accurate the render. If it’s a real product, we always ask for the material sample itself when possible, even a small offcut, because scanning or photographing it under controlled light gives us data no verbal description can replace.
The second mistake is treating all SKUs as equal in complexity. A brand launching twenty bag colorways often assumes it’s twenty renders of similar effort. In reality, deep burgundy leather with a matte finish and pale cream leather with a slight sheen behave completely differently under the same light — one absorbs, one reflects — and each needs its own shader tuning, not just a color swap. Budgeting for this upfront avoids surprises mid-project.
What clients get right, more often than not, is trusting the process once they see a first hero shot. Luxury brands tend to have a sharp eye — they know their product intimately — so when we nail the leather grain or the stitch depth on the first pass, approvals move fast. The friction usually isn’t taste; it’s just making sure expectations about turnaround and revision rounds are set before production starts, since fine-tuning subsurface scattering or anisotropic reflections is an iterative process, not a one-click filter.
| Material | Key Rendering Challenge | Critical Technique |
|---|---|---|
| Full-grain leather | Subsurface warmth, natural grain variation | Layered shader with scattering + bump/displacement |
| Stitching | Depth, thread shadowing, tension | Geometric thread modeling or height-based normal maps |
| Brushed metal | Directional highlight stretch | Anisotropic reflection shaders |
| Polished metal/glass | Environment dependency | High-quality HDRI lighting |
| Suede/nap fabrics | Directional fiber scattering | Fiber shaders or tuned sheen maps |
None of this happens by accident — it’s the product of testing shaders against real material samples, over and over, until the render fools the eye under multiple lighting conditions, not just the one angle in the hero shot. That’s the actual craft behind 3D Product Rendering for Luxury Goods: How CGI Captures Leather, Stitching and Premium Material Finishes — patience with material accuracy, not just access to good software.
If you’re developing a product line where material quality is the entire sales pitch — leather goods, watches, jewelry, premium accessories — this is exactly the kind of work we do daily. Take a look at our 3D product rendering services to see how we approach material accuracy for luxury and premium goods, or get in touch directly through our contact page to talk through your specific product and material requirements.
Frequently Asked Questions
How does 3D rendering accurately replicate the look of genuine leather?
3D rendering uses high-resolution texture maps, including bump, normal, and displacement maps, to recreate leather's grain, pores, and natural imperfections. Artists also simulate subsurface scattering and specular highlights to match how light interacts with real leather, ensuring the material looks authentic rather than plastic or flat.
Can CGI stitching details match the precision of real product photography?
Yes, modern 3D modeling techniques allow artists to create individual stitch geometry with accurate thread thickness, spacing, and tension variations. This level of detail, combined with realistic shadow casting and micro-displacement, often exceeds photography's ability to consistently capture stitching under varying lighting conditions.
What software is best for rendering premium material finishes like leather and metal?
Industry-leading tools include Cinema 4D, 3ds Max, and Blender paired with rendering engines like V-Ray, Arnold, or Redshift for physically accurate material simulation. These platforms support advanced shader networks that control roughness, reflectivity, and texture layering needed for convincing luxury finishes.
Why do luxury brands choose 3D rendering over traditional product photography?
3D rendering offers unlimited flexibility for adjusting lighting, angles, and backgrounds without reshooting physical samples, saving significant time and cost for luxury brands with extensive product lines. It also ensures perfect consistency across marketing materials and allows visualization of products before manufacturing is complete.
How long does it take to create a photorealistic 3D render of a leather handbag?
A single photorealistic render typically takes one to two weeks, depending on the complexity of stitching, hardware details, and texture accuracy required. This timeline includes modeling, texturing, lighting setup, and multiple rounds of revisions to ensure the final image meets luxury brand standards.