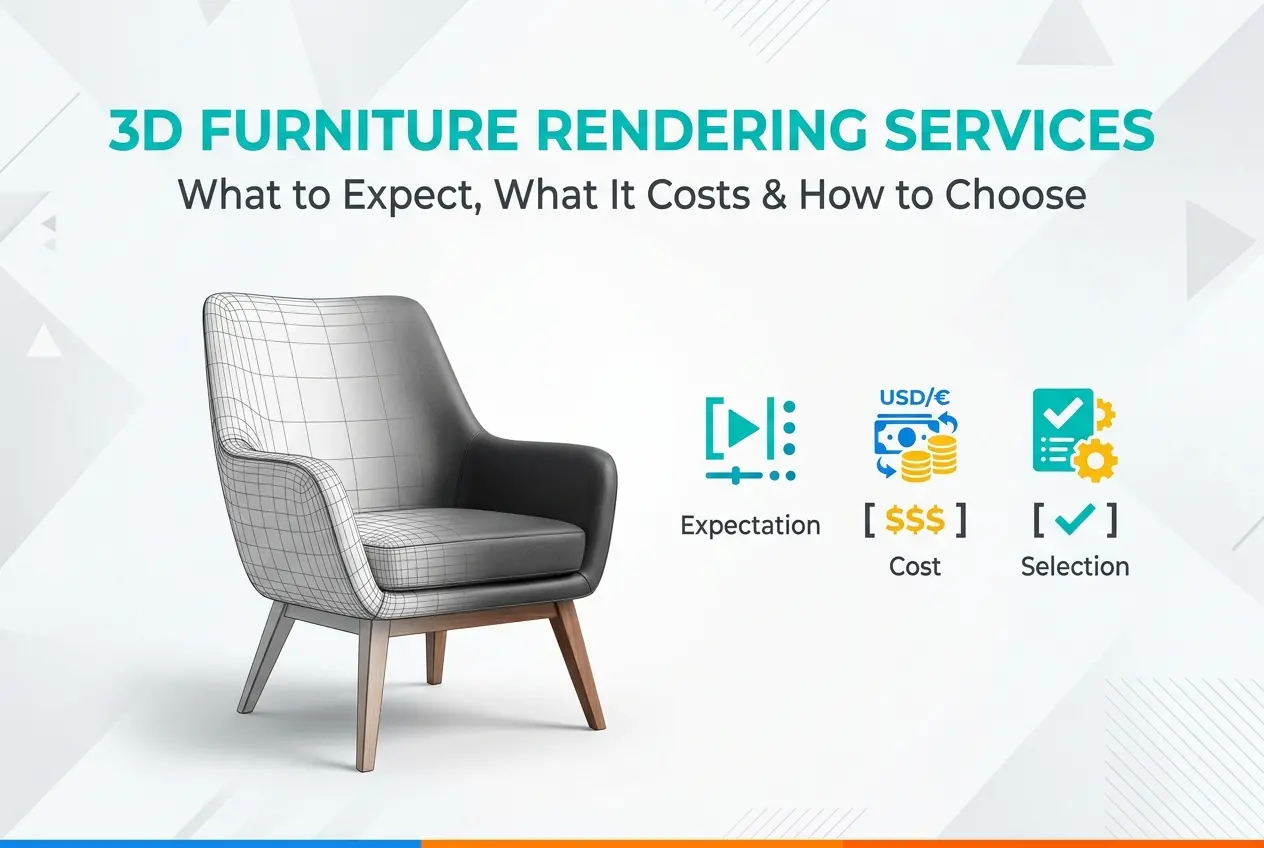
How to Render Interior Design — Best Practices | 360 Render
If you’ve ever tried to sell a design concept to a client using flat floor plans and color swatches, you already know how frustrating that conversation can be. Learning how to render interior design — best practices | 360 Render covers is the difference between a client who nods along politely and one who pulls out their checkbook. Interior rendering has become the go-to tool for architects, interior designers, and real estate developers who want to communicate spaces before a single wall goes up. And when it’s done right, it looks almost indistinguishable from a photograph.
The thing is, producing a great interior render isn’t just about having the right software. It’s about understanding light, materials, composition, and storytelling — all at the same time. A technically flawless render that feels cold and lifeless won’t help you close a deal. Equally, a warm and moody image that misrepresents the actual design will create problems down the line. The sweet spot lives somewhere between technical accuracy and artistic sensibility, and that’s exactly what we’ll unpack here.
Whether you’re a designer trying to bring your work in-house, a developer evaluating your rendering workflow, or someone just getting started in the field, this guide walks through the foundational practices that separate average interior renders from truly compelling ones. We’ve put together these insights based on real project experience — the kind of lessons you only learn after rendering thousands of spaces across every property type imaginable.
Start With a Strong Foundation: Geometry and Spatial Accuracy
Before you even think about lighting or textures, your geometry needs to be solid. This sounds obvious, but it’s where a surprising number of projects go sideways. Interior renders are unforgiving — gaps in walls, floating furniture, incorrect ceiling heights — these things read immediately as “fake” to the human eye, even when viewers can’t articulate why something looks off.
Always model to real-world scale. If a sofa is 2.2 meters wide in the design brief, it should be exactly 2.2 meters wide in your model. This matters because the spatial relationships between furniture, architecture, and human-scale elements are what make a render feel believable. A room that looks slightly too big or slightly too cramped will undermine client confidence in the design itself.
Use reference drawings — floor plans, elevations, and sections — as the backbone of your model. If you’re working from architectural drawings provided by the project team, import them as reference geometry rather than eyeballing dimensions. Spending an extra hour on accurate geometry at the start saves you from painful revisions later.
Lighting: The Single Biggest Factor in Render Quality
Ask any experienced rendering artist what separates a good interior from a great one, and nine times out of ten they’ll say lighting. It’s not an exaggeration. Lighting defines mood, depth, material appearance, and spatial perception. Get it wrong, and nothing else you do will save the image.
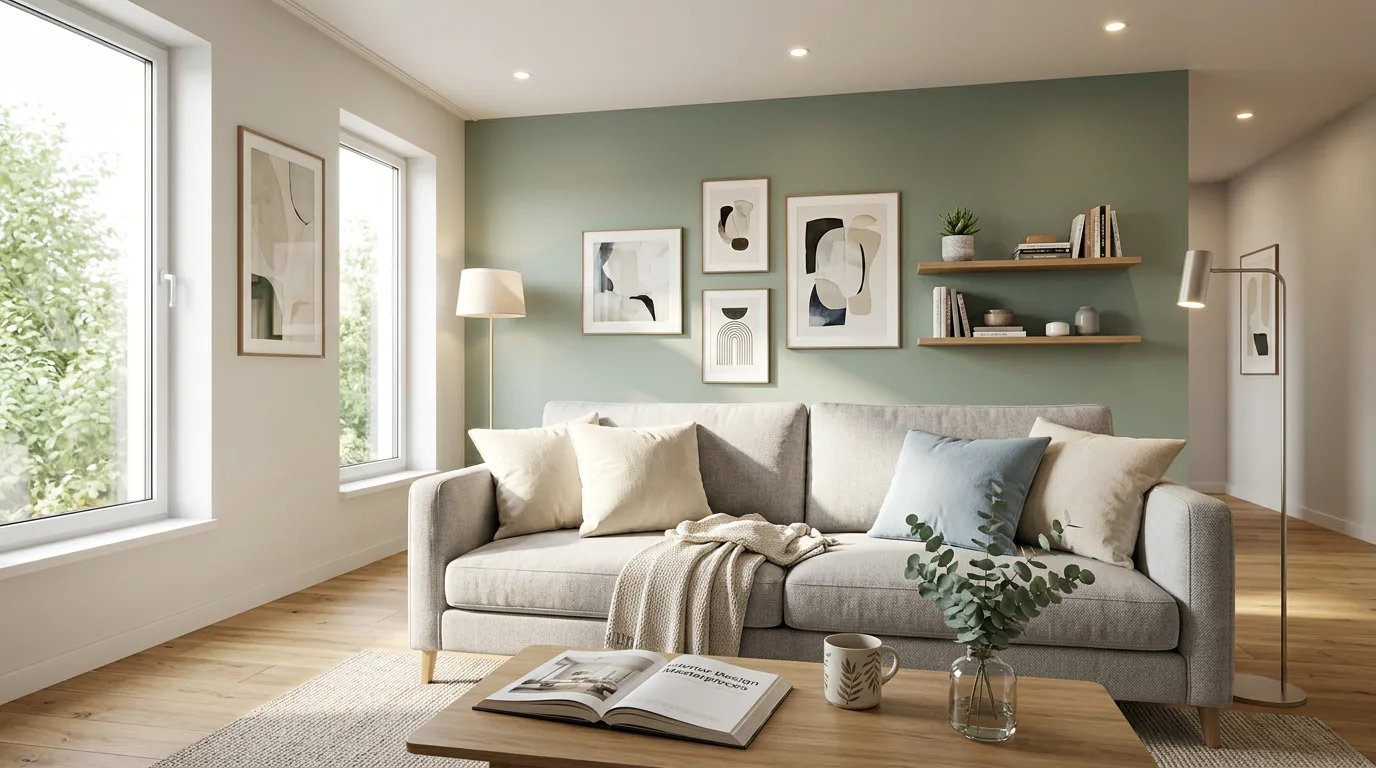
Natural Light and Time of Day
Decide early on what time of day your render depicts. Morning light coming through east-facing windows creates soft, warm, golden tones. Midday light is harsher and more neutral. Late afternoon gives you those long, dramatic shadows that make architectural photography look so cinematic. Your choice should align with how the space will actually be used — a breakfast nook should probably be bathed in morning light, while a home theater doesn’t need natural light at all.
Use HDRI (High Dynamic Range Image) environments for physically accurate daylight simulation. They capture real-world light distribution far better than simple sun/sky setups in most rendering engines. Match your HDRI to the geographic location and orientation of the building if you really want to get precise.
Artificial and Accent Lighting
Interior spaces almost always involve layered artificial lighting — ambient ceiling fixtures, task lighting, accent lamps, under-cabinet LEDs. Each source has its own color temperature and intensity, and they interact with each other and with the natural light in complex ways. Don’t default to a single overhead light and call it done.
Use IES profiles (photometric data files from real lighting manufacturers) for your artificial lights. They define the exact distribution pattern of a specific fixture, so your pendant light actually casts light the way that pendant light would in real life. This kind of detail is what makes professional renders look credible.
Materials and Textures: Where Realism Lives or Dies
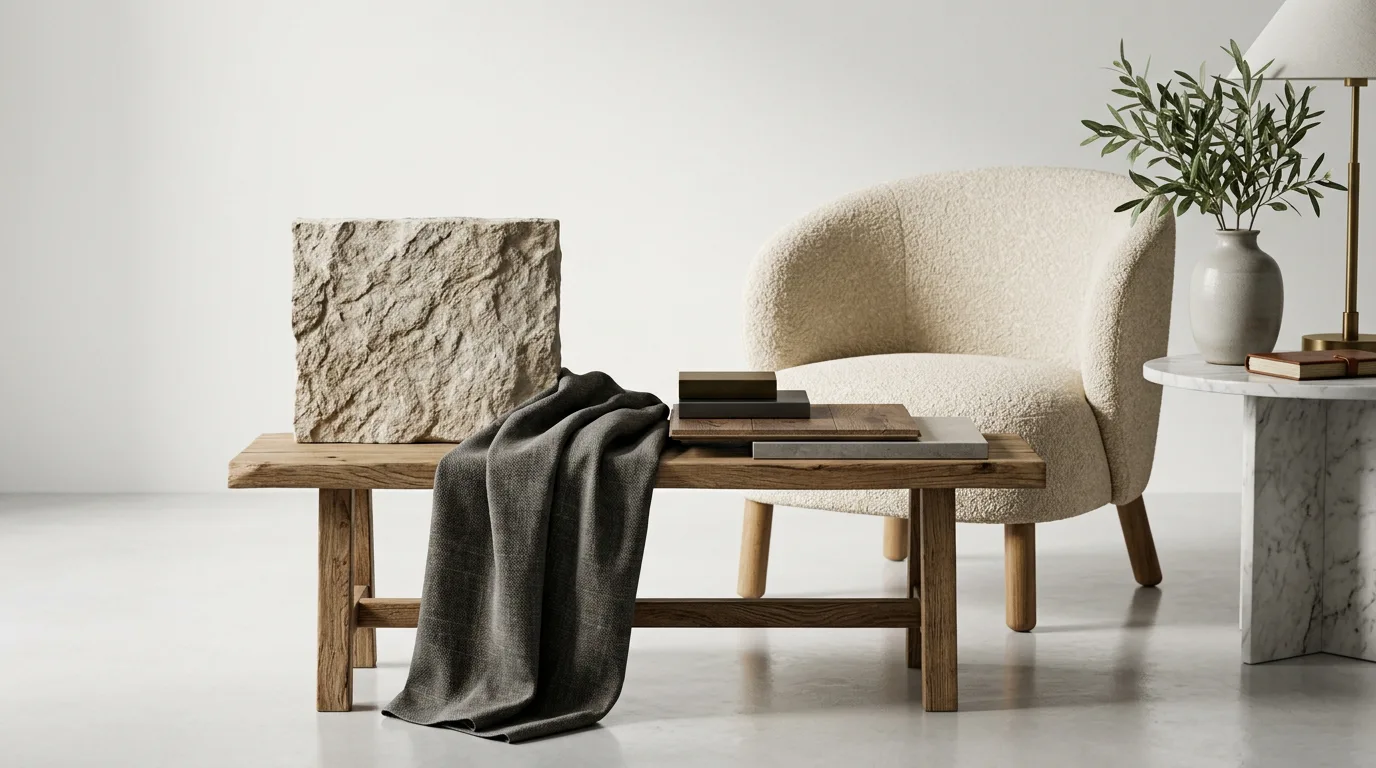
A perfect model with perfect lighting will still look off if the materials aren’t right. Human eyes are remarkably good at identifying incorrect surface behavior — a wood floor that reflects too much, a fabric sofa that looks like hard plastic, marble that tiles too obviously. Material quality is where rendering often gets separated into amateur and professional tiers.
Physically Based Rendering (PBR) materials are the current standard for good reason. They simulate how light actually interacts with surfaces, taking into account diffuse color, reflectivity, roughness, and subsurface scattering (relevant for things like skin, wax candles, and certain stone types). Most modern rendering engines — V-Ray, Corona, Unreal Engine, Blender Cycles — support PBR workflows natively.
Pay attention to scale. A marble texture that tiles every 20 centimeters will immediately read as fake on a floor plane. Map your textures to real-world dimensions and use variation maps or randomized offsets to break up repetition. Wood grain especially needs to be mapped carefully — it should feel like individual planks, not a repeating pattern.
Don’t underestimate imperfection. Perfect materials don’t exist in the real world. Slight fingerprints on a glass surface, subtle wear on upholstery edges, minor color variation in timber — these micro-level imperfections are what the brain processes as “real.” Adding them deliberately, at the right scale, is what takes a render from sterile showroom to lived-in space.
Composition and Camera Settings
The camera angle you choose tells a story about the space. Wide-angle shots show the room in context but can distort perspective uncomfortably. Tighter focal lengths (50mm to 85mm equivalent) tend to render spaces the way the human eye actually perceives them. There’s no universal rule — the right choice depends on the space, the client’s goals, and what you’re trying to emphasize.
Keep the camera at a human eye level, typically 1.5 to 1.7 meters off the floor, unless you’re intentionally going for an architectural overhead or a low dramatic angle. This grounding choice alone makes a huge psychological difference in how natural the image feels to viewers.
Use the rule of thirds as a starting point for composition, but don’t be enslaved by it. More important is that the focal element of the design — whether that’s a feature fireplace, a custom kitchen island, or a view through a window — sits in a position that draws the eye naturally. Frame it with surrounding elements to provide depth and context.
Apply camera depth of field carefully. Subtle DOF can add real-world photographic quality to an image. But too much blur looks artificial and can obscure important design details the client needs to see. When in doubt, keep it subtle.
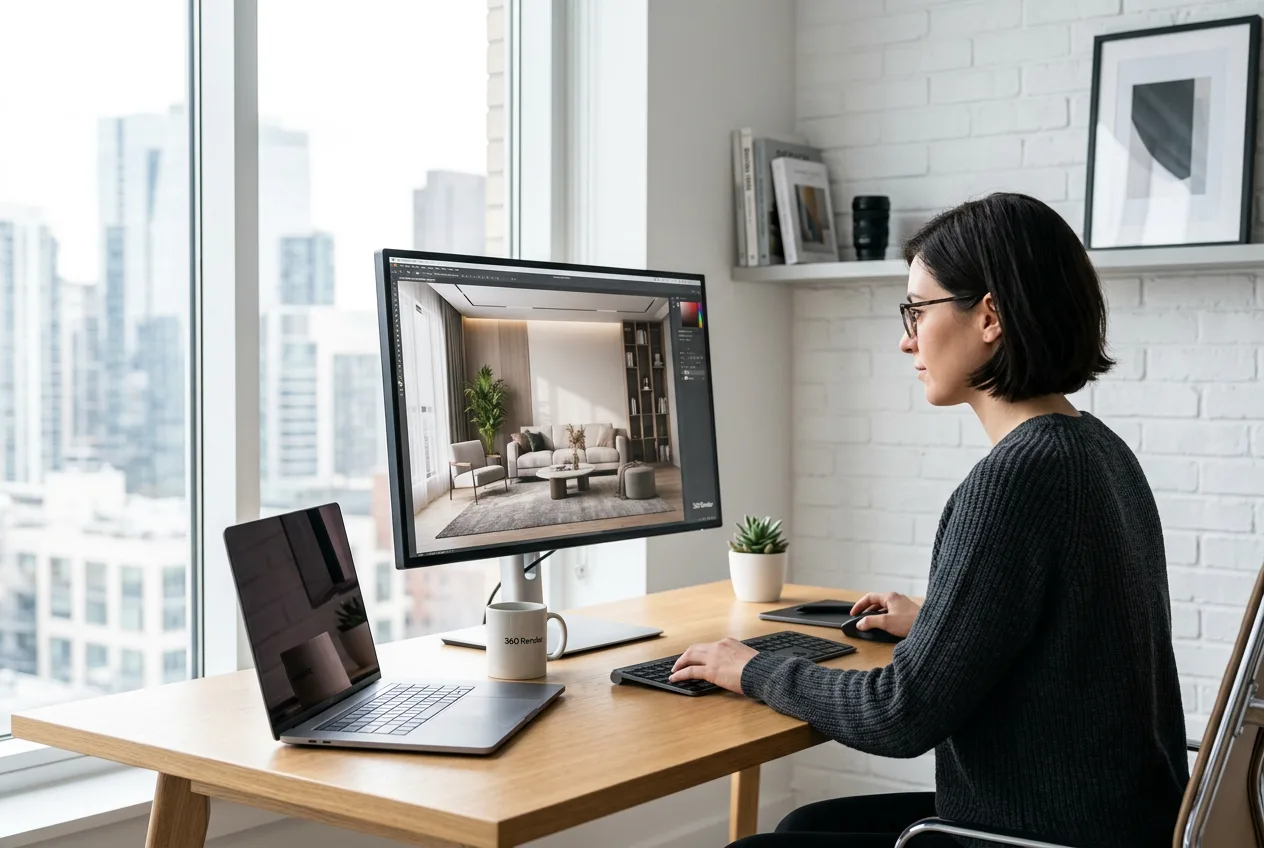
Post-Processing: The Final Polish
Very few renders go straight from the rendering engine to the client without some level of post-processing. Color grading, contrast adjustments, minor brightness corrections — these are standard steps that help a render reach its final, polished form. Tools like Adobe Photoshop, Lightroom, or even DaVinci Resolve are commonly used for this stage.
Be honest with yourself about what post-processing should and shouldn’t do. It’s entirely appropriate to adjust white balance, add a subtle vignette, or correct lens distortion. It’s not appropriate to paint in design elements that aren’t in the model, or to dramatically change the colors of materials in ways that misrepresent the actual design. Your renders are marketing material and legal representations of a proposed design — accuracy matters.
One practical tip: save your render passes (ambient occlusion, reflections, shadows, diffuse) separately if your software supports it. Working in compositing software with individual passes gives you far more control over the final look than adjusting a single combined image.
Practical Tips From Real Interior Rendering Projects
- Always render multiple views. A single hero shot rarely tells the full story. Show the space from at least two or three angles, including a detail shot that highlights a key design element.
- Use real furniture and accessory models. Many furniture manufacturers now provide downloadable 3D models of their actual products. Using recognizable pieces from real brands adds credibility and helps clients connect the render to reality.
- Consider the lifestyle, not just the space. A kitchen render with fruit on the counter, an open cookbook, and soft afternoon light tells a different story than an empty, pristine kitchen shot from directly in front. Staging matters in renders just like it does in real estate photography.
- Get client feedback early on a draft render. Don’t invest hours in final-quality lighting and post-processing before confirming the camera angle and furniture layout are approved. Iteration is cheaper at draft stage.
- Match the render style to the project type. A photorealistic approach works brilliantly for residential and hospitality projects. For concept-stage commercial or retail projects, a slightly stylized render might actually communicate better without over-committing to details that will change.
For residential projects in particular, the expectations around realism are extremely high. Clients are comparing your renders against professional interior photography they’ve seen in magazines and on social media. Understanding how to render interior design — best practices | 360 Render recommends means constantly raising the bar on material quality, lighting nuance, and spatial storytelling.
Choosing the Right Rendering Software
V-Ray and Corona Renderer remain industry standards for high-quality, photorealistic interior rendering — they integrate with 3ds Max, SketchUp, Rhino, and Cinema 4D, and offer robust material libraries and lighting tools. Blender with Cycles or EEVEE is an increasingly viable free alternative, particularly for studios looking to reduce software costs. Unreal Engine is worth exploring if you need real-time walkthroughs or interactive presentations alongside static renders.
The software matters less than your mastery of core principles. Light, materials, composition — these fundamentals apply regardless of what rendering engine you’re using. Don’t fall into the trap of thinking a new software purchase will automatically improve your output.
Conclusion: Turn Your Interior Designs Into Compelling Visual Stories
Rendering interior design well is both a technical discipline and a creative craft. The best practitioners understand the physics of light and materials deeply enough that they can then bend the rules intelligently to serve the story they’re telling. It takes time, practice, and a willingness to look critically at your own work.
If you’re working on a project that demands the highest level of interior rendering quality — or if you simply don’t have the bandwidth to handle rendering in-house — the team at 360 Render is here to help. We’ve produced photorealistic interior renders for residential developments, hospitality brands, retail spaces, and commercial fit-outs across every scale. Understanding exactly how to render interior design — best practices | 360 Render delivers means combining technical precision with genuine design sensibility, and that’s what our team brings to every project.
Ready to see what your next interior design project could look like? Get in touch with our rendering team today and let’s talk about what you need.
Frequently Asked Questions
What software is best for rendering interior design projects?
The best software for rendering interior design includes 3ds Max with V-Ray, Lumion, and Blender, each offering different strengths depending on your workflow and budget. V-Ray is industry-standard for photorealistic results, while Lumion excels in real-time rendering speed for client presentations. Choosing the right tool depends on your project complexity, timeline, and the level of photorealism required.
How long does it take to render a high-quality interior design image?
A high-quality interior design render can take anywhere from 20 minutes to several hours depending on scene complexity, lighting setup, texture resolution, and the hardware being used. GPU-based rendering engines like V-Ray GPU or Octane significantly reduce render times compared to CPU-only solutions. Optimizing your scene by reducing polygon counts and using efficient lighting techniques can dramatically cut down rendering time without sacrificing quality.
What are the most important lighting techniques for photorealistic interior renders?
The most critical lighting techniques for photorealistic interior renders include using HDRI environment lighting, combining natural light through windows with artificial interior lights, and setting up accurate IES light profiles for fixtures. Proper exposure, color temperature, and shadow softness are key factors that separate amateur renders from professional-quality outputs. Always simulate real-world lighting conditions by referencing actual room photographs to achieve believable and immersive results.
How do I choose the right camera angles for interior design rendering?
The best camera angles for interior design rendering typically involve eye-level shots between 1.5 and 1.7 meters high, which closely mimic how humans naturally view a space. Wide-angle lenses between 24mm and 35mm are commonly used to capture more of the room while maintaining a sense of depth and proportion. Avoid extreme distortion by keeping vertical lines straight and experimenting with corner shots to showcase multiple surfaces and the overall spatial flow of the design.
What resolution should interior design renders be exported at for professional use?
For professional interior design presentations, renders should be exported at a minimum resolution of 3000 x 2000 pixels or higher to ensure sharpness in both digital and print formats. For client presentations and portfolio use, 4K resolution outputs at 300 DPI are considered the industry standard for print-ready materials. Always save renders in lossless formats like TIFF or PNG before post-processing in Photoshop to preserve maximum image quality during editing.