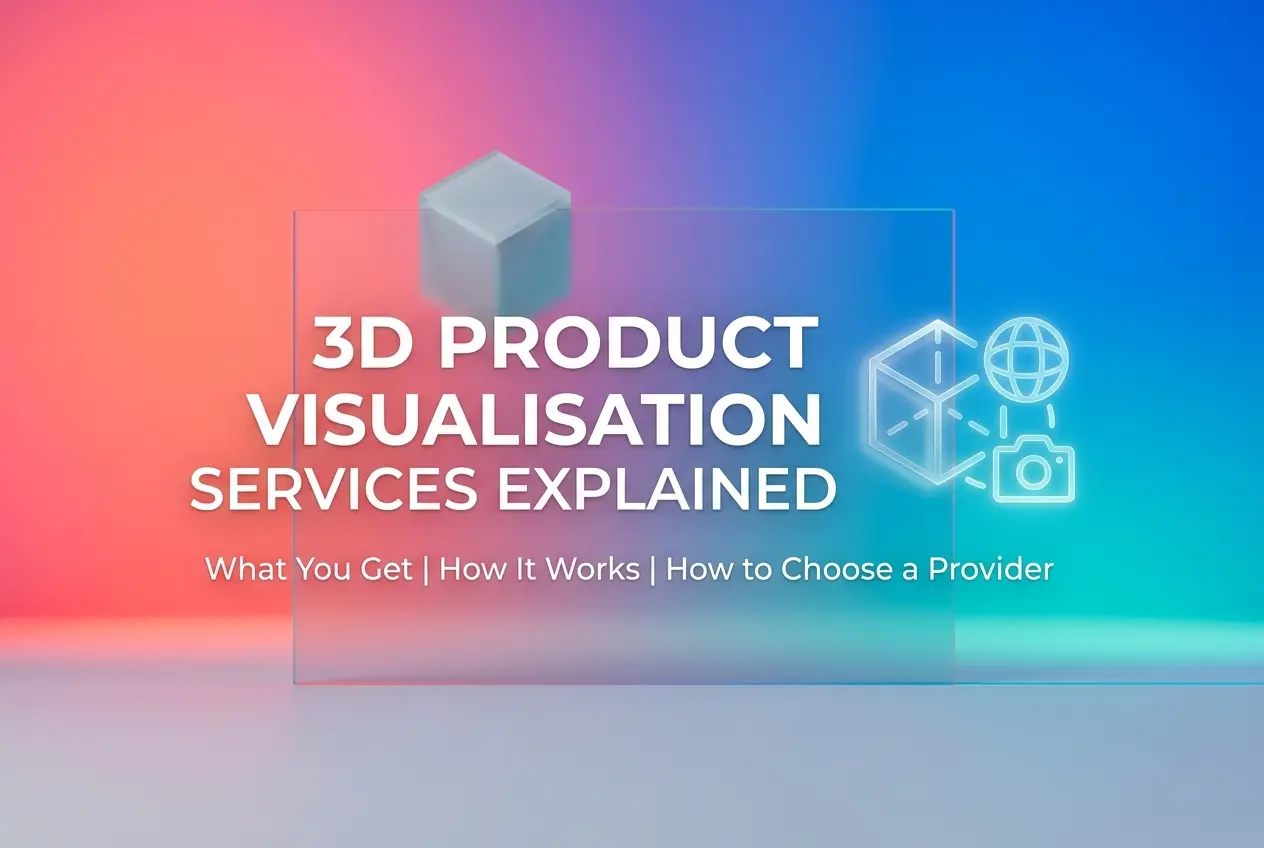
If you’ve ever searched for 3D product visualisation services and come away more confused than when you started, you’re not alone. The phrase gets used to cover everything from a simple white-background render for an Amazon listing to a fully animated product demo with studio-quality lighting and photorealistic materials. Understanding what you’re actually buying — and what separates a good provider from a mediocre one — makes a real difference to your budget, your timeline, and your final output. This post is essentially 3D Product Visualisation Services Explained: What You Get, How It Works, and How to Choose a Provider, written by someone who does this work every day.
In our studio at 360render.com, we work directly with product developers, e-commerce brands, medical device companies, and manufacturers across the world. The work ranges from single hero shots to full 360-degree turntables to exploded-view technical renders. What we’ve noticed is that clients who understand the process before they brief us get dramatically better results — not because they micromanage, but because they ask the right questions and provide the right assets upfront. So let’s break this down properly.
What 3D Product Visualisation Actually Means
At its core, product visualisation is the process of creating photorealistic or stylised images of a product using 3D software — without ever needing a physical prototype or a photography studio. A 3D artist builds a digital model of your product, applies accurate materials and textures, sets up lighting, and renders the final image or animation using specialised rendering engines.
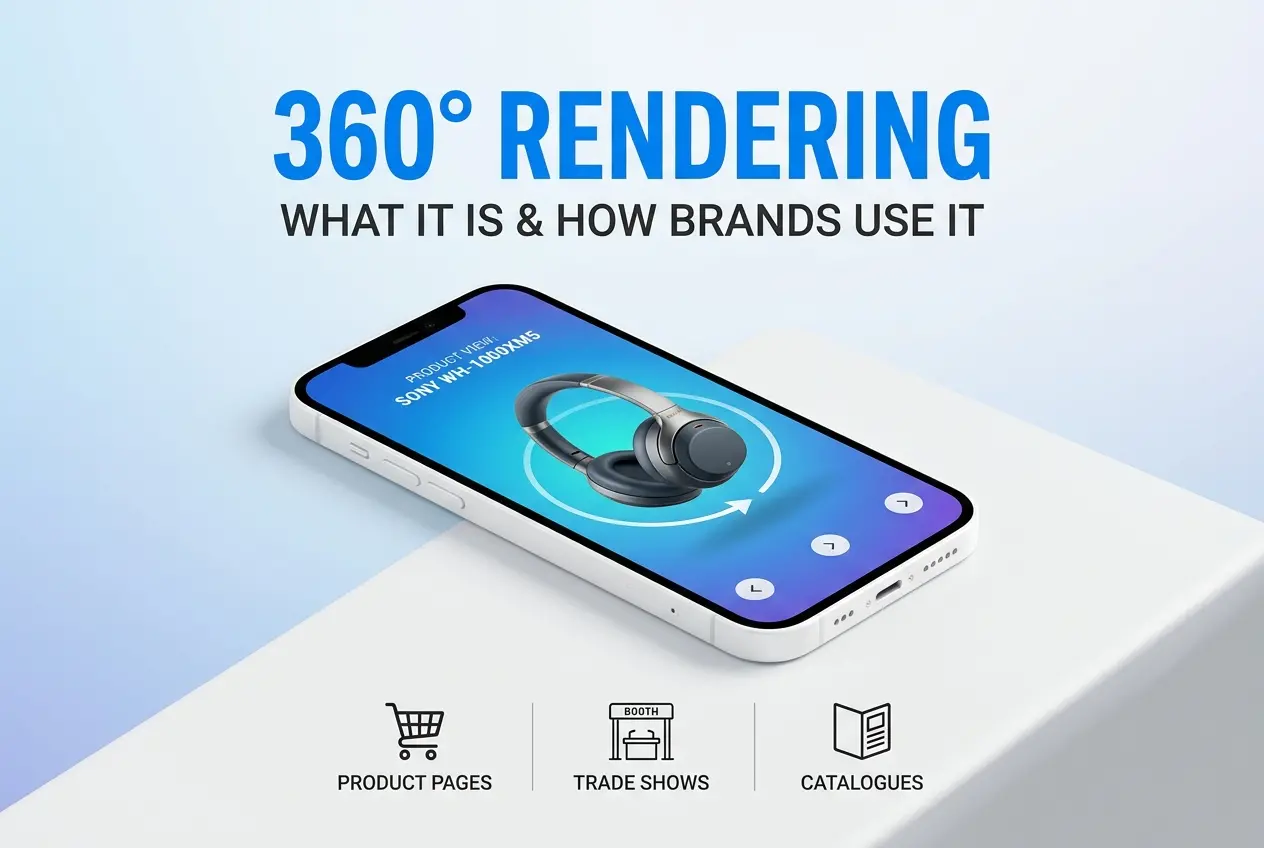
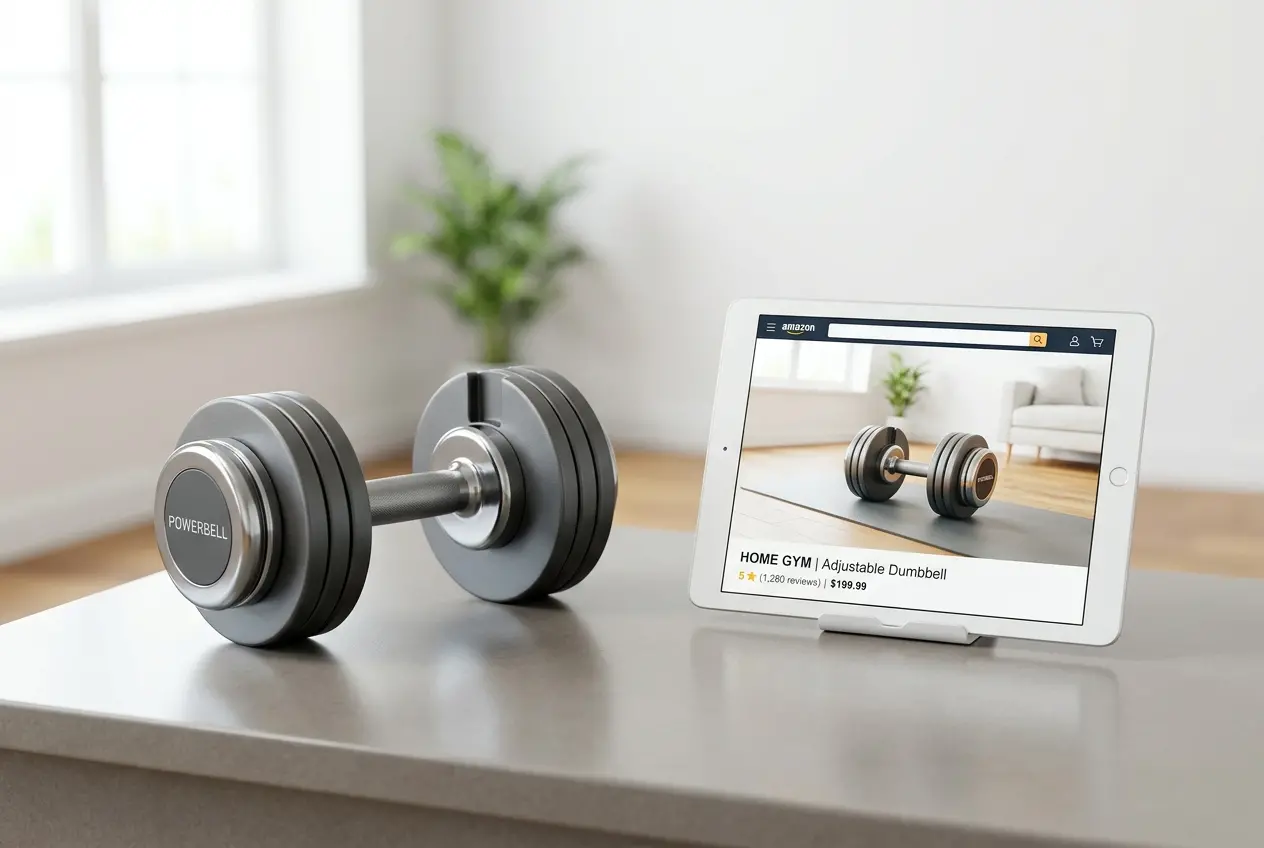
The output can be a still image, a turntable animation, an interactive 3D file, a lifestyle scene with the product placed in a room or environment, or a combination of all of the above. The end use varies too — e-commerce product pages, investor decks, trade show displays, instruction manuals, packaging design, social media campaigns. Each use case has different requirements in terms of resolution, format, and the level of realism needed.
One thing worth clarifying early: there’s a big difference between a render for a catalogue and a render for a campaign. Catalogue images are clean, controlled, and efficient. Campaign visuals involve art direction, mood, lighting choices, and usually more revision cycles. Both are valid — but they cost and take different amounts of time.
How the Production Process Works
The workflow in most professional studios follows a fairly consistent structure, even if the details vary by project.
Step 1: Brief and Asset Collection
Everything starts with a brief. We need to know what the product is, what it looks like, what materials it’s made from, and how you want it to appear. The best asset you can give a 3D artist is a CAD file — particularly in formats like STEP, IGES, OBJ, or FBX. If you don’t have CAD files, reference photos from multiple angles can work, though they add modelling time and introduce some margin for interpretation. Dimensions, material specs, colour codes — the more precise, the better.
Step 2: 3D Modelling
If your product isn’t already modelled, the artist builds it from scratch using software like 3ds Max, Blender, or Cinema 4D. For mechanical or industrial products, CAD data is usually imported and cleaned up for rendering purposes. Polygon counts get optimised, mesh errors get fixed, and the geometry is prepared for texturing and shading.
Step 3: Shading and Texturing
This is where the product starts to look real. Artists create or source material definitions — the way light interacts with plastic, metal, glass, fabric, or whatever your product is made of. This involves setting up properties like roughness, reflectivity, subsurface scattering (important for soft materials or skin-like surfaces), and sometimes custom texture maps. Getting materials right is honestly where most of the artistry lives. A matte plastic and a glossy plastic are the same geometry — the shader is what separates them.
Step 4: Lighting and Environment Setup
Studio setups use HDRI lighting environments or custom three-point light rigs. Lifestyle scenes involve building out a full environment — furniture, props, architectural space — lit to match a real-world or aspirational setting. Lighting choices have an enormous effect on how a product reads. The same object can look premium or cheap depending entirely on how it’s lit.
Step 5: Rendering
The scene gets sent through a rendering engine — V-Ray, Corona, Arnold, Cycles, or others — which calculates how every ray of light interacts with every surface. This is computationally heavy work. A single high-resolution image might take minutes or hours depending on scene complexity and hardware. Render farms are used for animation or very large batches.
Step 6: Post-Production and Delivery
Raw renders almost always go through post-processing — colour grading, minor retouching, adding depth of field adjustments, compositing multiple passes together. Final delivery formats depend on use: PNG or TIFF for print or e-commerce, MP4 for animation, and sometimes layered PSDs if the client needs flexibility.
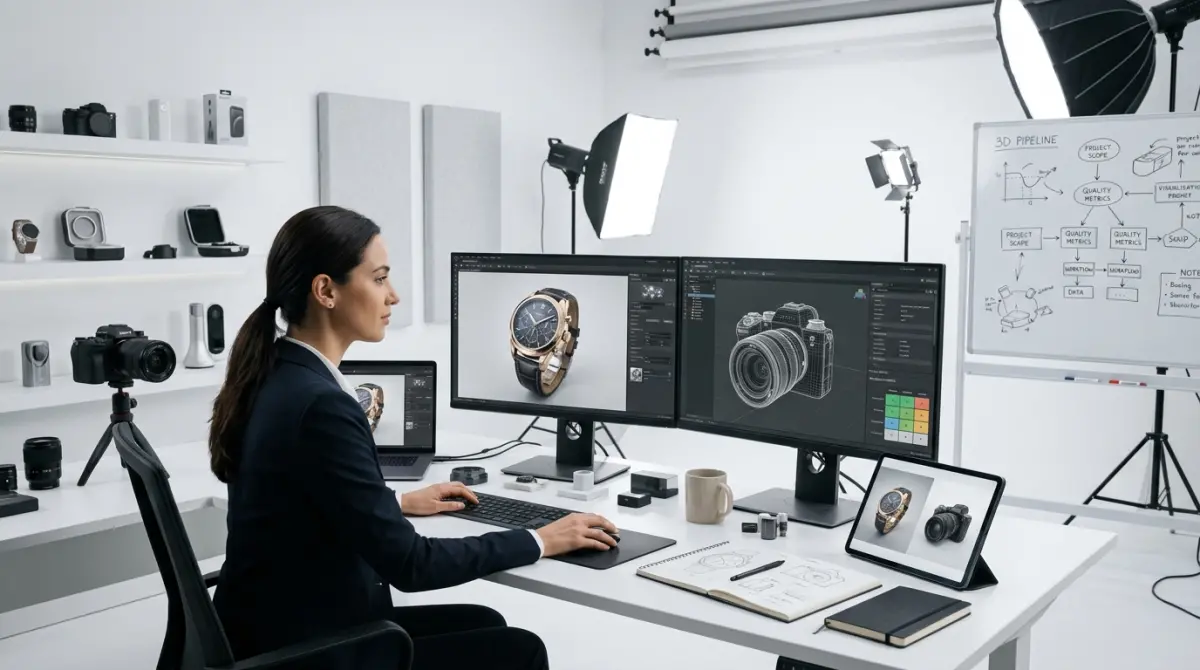
What You Actually Get With a Professional Service
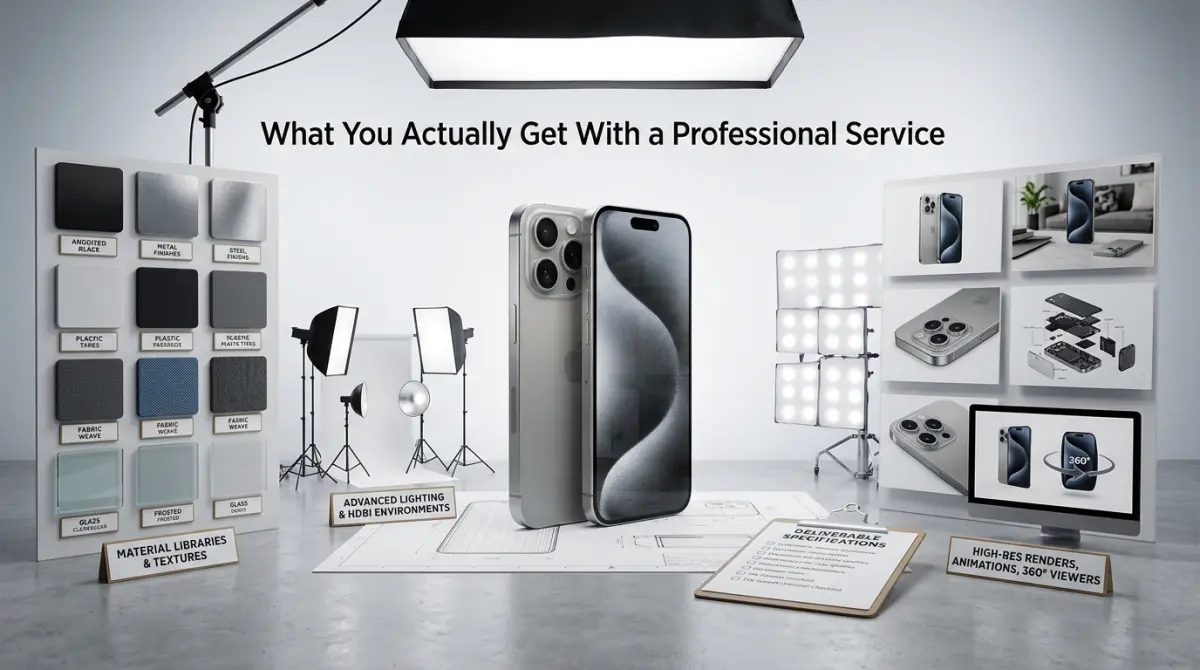
When you hire a professional 3D visualisation studio, you’re not just paying for the final image. You’re paying for the experience to make critical decisions about what will and won’t work — material choices, camera angles, lighting moods — before a single render gets produced. That’s where real value sits.
One thing that sets some studios apart is direct access to the artists doing the work. We’ve found that the clients who are happiest with the output are the ones who communicate directly with the 3D artist, not through layers of account managers and project coordinators. There’s no translation loss. If GP Implants needs their titanium finish to match a specific surface specification, that conversation happens directly between their engineer and the artist who’s building the material. Same with VMI Sports when we’re working on sports equipment renders — the brief doesn’t get diluted through a middleman. Clients like Quattaro and IdealClima have specifically told us they chose our studio precisely because of this one-to-one model. It keeps the feedback loop tight and the output accurate.
3D Product Visualisation Services Explained: What Clients Often Get Wrong
Let’s be honest about the common mistakes we see, because they cost people time and money.
Sending insufficient reference material. If you send two blurry photographs of a prototype and expect a photorealistic render, you’re going to get a product that looks approximately like yours. Modelling from bad references leads to interpretation errors, extra revision rounds, and frustration on both sides. CAD files or detailed technical drawings are always the better starting point.
Treating revision rounds as unlimited exploration time. Revisions exist to correct errors and fine-tune decisions — not to explore completely different creative directions after the fact. If you’re unsure about camera angle or finish options, flag that upfront. A good studio will show you options early in the process rather than after a full render has been produced.
Underestimating the complexity of certain materials. Transparent materials, fabrics, highly polished chrome, and anything with fine surface detail take significantly longer to render and texture correctly. Clients sometimes budget for a simple product when the actual product is technically complex. Be upfront about this and your studio will give you an accurate quote.
Asking for everything in one round. It’s tempting to brief a huge batch of images all at once, but unless those are straightforward e-commerce shots from established templates, a staged approach works better — confirm the model, confirm the materials, confirm one hero render, then proceed to the full batch. This catches problems early when they’re cheap to fix.
How to Choose the Right 3D Product Visualisation Provider
Portfolio quality is the obvious starting point — look for work that’s similar to what you need. But beyond that, there are other things worth checking.
Do they work directly with you? Some agencies layer a lot of people between you and the person actually doing the work. This isn’t always bad, but for technical products or complex briefs, direct artist access genuinely improves quality. Ask who you’ll be communicating with and how feedback gets relayed.
Do they ask good questions? A studio that takes your brief at face value without asking about intended use, output format, or material specifications probably isn’t thinking hard about your project. Good studios probe. They want to understand what success looks like for you.
What software and render engines do they use? This isn’t about brand preference — it’s about compatibility. If you’re in a product pipeline that uses specific CAD formats, make sure the studio can handle them without messy file conversion steps.
What does their revision policy look like? Understand this upfront. Unlimited revisions aren’t always a benefit — they can signal that the studio lacks confidence in its own direction. A clear, structured revision process usually means the studio has a strong process.
Can they scale? If you need fifty product SKUs rendered for an e-commerce launch, can the studio handle that volume while maintaining quality and turnaround? Ask about batch workflows and whether they use render farms.
When to Use 3D Visualisation Over Traditional Photography
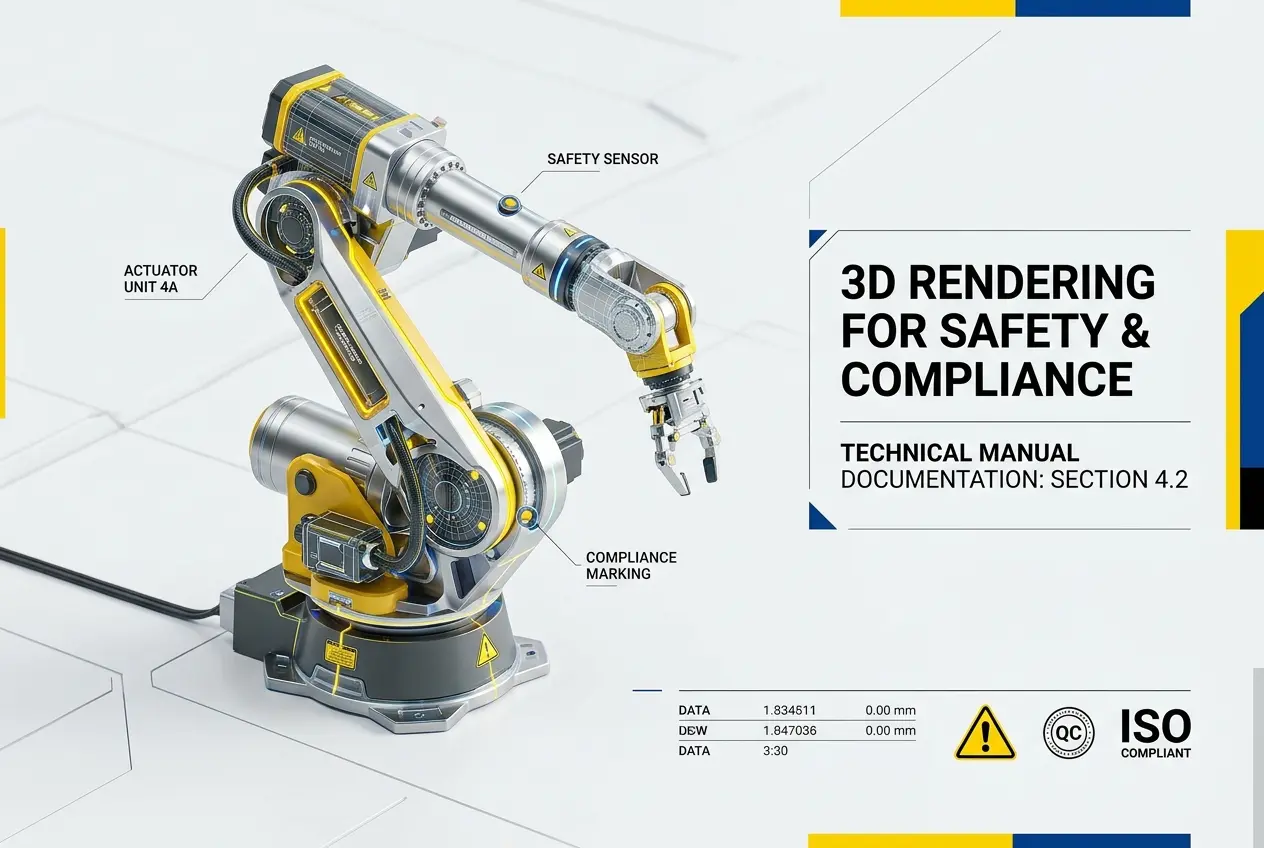
The honest answer is: more often than you’d think. Product photography is excellent when you already have a physical product, need human interaction in the shot, or require an authentic lifestyle context that’s hard to build in 3D efficiently. But 3D wins when the product doesn’t exist yet, when you need dozens of colour variants without reshooting, when the product is too large or too small to photograph easily, or when you need to show internal components or exploded views.
For industries like medical devices, industrial equipment, furniture, and consumer electronics, 3D visualisation is often the primary production method — not a fallback. The flexibility and control it offers simply can’t be matched by a photography setup.
Ready to Start a Project?
If you’ve read this far, you have a solid foundation for working effectively with a 3D product visualisation studio. The process doesn’t need to be complicated — it just needs to be understood. We work with clients from initial brief through to final delivery, and because our artists handle their own client communication directly, there’s nothing lost in translation.
If you’re thinking about a product rendering project — whether it’s a single hero image or a full batch of e-commerce assets — get in touch with us at 360render.com and let’s talk through what you actually need. Bring your CAD files, your references, and your questions. We’ll take it from there.
Frequently Asked Questions
What is included in a 3D product visualisation service?
A 3D product visualisation service typically includes the creation of photorealistic digital models of your product, rendered from multiple angles with accurate textures, lighting, and materials. Most providers also deliver final image files in various formats suitable for e-commerce, marketing campaigns, or print. Some packages extend to include 360-degree spin views, lifestyle scene compositions, or interactive 3D viewers for websites.
How long does it take to complete a 3D product visualisation project?
The turnaround time for a 3D product visualisation project generally ranges from 3 to 10 business days depending on the complexity of the product and the number of images required. Simple product renders with existing reference materials can be completed faster, while complex multi-component products or custom scene setups take longer. Always confirm timelines upfront with your provider and ask about rush delivery options if you have a tight deadline.
How much does 3D product visualisation cost?
The cost of 3D product visualisation varies widely, typically ranging from $150 to over $2,000 per image depending on the product complexity, level of photorealism, and the provider's experience. Basic single-product renders on white backgrounds are on the lower end, while elaborate lifestyle scenes or animated visuals command higher prices. Many studios offer package deals that reduce the per-image cost when ordering multiple assets at once.
What files or information do I need to provide to a 3D visualisation provider?
To get started, most 3D product visualisation providers require technical drawings, CAD files, or detailed reference photographs of your product from multiple angles. You should also supply brand guidelines, material specifications such as color codes and finishes, and any packaging or label artwork. The more accurate and comprehensive your reference materials, the closer the final renders will be to your actual product, reducing revision rounds.
How do I choose the right 3D product visualisation provider for my business?
When selecting a 3D product visualisation provider, start by reviewing their portfolio to ensure their style and quality align with your industry and aesthetic requirements. Check client testimonials, ask about their revision policy, and confirm they have experience with products similar to yours in terms of material complexity or scale. It is also worth evaluating their communication process and whether they offer a dedicated account manager, as clear collaboration directly impacts the quality and efficiency of the final deliverables.