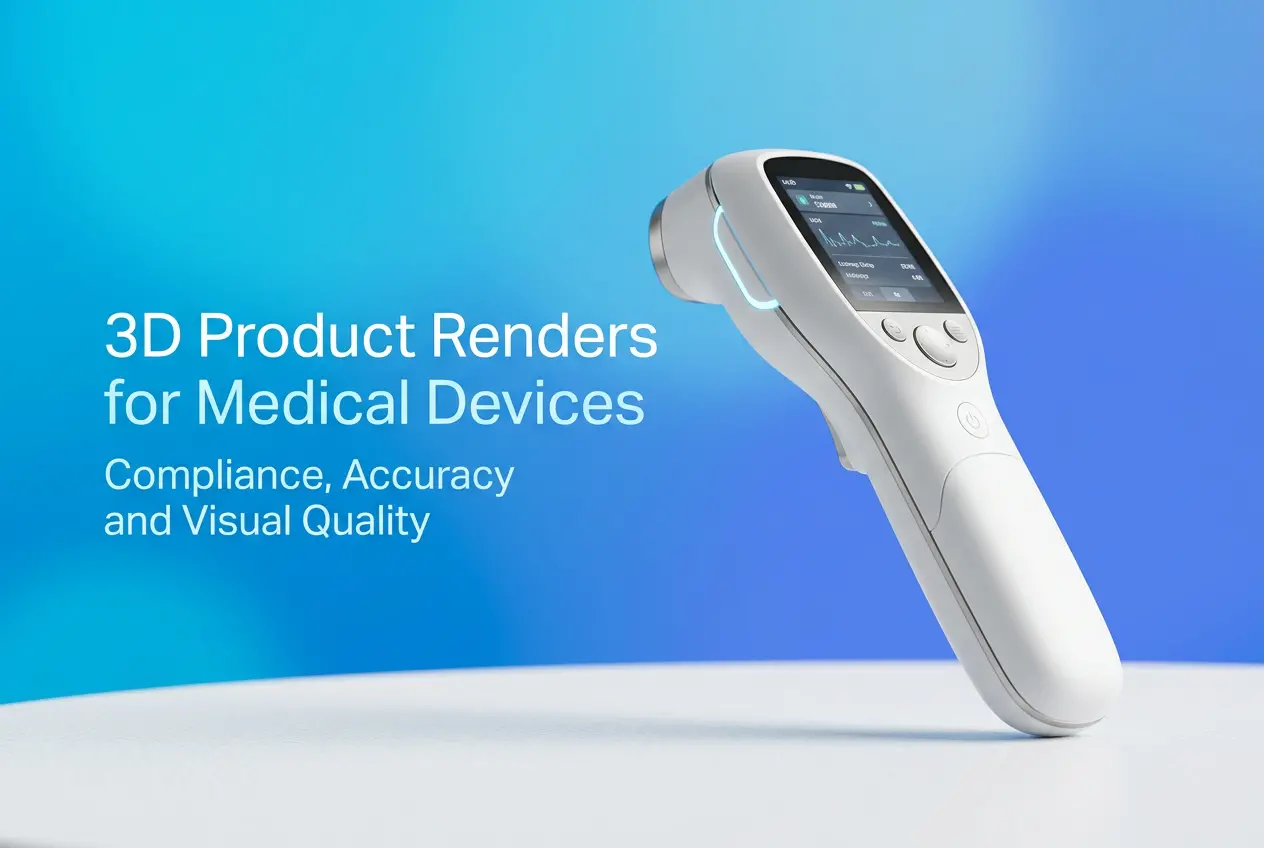
Medical devices are not like consumer electronics or furniture. When a dental company brings us a project, the stakes are immediately different — the product has to look exactly right, function exactly as described, and in many cases, help surgeons, dentists, or procurement teams understand something that words alone cannot communicate. That’s precisely why 3D product renders for medical devices: compliance, accuracy and visual quality are inseparable. You can’t prioritize one and sacrifice the others. We’ve worked on over 500 renders for GP Implants and other dental companies — everything from single dental drivers to full surgical kit layouts, burs, abutments, jaw illustrations, and technical animations. What we’ve learned is that this category demands a fundamentally different mindset from a rendering studio.
Medical device rendering sits at the intersection of engineering documentation and marketing communication. The people viewing these renders aren’t just end consumers — they’re clinicians making clinical decisions, regulatory bodies reviewing product claims, and distributors evaluating technical specs. A slightly wrong thread pitch on an implant render, a glossy finish where there should be a matte sandblasted titanium surface, an incorrect taper angle on a bur — these aren’t artistic liberties, they’re errors. And in a regulated industry, errors have consequences.
So let’s break down what actually goes into rendering medical devices properly, where studios commonly go wrong, and what you should expect from a professional rendering partner in this space.
Why Accuracy in 3D Product Renders for Medical Devices Goes Beyond Aesthetics
When a general product render is slightly off — say the handle of a water bottle is a touch thinner than the actual product — it’s a minor problem. When a dental implant render shows an incorrect thread design or an abutment with the wrong hex connection geometry, it can mislead a dentist about fitment compatibility. That’s a serious issue.
In our studio, every medical device project starts with the same question: what files do you have? Ideally, we receive STEP or IGES files directly from the engineering CAD. These contain the exact geometry as designed. When clients provide only photos or rough sketches, we flag it immediately. We can model from reference, but that process requires multiple rounds of validation against physical samples or technical drawings, and the client has to be involved in that review.
We rendered a Ti Base abutment project for a dental manufacturer — specifically a bridge mode configuration connecting three teeth. The geometry of that connection, the precise hex depth, the surface transitions between components — all of it had to match the engineering spec exactly. Because the render was being used in a surgical guide and sales training material, there was no room for approximation. The client sent us engineering drawings, a physical sample for macro photography reference, and written validation comments after each revision. That’s the correct workflow.
Material and Surface Accuracy: The Technical Challenge Nobody Talks About
Titanium looks different from stainless steel. Grade 4 titanium with a sandblasted and acid-etched (SLA) surface looks nothing like a machined titanium surface. PEEK polymer has its own translucency and texture. These distinctions matter enormously in medical device rendering, and they require material knowledge beyond what most generalist studios carry.
For dental components specifically — implants, drivers, burs, and packaged kits — we’ve developed a library of physically based materials that account for the micro-surface characteristics of these finishes. A dental bur has a tungsten carbide cutting surface with a specific sheen that differs from the steel shank. The sealed tube packaging for an implant has both a polished label area and a matte polymer body. When we rendered the studio breakdown of how an implant arrives in a sealed tube — including the disassembled view showing each component — getting the material differentiation right was what made it clinically readable. Clinicians could immediately identify which component was the cover screw, which was the healing cap, and which was the implant body itself.
Surface accuracy also affects compliance. If a render will be used in regulatory submissions or instructional materials, it must faithfully represent the product. Exaggerating a surface texture, making a component appear larger than it is, or rendering a material that looks more biocompatible than the actual product — all of these are potential red flags in a regulated environment.
Compliance Considerations: Where Rendering and Regulation Meet

Most rendering studios don’t think about compliance at all. We have to, because our clients operate in regulated markets — FDA, CE Mark, ISO 13485. The renders we produce often appear in IFUs (Instructions for Use), training materials, catalog sheets, and regulatory submissions.
The core compliance principle is this: a render must not mislead. It must accurately represent the product as it exists or will exist at market release. This means renders done during the design phase need to be clearly marked as “for development purposes” and updated before they appear in any regulated documentation. We always flag this to clients and include version control in our project notes.
Packaging renders are a particular area of care. We produced renders of a dental implant packaging design showing two hands holding the packaging with realistic detail — used for both internal review and external marketing. Packaging that appears on product renders may reflect regulatory labeling requirements, and if those labels are inaccurate or incomplete in the render, it can create downstream problems. We don’t just render the box beautifully — we render the label content as provided by the client’s regulatory team, without alteration.
One thing we actively advise against: using renders to show a product in a clinical context (e.g., inside a patient’s mouth or jaw) without proper disclaimers. These renders can imply clinical claims that must be substantiated. Our jaw illustration and anatomical model renders — showing nerve connections, implant positioning, cross-sections of bone integration — are always produced with technical accuracy and reviewed against the client’s clinical documentation before they go to print or digital use.
What Actually Works: Observations from the Studio Floor
After hundreds of dental and medical device projects, here’s what separates a smooth project from a difficult one.
CAD files are non-negotiable for complex geometry. We can model from scratch, but for threaded components, precision instrument kits, and multi-part assemblies, starting from the engineering CAD file saves revision cycles and guarantees dimensional accuracy. If your manufacturer or engineering team can export a STEP file, get it before briefing your rendering partner.
Reference samples matter for material shading. When we received physical dental driver kits and bur sets to photograph before rendering, the quality of the final renders jumped considerably. Macro photos of actual products help us calibrate surface roughness, reflectivity, and color tone in ways that spec sheets alone cannot fully convey.
Clients often underestimate the complexity of kits and assemblies. A dental space checking toolkit might look like a simple set of small instruments. But when each instrument has its own surface finish, size relationships matter for scale context, and the render needs to show the full kit in tray layout for catalog use — that’s a substantial modeling and lighting challenge. We rendered a full dental drill kit and a dental space checking toolkit for a client who initially expected these to be quick turnaround jobs. Proper modeling of each component, accurate tray geometry, and lighting that revealed every instrument’s surface character took considerably more time than either of us initially anticipated. Transparency about scope upfront prevents frustration.
Annotations and technical callouts require coordination. Many medical device renders are used in instructional contexts — labeled diagrams, exploded views, technical breakdowns. The annotations themselves have to be accurate. We don’t write the technical copy; that comes from the client’s medical writing or regulatory team. We position and style the callouts, but the client validates every label.
Visual Quality: Where Engineering Meets Communication

There’s a misconception that “clinical” or “technical” means the renders have to look cold and sterile. Some of the most effective medical device renders we’ve produced are beautifully lit, contextually composed images that also happen to be technically exact. The anatomical jaw illustrations we’ve done — showing implant positioning, bone integration zones, nerve proximity — are detailed enough for clinical training and refined enough for professional publication.
Visual quality in this context means: the render communicates what it’s supposed to communicate, to the audience it’s intended for. For a surgeon looking at an exploded view of a surgical kit, that means clarity, accurate scale, and logical spatial arrangement. For a procurement manager reviewing a packaging render, that means realistic material quality and readable labeling. For a marketing team using jaw cross-sections in a presentation, that means both technical accuracy and visual impact.
Lighting is often where this balance is achieved or lost. Medical devices frequently have fine surface detail — thread geometry, laser markings, micro-textured surfaces — that needs directional lighting to be visible. At the same time, the overall image needs to feel professional and composed, not like a harsh technical diagram. We typically use a combination of soft key lighting with accent fills and carefully placed rim lights to give titanium components depth without blowing out reflections.
Working with a Rendering Studio on Medical Devices
If you’re a dental company, a medical device manufacturer, or a distributor developing marketing and technical materials, choosing the right rendering partner matters. Look for a studio that asks specific questions about your CAD files, your surface finishes, and how the renders will be used. A studio that treats your implant like it would treat a kitchen appliance is going to cost you revision cycles and potentially compliance headaches.
At 360render.com, we’ve built a workflow around exactly these requirements — from the initial file intake and material calibration, through technical review cycles, to final deliverables formatted for both print and digital use. If you’re working on a dental product line, a surgical instrument catalog, or need anatomical illustrations that can stand up to clinical scrutiny, we’d welcome the conversation. Get in touch with our team to discuss your project requirements — we’ll give you a straightforward assessment of scope, timeline, and what we need from your side to get it right.
Frequently Asked Questions
Do 3D product renders for medical devices need to comply with FDA or MDR regulations?
3D product renders used in marketing materials do not require FDA or MDR approval themselves, but they must accurately represent the cleared or approved device and cannot depict off-label uses or misleading features. If renders are used in regulatory submissions, such as in Instructions for Use or labeling documentation, they must meet strict accuracy standards and reflect the device exactly as it was cleared. Companies should work closely with their regulatory affairs team to ensure all visual assets align with approved device specifications and intended use claims.
How accurate do 3D medical device renders need to be compared to the actual physical product?
3D medical device renders must be dimensionally and functionally accurate, reflecting the exact geometry, proportions, materials, and color specifications of the final manufactured product to avoid misleading healthcare professionals or patients. Any discrepancy between the render and the physical device can create compliance risks, erode trust with clinical buyers, and potentially trigger regulatory scrutiny if the visuals are used in labeling or promotional materials. Most professional medical device rendering studios work directly from CAD files or engineering drawings to ensure millimeter-level precision in the final output.
What is the difference between photorealistic 3D renders and CAD visuals for medical device marketing?
CAD visuals are primarily technical representations designed for engineering and manufacturing purposes, often lacking realistic lighting, textures, and environmental context that make a product compelling to buyers. Photorealistic 3D renders take the same CAD data and apply advanced rendering techniques including ray-traced lighting, detailed surface materials, and realistic environments to produce images indistinguishable from professional photography. For medical device marketing, photorealistic renders are preferred because they communicate both technical credibility and visual appeal to clinical decision-makers and procurement teams.
Can 3D renders replace physical prototypes or photography for medical device product launches?
Yes, 3D renders can fully replace traditional product photography and in many cases eliminate the need for costly physical prototypes during the early stages of a product launch, saving significant time and budget. Renders can be created from CAD files before a device is even manufactured, allowing companies to produce marketing collateral, sales presentations, and website assets months ahead of production. This approach is especially valuable for medical device companies launching complex or highly regulated products where physical samples may be limited or restricted.
How do you ensure visual quality standards are maintained in 3D renders for medical device trade shows and print materials?
Maintaining visual quality for trade show and print applications requires renders to be produced at a minimum resolution of 300 DPI at the final output size, with attention to color accuracy using calibrated color profiles such as CMYK for print or sRGB for digital displays. Working with a rendering studio that specializes in medical devices ensures that surface finishes like matte polymers, brushed metal, and transparent components are rendered with clinical authenticity that resonates with a healthcare audience. A structured review and approval process involving both marketing and regulatory stakeholders helps catch any inaccuracies before assets are distributed publicly.