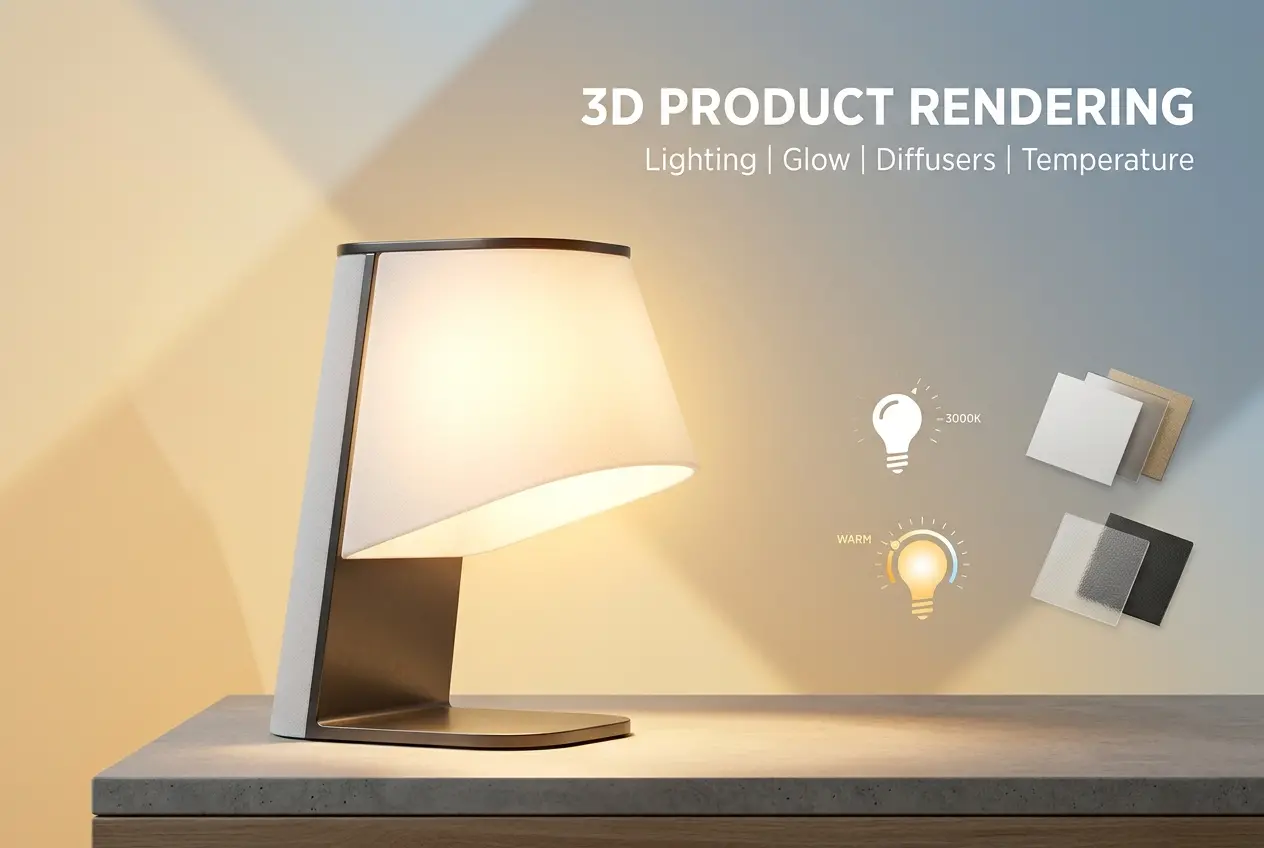
Lighting is the one product category where the photograph and the product are almost the same thing. A lamp that is switched off tells a customer very little. A lamp that is switched on, with the right glow, the right diffusion and a believable colour temperature, sells itself. That is exactly why 3D Product Rendering for Lighting and Lamp Brands: How to Show Glow, Diffusers and Bulb Temperature Without a Photo Studio has become such a practical question for pendant, table lamp, LED strip and fixture makers who are tired of fighting with camera exposure.
Photographing a lit lamp is hard in a way most product photography is not. The camera has to expose for a bright emitter and a dark surrounding at once, so you either blow out the bulb or lose the shade. Studios solve this with composites, multiple exposures and a lot of retouching. In 3D, we control the light physically and the exposure separately, which removes most of that compromise.
Below is how we approach glow, diffusers and bulb temperature in our studio, and what clients commonly get wrong when briefing this kind of work.
Why Lamps Are Harder to Render Than Most Products
A chair or a bottle is lit by the scene. A lamp lights the scene itself. That flips the whole setup. The product is both subject and light source, so every material on it has to behave correctly under its own illumination.
Think about a fabric drum shade. Light passes through the weave, scatters inside, and exits as a soft, slightly warm, uneven glow. The inside surface is brighter than the outside. You can often see the bulb as a faint hotspot. If any of that is missing, the render looks like a grey cylinder with an orange sticker on it.
The same applies to opal glass, frosted acrylic, ribbed glass, paper, alabaster and perforated metal. Each one scatters, absorbs and transmits light differently. A generic “emissive material” will not carry that.
Building a Believable Glow
The most common mistake we see in lamp renders, including some from other vendors that clients bring to us for fixes, is faking glow by making the shade surface emissive. It looks flat because the surface is glowing, but nothing inside is actually lighting it.
Use real light sources inside the model
We place physically based light sources where the real emitter sits: the filament, the LED chip, the strip, the edge-lit panel. The shade then reacts to real light, with falloff, internal bounce and shadowing from the fittings. Filament bulbs are a good example. The thin wire has a tiny, intensely bright core, and the glass bulb picks up a soft halo around it. Modelling the filament and giving it a correct emission profile gives you the sparkle and the slight bloom that people read as “warm bulb.”
Treat glow as a two-stage job
Physical light in the render gets you the illumination. The visible glow around a bright source is largely a lens and eye effect, so we add it in the camera and post stage: gentle bloom, a controlled glare and a bit of falloff. Done lightly, it feels photographic. Overdone, it looks like a 2000s stock graphic. Restraint matters here.
Watch the exposure
We expose for the scene, then check that the brightest part of the lamp still holds detail. A bulb should be close to white at its core, but the shade, the base and the shadows should all still read. If the product is lit but the room has vanished into black, the render has failed as a sales image.
Diffusers: Where Most of the Realism Lives
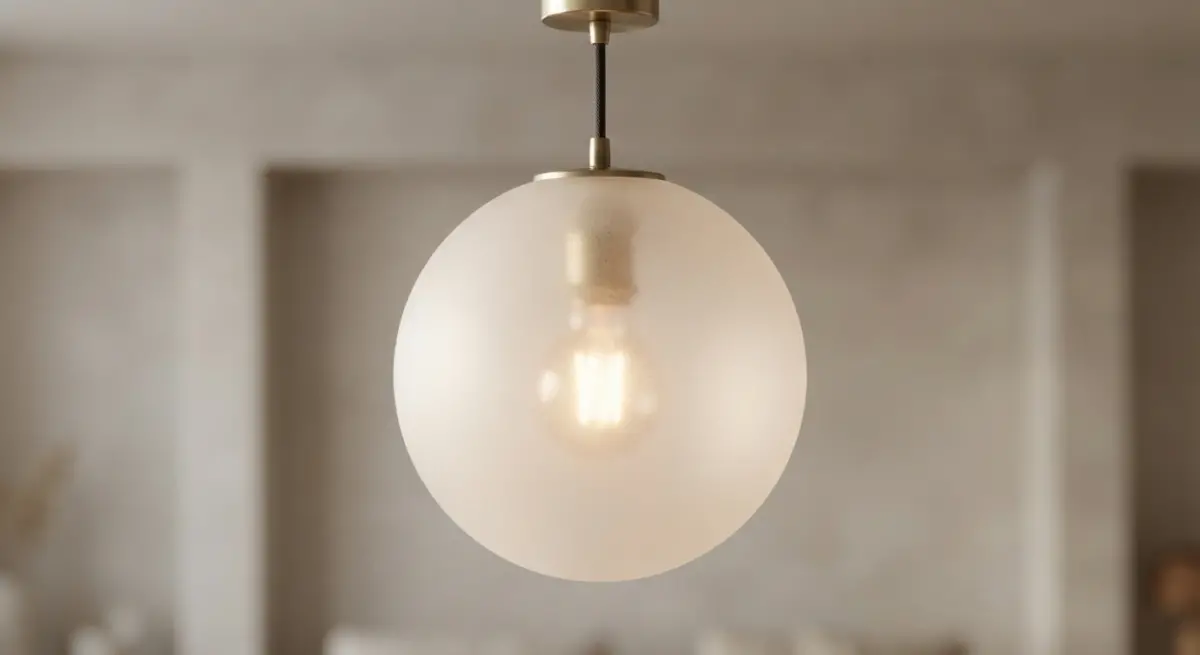
Diffusers are the real test. They decide whether a lamp looks like a premium fixture or a cheap approximation.
- Opal and frosted glass: needs subsurface-style scattering so light bleeds through softly and the bulb behind it disappears into an even glow.
- Fabric and paper: needs translucency with some thread or fibre texture visible when lit. Real fabric shows slight variation, with seams and folds glowing differently.
- Ribbed or reeded glass: needs accurate refraction. The ribs bend the light and stretch the highlights, which is what gives the material its character.
- Perforated or cut-out shades: needs accurate light projection onto walls and ceilings, since the pattern cast by the lamp is often part of the selling point.
- LED panels and edge-lit diffusers: needs the slight gradient from the lit edge across the surface, plus believable dot or strip uniformity.
Here is a practical rule we follow: if a manufacturer can show us a real diffuser sample or a spec for the material, we match to it. Matching light transmission is more important than matching colour, because transmission is what sets the brightness and softness of the final glow.
Bulb Temperature and Colour Accuracy
Colour temperature is where lighting brands get nervous, and rightly so. A 2700K warm white and a 4000K neutral white feel completely different, and a customer who buys the wrong one will return it.
In 3D we define light colour using real colour temperature values, in Kelvin, rather than eyeballing an orange tint. That keeps the rendering physically consistent. A few things matter beyond the number itself:
- White balance of the camera. If the camera is set to neutralise the light, a warm bulb will look white. We usually fix the balance to the scene so warm stays warm.
- Surface colours. A white wall lit by 2700K light will look cream or amber. That is correct, and clients sometimes ask us to “fix” it. We explain why it should stay.
- Display variation. Different screens shift warm and cool tones. We keep our output in a standard colour space and avoid pushing saturation to compensate.
For ranges with multiple temperature options, we often build a single scene and swap the light value. The same lamp, same camera, same room, three bulb options side by side. The comparison is clear and consistent in a way that three separate photo shoots rarely are.
Lighting the Scene Around the Lamp
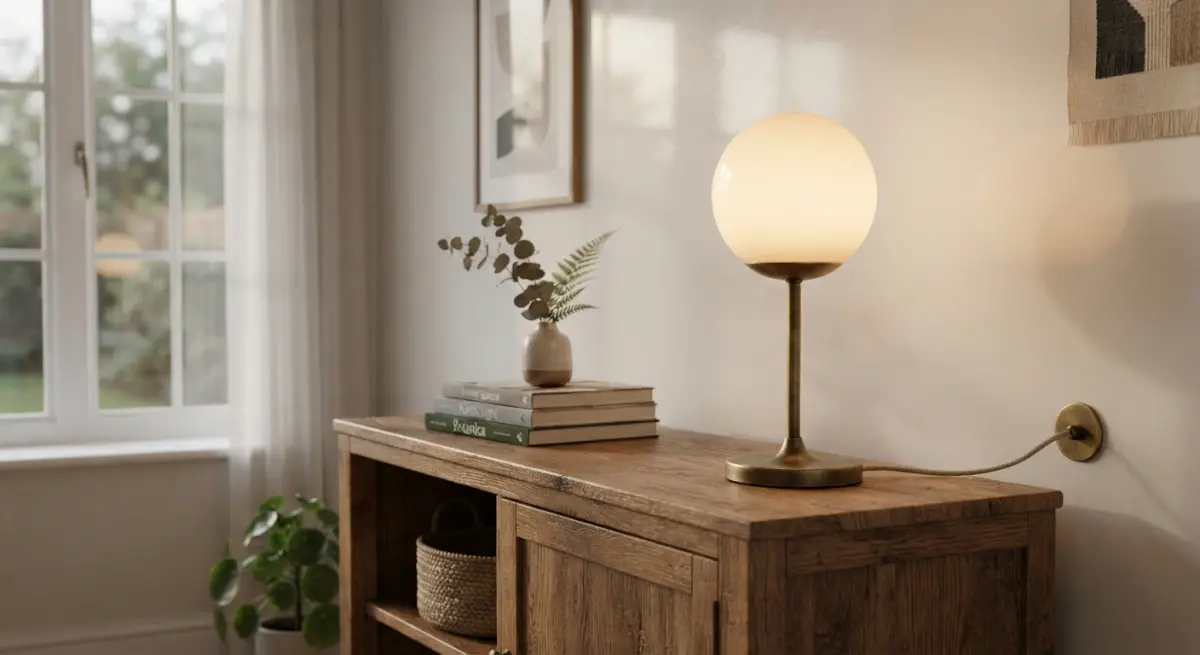
A lit lamp needs context to look right. In a dark room, the glow looks dramatic but the product details disappear. In a bright daylight scene, the lamp looks switched off even when it is on.
We usually work with a balance close to dusk or a dim interior. There is enough ambient fill to show the form of the lamp and the room, while the lamp remains the brightest, warmest element. For catalogue and marketplace images, we often produce two versions: a clean white-background shot with the lamp off to show form and material, and a lit scene to show the glow.
If you want to see how we approach room settings in more detail, our 3D product rendering services cover both clean studio-style images and lifestyle scenes.
What Clients Get Wrong
After enough lighting projects, the same briefing issues keep appearing.
- Sending only a CAD model of the shell. Without the internal geometry, such as the bulb holder, reflector or LED board, the lamp cannot light correctly. We need the inside as much as the outside.
- Asking for “bright” without a reference. Bright compared to what? A photo of the real lamp switched on, even a phone snapshot, tells us a lot about intensity and tone.
- Expecting the render to hide a design flaw. If a shade shows a harsh hotspot in reality, an honest render will show it too. Better to find that out before tooling.
- Ignoring the off state. Customers see the lamp switched off most of the time, so the unlit materials need to look just as good.
- Mixing temperatures without noticing. A warm lamp in a scene lit by cool daylight looks wrong unless the scene is designed for it.
Why This Works Better Than a Studio for Lighting
A photo studio can do a good job with lamps, but every variation costs another shoot: a new finish, a new shade, a new bulb temperature, a new room. With 3D, the model is built once and the variations are changes to a material or a light value. That suits brands with large ranges, custom configurators and frequent finish updates. It also lets you show products that do not exist yet, which matters when you are testing a design or taking pre-orders.
The glow, the diffusion and the colour of the light are all things we can control precisely, and that is the honest advantage. You are not fighting the camera, you are directing the light.
Conclusion
Done properly, 3D Product Rendering for Lighting and Lamp Brands: How to Show Glow, Diffusers and Bulb Temperature Without a Photo Studio is not about faking a lit lamp. It is about simulating how real light moves through real materials, then presenting it the way a camera and an eye would see it. If you have a lighting range to launch or update, take a look at our 3D product rendering services, or send us your CAD files and a reference photo through our contact page and we will tell you what the lamp needs to look its best.
Frequently Asked Questions
How do you make a 3D rendered lamp look like it is actually glowing?
Use emissive materials on the bulb or LED surface with physically based light intensity values, then add subtle bloom or glare in post-processing to mimic how a camera sees bright sources. Make sure the light also casts onto nearby surfaces through global illumination, since a glow that doesn't illuminate its surroundings looks fake. Rendering with a slightly dimmer environment helps the lamp's glow read clearly.
How can 3D rendering accurately show different bulb color temperatures like 2700K vs 4000K?
Set the light source color using Kelvin values directly in your render engine (such as Blender, KeyShot, or V-Ray) so 2700K appears warm amber and 4000K appears neutral white. Keep your camera white balance fixed and consistent across images so the difference isn't neutralized automatically. Rendering the same scene side by side with each temperature helps customers compare the effect on walls, fabrics, and wood tones.
How do you render lamp diffusers like frosted glass, opal acrylic, or fabric shades realistically?
Use translucent or subsurface scattering materials with accurate thickness, roughness, and transmission settings so light softens and spreads across the diffuser. For fabric or paper shades, add fine texture and a slight thickness variation to show how the light passes through unevenly. Referencing real material samples and IES profiles helps ensure the diffused glow matches the actual product.
Can 3D product renders replace studio photography for lighting products?
Yes, in most cases. 3D rendering can produce clean white-background shots, lifestyle scenes, and glow-on and glow-off states without needing a darkened studio, light meters, or long photo setups. It also makes it easy to create variants such as finishes, bulb types, and color temperatures from a single model, though you should validate results against a physical sample for accuracy.
What do I need to provide a 3D rendering studio to get accurate lamp visuals?
Provide CAD files or detailed technical drawings, material and finish specifications, and the bulb or LED specs, including lumens, Kelvin temperature, and beam angle. If available, supply IES photometric files and reference photos of the real lamp lit and unlit. This information lets the studio match the real-world light distribution and appearance, reducing revision rounds.