
If you’ve ever tried to explain a torn rotator cuff to a worried patient with a flat textbook diagram, you already know the problem. Anatomy is three-dimensional, layered, and moving. This guide to 3D Rendering for Medical Anatomical Models: How to Choose a Studio for Patient Education and Surgical Training Visuals comes from our side of the screen, where we build these images, and where we’ve seen what separates a useful medical visual from an expensive illustration that confuses people.
Medical rendering isn’t product rendering with a different subject. A sofa can be slightly off in proportion and still sell. A mislabeled foramen or a vessel running on the wrong side of a muscle can undermine a training module and your credibility with it. The stakes change how you should evaluate a studio.
Below, I’ll cover what the two main use cases need, what to look for in a portfolio and workflow, how source data affects the result, and the mistakes we see clients make before a project even starts.
Patient Education vs. Surgical Training: Two Different Briefs
Clients often say “we need medical renders” as if it were one job. It’s two, and they pull in opposite directions.
Patient education visuals
The goal is comprehension without fear. A patient looking at an image of their own knee replacement doesn’t need every fascial layer. They need to see where the implant sits, what was removed, and what recovery looks like. We usually simplify geometry, soften the color palette, and reduce visual noise. Tissue can be stylized, with muscles in a clean red-pink, bone in warm ivory, and nerves in a clear yellow, because clarity beats realism here.
Graphic realism can backfire. Overly photoreal blood, exposed tissue, or wet-looking organs can make a consent-stage visual feel alarming. A good studio will ask who is looking at the image, not just what it shows.
Surgical training visuals
Here the brief flips. Trainees need anatomical relationships: depth, adjacency, variation, and the order in which structures are encountered during an approach. Accuracy matters more than comfort. Materials need to read correctly, so a tendon looks like a tendon, with the right sheen and fiber direction, and fat looks different from fascia. Camera angles should match what a surgeon would actually see, not the most flattering hero angle.
A studio that treats both briefs the same will deliver something mediocre for both. Ask them directly how they’d approach each.
What to Look for When Choosing a Studio
Portfolios can mislead. Pretty images are easy to find; medically credible ones are rarer. Here’s what we’d check if we were on your side of the table.
Anatomical accuracy and review process
The most important question is how accuracy gets verified. A rendering studio is not a medical authority, and any studio claiming to be one should worry you. What you want is a workflow where your clinician, surgeon, or medical advisor reviews the work at defined stages, typically at the base mesh or blockout, before texturing starts. Catching a proportion error on a gray model costs an afternoon. Catching it after final lighting and texturing means redoing days of work.
Ask whether the studio builds in review rounds for this, and whether they’re comfortable receiving annotated feedback from clinicians who aren’t used to 3D software.
Modeling method
Studios generally build anatomy in one of three ways, and each has trade-offs:
| Approach | Best for | Watch out for |
|---|---|---|
| Sculpted from reference | Stylized patient education, simplified teaching visuals | Accuracy depends entirely on reference quality and review |
| Built from CT/MRI segmentation | Patient-specific or anatomically precise training visuals | Raw meshes are noisy and need cleanup; data privacy handling is essential |
| Licensed anatomical base models, modified | Faster turnaround on standard anatomy | Licensing terms, and a generic look if not customized |
None is automatically better. The right one depends on whether you’re showing “a typical hip” or “this patient’s hip.”
Material and lighting skill
Soft tissue is difficult to render well. It relies on subsurface scattering, where light enters a surface and diffuses beneath it. Get it wrong and organs look like plastic or wax. Get it right and you get that slightly translucent, moist quality that makes anatomy feel real. When reviewing a portfolio, look closely at thin or layered structures like membranes, vessels, and cartilage edges. If those look waxy, the studio hasn’t mastered the shader work.
Lighting matters just as much. Medical visuals often need a clean, readable setup with soft key light and controlled rim light so structures separate from each other. Dramatic, moody lighting looks great on a poster and hides information in a training module.
Source Data, Privacy, and File Handling
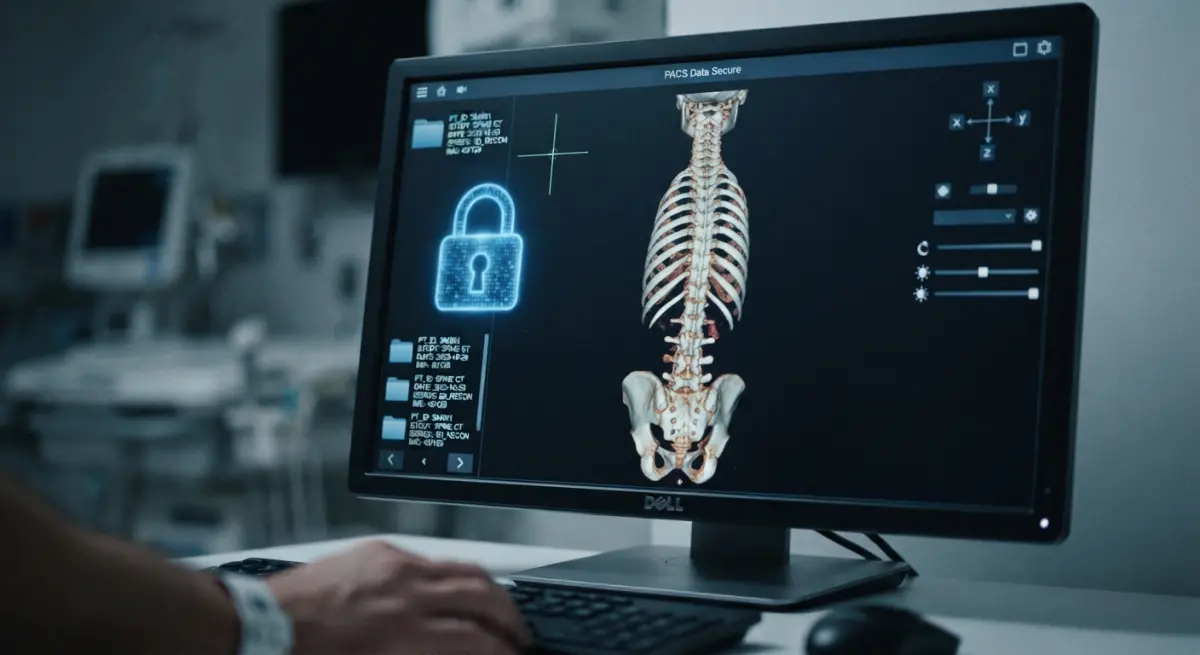
If your project involves patient scans, treat this as a gate, not an afterthought. Segmented CT or MRI data can be turned into accurate 3D geometry, but you should confirm in advance how the studio handles it. Is the data anonymized before it reaches them? Where is it stored? Who has access? Are files deleted after delivery?
Most of the time we’d recommend you de-identify scan data before sending it, stripping names, dates, and any metadata embedded in the files. A reliable studio will welcome that request rather than push back. Also settle usage rights early: if a visual is based on a real patient case, make sure consent covers the intended use, whether that’s internal training, a public website, or printed brochures.
Deliverables: Stills, Animation, or Interactive
The format should follow the learning goal.
Stills work well for brochures, consent documents, and slide decks. They’re the cheapest option and the easiest to update.
Animation earns its cost when motion is the lesson: how a joint articulates, how a stent expands, how blood flows through a repaired valve, or the step sequence of a procedure. A walkthrough animation showing an instrument path through tissue teaches more in thirty seconds than a page of text. If you’re exploring this route, our 3D animation services are built around exactly this sort of explanatory sequence.
Interactive or layered outputs let a viewer peel back skin, muscle, and bone, or rotate a model freely. They’re powerful for training, but they require planning from the start, because every layer must be modeled completely, including hidden surfaces. Retrofitting a flat render into a layered model rarely works.
Ask for a render passes breakdown too. Separate passes for each tissue type let your team recolor, relabel, or hide structures later without paying for a full re-render.
What Clients Get Wrong
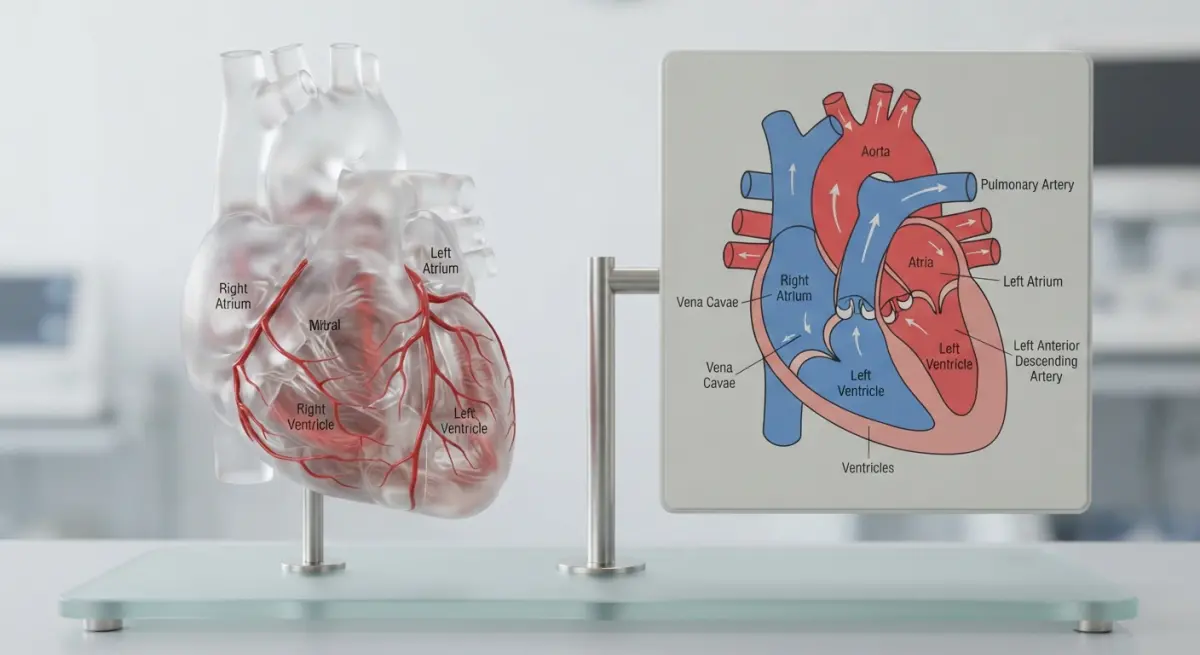
After enough medical projects, the same mistakes keep appearing.
- Sending vague reference. A Google image search result is not a brief. Send annotated diagrams, clinical photos, or notes from the surgeon about what must be visible.
- Skipping the clinical reviewer. Someone with real anatomical authority must sign off. We can build beautifully; we shouldn’t be the final word on medicine.
- Asking for everything in one image. Trying to show skin, muscle, bone, nerves, and vessels with labels in one frame produces clutter. Split it into a series of focused views.
- Ignoring labeling needs. If labels will be added, tell the studio early so they can leave clean negative space in the composition.
- Treating realism as the goal. The goal is understanding. Sometimes that means a stylized, color-coded model beats a photoreal one.
- Underestimating revision cycles. Medical feedback is often specific and iterative. Budget for it rather than being surprised by it.
One pattern worth mentioning: clients sometimes want to reuse a single model for both patient-facing and clinician-facing content. It can work, but only if the model is built with enough underlying detail and then simplified for the patient version, not the other way around. You can always remove detail; adding it back means rebuilding.
Questions to Ask Before You Sign
Before committing, put these to any studio you’re considering:
- How do you handle clinical review, and at which stages?
- Can you show soft tissue work with convincing subsurface shading?
- How do you manage and delete sensitive scan data?
- Will I receive layered files, separate passes, or the source model?
- Who owns the final model and what are the reuse rights?
- How many revision rounds are included, and how are clinical corrections handled?
Clear, unhurried answers tell you a lot. Evasive ones tell you more.
Choosing With Confidence
The best studio for this work isn’t necessarily the one with the flashiest reel. It’s the one that understands your audience, builds clinical review into the schedule, handles data responsibly, and matches the output format to what people need to learn. That’s the core of getting 3D Rendering for Medical Anatomical Models: How to Choose a Studio for Patient Education and Surgical Training Visuals right: accuracy first, clarity second, polish third.
If you’re planning a medical visualization project and want to talk through scope, audience, and format, take a look at our 3D product rendering services to see how we approach detail-heavy, accuracy-critical work, or reach out directly and send us your reference material. We’ll tell you honestly what’s feasible and what the best format is for your goal.
Frequently Asked Questions
What should I look for in a 3D medical rendering studio's portfolio?
Look for anatomically accurate work in your specialty, such as orthopedics, cardiology, or neurosurgery, and for evidence that the studio works with medical illustrators or clinical advisors. Check that the portfolio includes both patient-friendly visuals and technically detailed surgical training assets, since the two require different levels of detail and style. Ask for client references from hospitals, device manufacturers, or medical schools.
How much does 3D medical anatomical rendering cost?
Pricing typically ranges from a few hundred dollars for a single still image to several thousand dollars for a detailed animation or interactive model, depending on complexity, length, and revisions. Costs rise when the studio must build custom anatomy from CT or MRI data instead of using existing libraries. Request an itemized quote that covers modeling, texturing, animation, revision rounds, and licensing.
Can a studio create 3D models from actual patient CT or MRI scans?
Yes, many specialized studios convert DICOM data into segmented 3D models for patient-specific visualization and surgical planning. Confirm that the studio follows HIPAA or GDPR requirements, signs a business associate agreement or data processing agreement, and de-identifies scans before processing. Also ask about their segmentation software and whether a clinician reviews the final model for accuracy.
How do I make sure 3D anatomical visuals are medically accurate?
Choose a studio that has credentialed medical illustrators (for example, members of the Association of Medical Illustrators) or that has surgeons review work at defined stages. Provide reference materials such as imaging, surgical photos, or published literature, and ask for a review milestone before final rendering. A studio that documents its sources and accepts clinical feedback is much less likely to produce errors.
What file formats and delivery options should a studio offer for patient education and surgical training?
Look for high-resolution images and MP4 video for presentations and websites, plus interactive formats like WebGL, AR/VR-ready files, or GLB/USDZ for use in training platforms and mobile apps. Surgical training may also require layered or labeled views, narration, and compatibility with your LMS. Clarify usage rights up front, including whether you can edit, reuse, or distribute the assets across channels.