Every week we get emails from people who commissioned 3D product renders from a “great looking studio” and ended up with plastic-skinned materials, warped topology under load, or files that couldn’t be handed off to their motion team without a full rebuild. The portfolio looked fine on Instagram. It fell apart the moment the project needed something beyond a hero shot on a white background. That gap between a pretty render and a technically sound asset is exactly why we’re writing this. 3D Product Modeling and Rendering Services: How to Evaluate a Studio’s Technical Capability Before You Commission isn’t just a checklist — it’s a way of asking the right questions before money changes hands, so you don’t discover the studio’s limits mid-project.
Most buyers evaluate a rendering studio the way they’d evaluate a wedding photographer: browse the gallery, check if the style matches their taste, look at price. That’s not wrong, but it’s incomplete. A render is the output of a pipeline — modeling accuracy, UV work, material authoring, lighting logic, and render engine settings all stacked on top of each other. If any layer is weak, it shows up eventually, sometimes not until you need a variant, an animation, or a print-resolution output the studio never tested for.
This post is written from the inside — what we check on our own team, what separates a studio that can handle one hero image from one that can support a full catalog or a product launch across ten platforms. If you’re commissioning this work for the first time, or you’ve been burned once already, this should save you the second mistake.
Why “3D Product Modeling and Rendering Services: How to Evaluate a Studio’s Technical Capability Before You Commission” Actually Matters
A lot of buyers treat rendering as a commodity — send a CAD file or reference photos, get back images. But two studios can produce visually similar first drafts and diverge completely once you ask for a left-hand version of the product, a 4K crop for a billboard, or an animated 360 spin. The first studio adjusts a camera and re-renders. The second rebuilds half the scene because their topology wasn’t clean enough to survive deformation, or their materials were baked for one angle only.
Technical capability is what determines whether your investment scales. If you’re only ever going to need one static image, you can get away with less rigor. But most brands don’t stop at one image — they need the same asset repurposed for Amazon listings, a website hero, a trade show banner, and eventually an AR viewer. The studio’s underlying model quality decides how much of that second wave costs you.
Ask to See the Wireframe, Not Just the Render
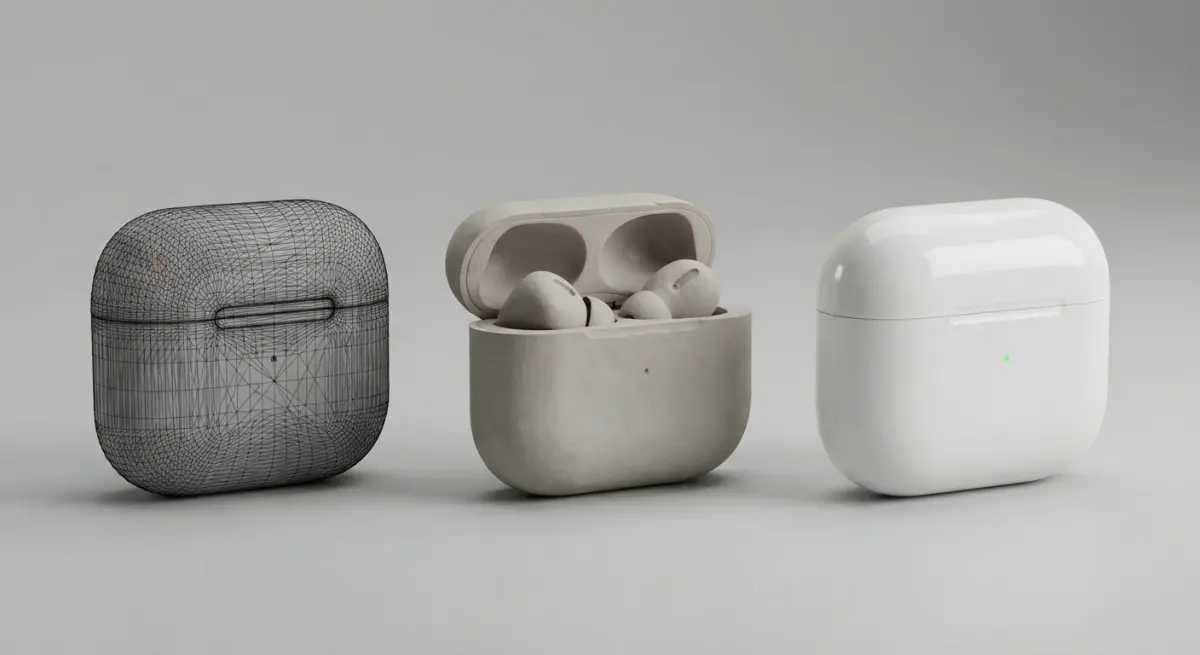
This is the single fastest filter. Any studio can send you a beauty shot. Ask for a wireframe overlay or a turntable of the untextured mesh, and you immediately learn things a finished render hides.
Look for:
- Even quad topology on surfaces that curve or need to deform — triangulated messes are fine for a static hero shot but break the moment someone tries to animate or 3D-print the same asset.
- Clean edge flow around logos, seams, and hardware — this is where cheap modeling shows up first. Sloppy edge loops around a zipper, a button, or a bottle cap cause shading artifacts under certain lighting angles.
- Sensible polygon distribution — detail where the camera will actually get close, and economy elsewhere. A model that’s uniformly dense everywhere is often a sign the artist didn’t plan for production use, just for one render angle.
A studio confident in its modeling work will send you this without hesitation. One that stalls or sends you only rendered stills is telling you something.
Materials and Textures: Where Photorealism Actually Lives
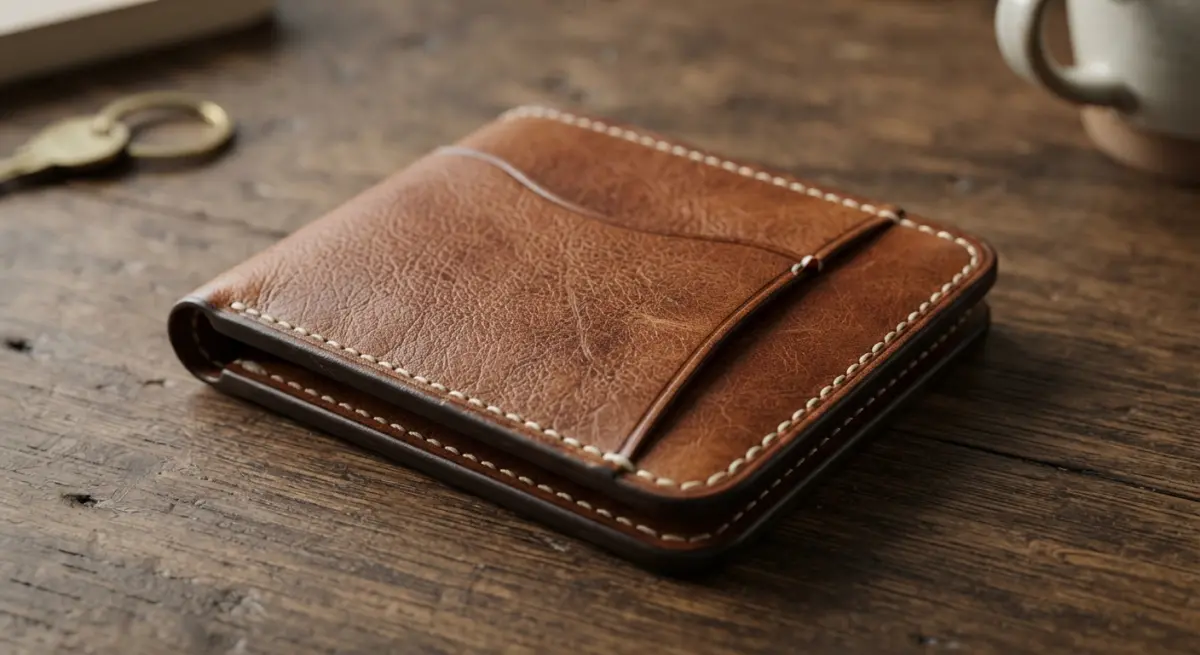
Modeling gets a product’s shape right. Materials get it to look real. This is the area where we see the widest quality gap between studios, because it’s invisible until you look closely — and most first-time clients don’t know what to look for.
A few things worth asking directly:
- Is the studio using physically based rendering (PBR) workflows, or hand-tweaking a single reflectivity slider until it “looks okay” in one lighting setup? PBR materials behave correctly under any lighting condition because they’re built from measured or physically plausible values — roughness, metalness, index of refraction. Non-PBR shortcuts look fine in the delivered render and break the moment you change the lighting or camera angle for a new use case.
- Do they build texture maps at production resolution, or just enough to survive the one render they’ve planned? Ask what resolution their diffuse, normal, and roughness maps are delivered at, especially if you’ll need close-up crops later.
- Can they match material behavior to real reference — brushed aluminum, anodized metal, soft-touch plastic, glass with the correct fresnel falloff. This is usually where you can tell an experienced material artist from someone relying on preset shaders.
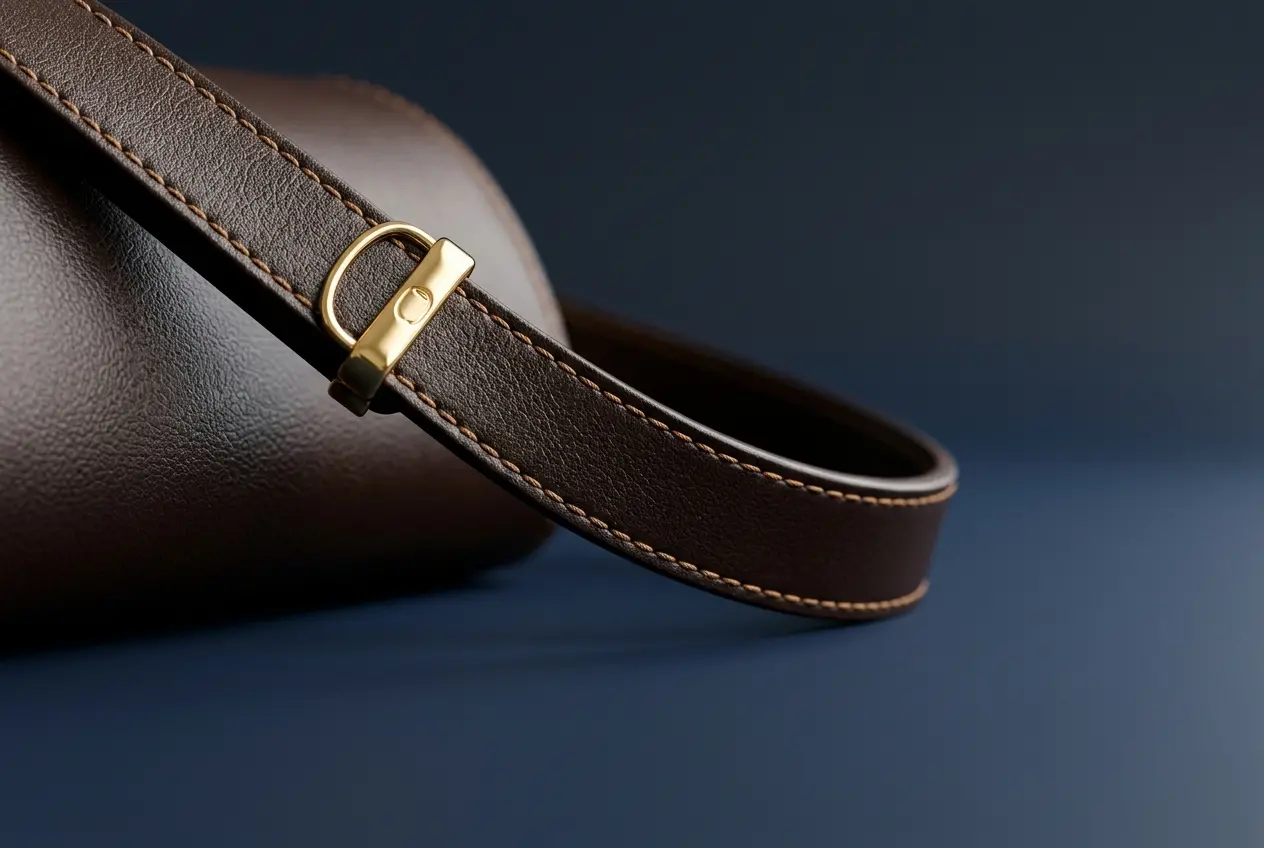
We’ve had clients come to us after a previous studio delivered a product render where the leather texture looked convincing from the front but turned into a flat, plasticky sheen the moment the camera moved fifteen degrees. That’s a material built for one angle, not a material built correctly.
Lighting and Render Engine Logic
Lighting is where technical skill turns into art direction. A studio that understands lighting can make an identical model look premium or cheap depending on how they place and shape their light sources. What you want to check:
- Do they use HDRI environments and physically accurate light setups, or flat three-point lighting that looks the same on every project regardless of the product? Flat lighting is faster and cheaper, but it’s also why some renders look generic no matter how good the model underneath is.
- Which render engine do they use — V-Ray, Corona, Arnold, Blender’s Cycles, KeyShot? Each has strengths. KeyShot is fast and excellent for product-focused studio shots. V-Ray and Corona handle complex architectural-style lighting and large scenes with more control. Ask why they chose their engine for your specific product category — a studio that can explain that tradeoff knows what it’s doing.
- Do they show you noise-free, full-resolution test renders, or only heavily compressed previews? Compression hides noise, banding, and fireflies (bright render artifacts) that show up the moment you get the final high-res file.
File Handoff and Production Pipeline
This is the part most buyers forget to ask about until it’s too late. A finished render is not the same as a usable asset library. Before commissioning, find out:
| Question | Why it matters |
|---|---|
| Can you deliver native scene files (.max, .blend, .c4d) not just rendered images? | You’ll need these if you switch studios later or want in-house tweaks. |
| Do you retain UV layouts and organized texture sets? | Determines whether future edits are cheap or require a rebuild. |
| Can the same model be exported to glTF/USDZ for AR and web viewers? | Increasingly necessary for e-commerce; not every studio builds AR-ready geometry. |
| What’s your revision policy on structural changes vs. lighting/camera changes? | Structural changes (adding a variant, changing proportions) cost more than a camera reangle — a clear studio will explain this upfront, not bury it in fine print. |
If you’re planning to use the same model across multiple formats — packaging shots, lifestyle scenes, AR try-on — it’s worth reading up on how 3D product rendering services are typically scoped so you know what “one project” actually includes before you sign off on a quote.
What We See Clients Get Wrong
A few patterns repeat often enough that they’re worth naming plainly.
Judging a studio purely on style match. A portfolio full of gorgeous jewelry renders doesn’t tell you whether that studio can handle a textured outdoor furniture set or a mechanical product with tight tolerances. Ask for portfolio pieces in your specific category, not just their best work overall.
Not asking about scalability up front. If you know you’ll need forty SKUs eventually, say so at the start, even if you’re only commissioning three now. Studios price and build differently when they know a model needs to become a template for variants versus a one-off hero shot.
Skipping the test render. Almost every serious studio will do a small paid or sample render before committing to a full batch. Skipping this step to save a week almost always costs more time later when the whole batch needs correcting.
Assuming higher price always means better pipeline. It doesn’t. Some expensive studios are expensive because of overhead, not technical depth. The wireframe check, the material questions, the file handoff conversation — these cost you nothing and tell you more than the price tag does.
On our side, when a project comes in with tight product photography as reference — sharp macro shots of stitching, hardware, texture grain — we can usually match material accuracy fast, because good reference removes the guesswork from the shading stage. When reference is thin, we build in extra rounds for material calibration, and we tell clients that upfront rather than let it surface as a surprise revision.
Bringing It Together
None of this is about finding the “best” studio in some abstract sense. It’s about matching technical depth to what your project actually needs, and finding out where that depth exists before you’ve paid for a full batch and discovered the gaps yourself. Ask for the wireframe. Ask about the material workflow. Ask what happens when you need a second angle six months from now. A studio that answers plainly, with specifics, is one that’s done this enough times to know where the hard parts are.
If you’re scoping a product line and want a straight answer on modeling approach, render engine choice, and file handoff before you commit budget, get in touch through our contact page and walk us through what you’re building — we’ll tell you plainly what it’ll take.
Frequently Asked Questions
What software proficiency should a 3D product modeling studio have before you hire them?
Look for demonstrated expertise in industry-standard tools like Blender, 3ds Max, Cinema 4D, KeyShot, or Substance Painter, depending on your product category. Ask for sample files or workflow breakdowns showing how they handle modeling, UV unwrapping, and texturing, since studios relying only on template-based tools often produce less accurate geometry and materials.
How can you tell if a studio's 3D renders will look photorealistic before commissioning?
Request their portfolio filtered by your specific product type (e.g., jewelry, electronics, apparel) and examine lighting accuracy, material reflectivity, and shadow detail at full resolution. Photorealism depends heavily on physically-based rendering (PBR) workflows and HDRI lighting setups, so ask directly whether these techniques are part of their standard pipeline.
What technical questions should you ask about polygon count and file optimization for e-commerce or AR use?
Ask what polygon budgets they target for web, AR, or game-engine delivery, since overly dense meshes cause slow load times while overly simplified ones lose product detail. A capable studio should explain their retopology process and confirm they can export optimized GLTF/GLB or USDZ files compatible with platforms like Shopify AR or Apple Quick Look.
How do you evaluate a studio's ability to match real-world product dimensions and materials accurately?
Check whether they request CAD files, physical samples, or detailed spec sheets before modeling, as this indicates a measurement-driven rather than guesswork-based approach. Studios with strong technical capability will also discuss material calibration methods, such as matching PBR texture maps to real fabric weaves or metal finishes using reference photography.
What should you look for in a studio's revision and quality-control process for 3D rendering projects?
A technically capable studio should have a structured QC pipeline that includes render checks under multiple lighting scenarios and camera angles before final delivery. Ask how many revision rounds are included and whether they provide clay renders or wireframe previews early on, which signals they catch geometry errors before investing in full-detail texturing and lighting.