A pan sitting on a white background tells a shopper almost nothing. It doesn’t tell them how the handle sits in a hand, whether the pot fits their stovetop, or what it feels like to see it simmering next to a bowl of fresh herbs on a Sunday morning. That’s the gap 3D lifestyle imagery fills, and it’s why kitchenware and cookware brands are moving budget away from physical studio shoots and into rendering. This post is about 3D Lifestyle Images for Kitchenware and Cookware Brands: How to Stage Scenes That Convert Without a Studio — the actual decisions that separate a flat, forgettable render from one that makes someone imagine that pan in their own kitchen.
We’ve rendered enough cookware sets to know where brands get stuck. It’s rarely the product model itself — most kitchenware is fairly simple geometry, stainless steel, cast iron, ceramic coating, glass lids. The hard part is the scene around it. Lighting a kettle so the highlight reads as “brushed steel” and not “plastic toy.” Getting steam to look like steam and not a CG cotton ball. Choosing props that feel lived-in instead of staged. That’s the craft, and that’s what this post covers.
None of this requires a studio, a food stylist, or a location scout. It requires a render team that understands materials, light behavior, and what actually reads as “kitchen” to a human eye scrolling on a phone.
Why 3D Lifestyle Images for Kitchenware and Cookware Brands: How to Stage Scenes That Convert Without a Studio Actually Works
A traditional lifestyle shoot for a cookware line means renting a kitchen set, buying groceries as props, hiring a stylist to plate food that photographs well, and paying a photographer and crew for a day — sometimes multiple days if you’re shooting a full collection in different color-ways. Every SKU variant, every counter surface, every camera angle adds cost and time.
With 3D, you build the kitchen once. Swap the countertop material from marble to butcher block in minutes. Change the pot’s finish from matte black to copper without reshooting anything. Need the same scene in five color variants for an A/B test on your product page? That’s a render queue, not a reshoot.
The other advantage is control. In a real shoot, steam behaves unpredictably, food wilts under hot lights, and reflections in polished steel pick up things you didn’t want in frame — a crew member, a light stand, a exit sign. In 3D, every reflection is intentional. You decide exactly what appears in that copper pot’s reflection, right down to the color of the window light hitting it.
Building a Kitchen Scene That Doesn’t Look Like a Render
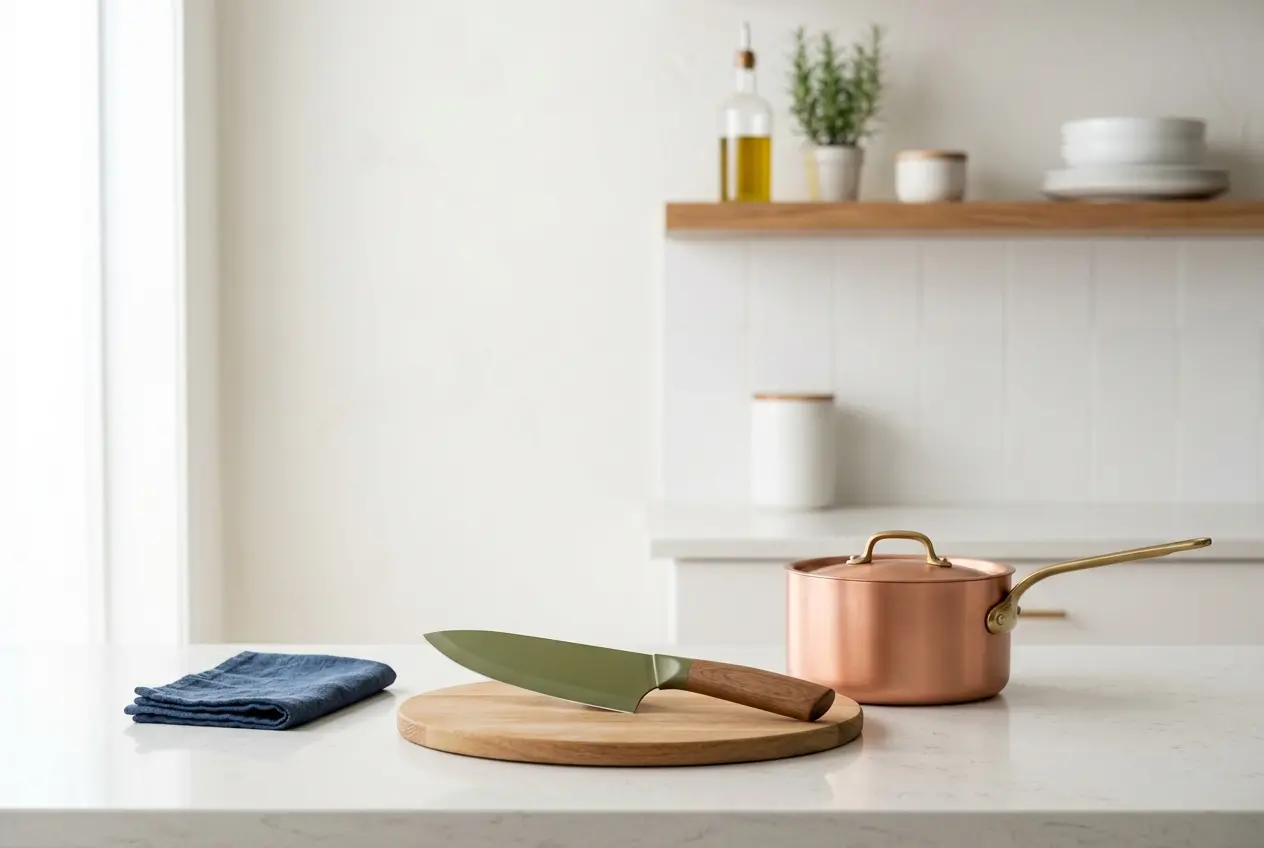
The single biggest tell that gives away a bad CG kitchen scene is over-cleanliness. Real kitchens have crumbs, water spots, a slightly crooked dish towel, a cutting board with knife marks. When everything is pristine and perfectly aligned, the eye clocks it as artificial even if the viewer can’t articulate why.
We deliberately break symmetry in every scene we build. A stack of plates slightly off-center. A wooden spoon resting at an angle, not parallel to the counter edge. Herbs scattered, not arranged in a fan. This is basic set dressing logic borrowed from photography, and it matters just as much in CG.
Material Accuracy Is Non-Negotiable
Cookware lives or dies on material read. Stainless steel needs anisotropic reflections — the subtle brushed-metal streaking that changes as the camera angle changes. Cast iron needs a rougher, semi-matte finish with slight color variation, not a uniform black. Enameled cookware needs a glossy top coat with visible depth, like you’re looking into glass, not just at a shiny surface.
We build these material properties from actual reference photography of the product whenever possible — close-up shots of the handle, the rim, the base — so the render’s surface response matches the real object’s behavior under light, not a generic “metal” preset.
Lighting for Kitchen Realism
Most convincing kitchen scenes use a mix of a large soft key light simulating window daylight, plus a warmer practical light source implying an overhead fixture or under-cabinet LED strip. This mixed color temperature is what real kitchens look like — cooler daylight from a window meeting warmer artificial light. A scene lit with a single flat light source, no matter how well modeled the products are, reads as sterile.
Steam and food realism come down to particle behavior and subsurface scattering. Steam should be uneven, thinning toward the top, with slight movement blur if the shot implies motion. Food benefits from a subtle sheen — a glaze render pass — because real food, cooked, has moisture on its surface that catches light.
Staging Choices That Actually Drive Conversion
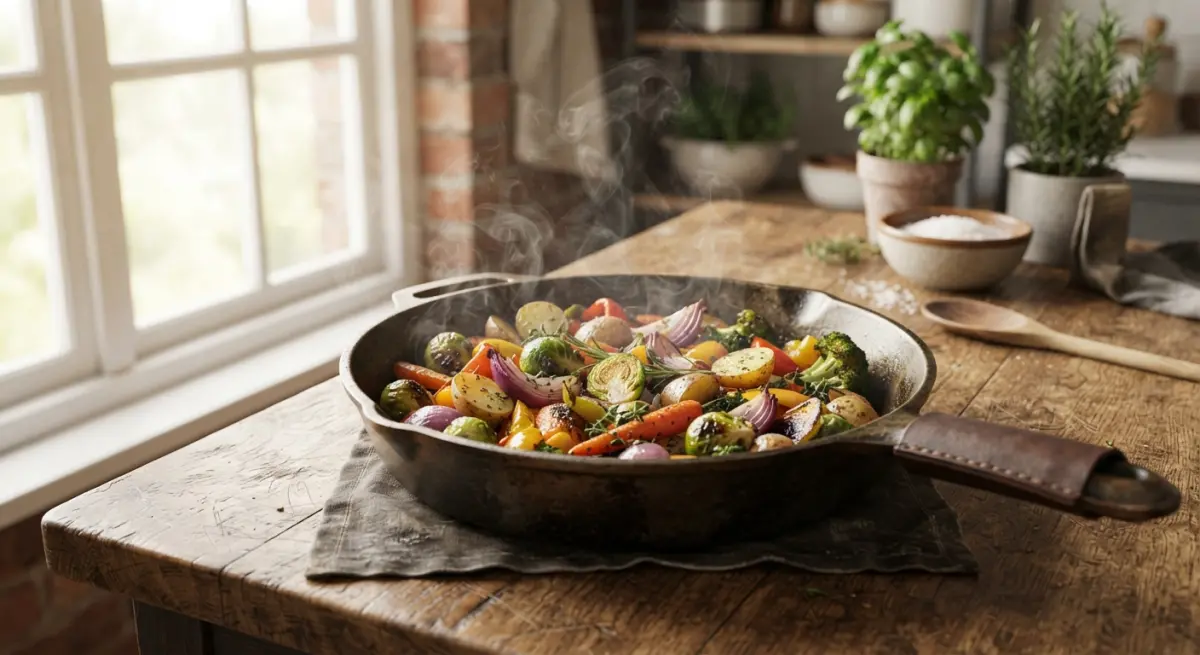
Not every prop earns its place in frame. We’ve seen brands request cluttered, “aspirational” scenes with a dozen ingredients, multiple pieces of cookware, and a full table setting — and the resulting image is so busy the actual product for sale gets lost. The product being sold should always be the visual anchor.
A useful rule: the eye should land on the product within the first second of viewing, before it notices anything else in the scene. Everything else — the herbs, the steam, the background blur — should support that, not compete with it.
| Staging Element | What Works | What Backfires |
|---|---|---|
| Background depth | Soft blur (shallow depth of field) suggesting a real kitchen beyond the product | Sharp, detailed background that competes with the product for attention |
| Food props | One or two ingredients directly related to the cookware’s use case | Random unrelated food items added just to “fill space” |
| Steam and heat cues | Subtle, directional, slightly asymmetric | Thick, symmetrical, obviously simulated clouds |
| Surface choice | Neutral countertop that complements the cookware’s finish | High-contrast surface that fights the product’s color and reflections |
| Camera angle | Three-quarter angle showing depth and handle ergonomics | Dead-on front angle that flattens the product’s dimensionality |
Where Brands Go Wrong
The most common mistake is treating the lifestyle render as an afterthought to the white-background hero shot — building one great studio-style product render, then asking for a “kitchen version” as a quick add-on. Lifestyle scenes need their own lighting logic, their own camera planning, and their own material tuning because the surrounding environment changes how every surface on the product reflects and refracts light. A pot that looks perfect on white can look flat or oddly colored once it’s dropped into a warm-toned kitchen scene without adjusting its material response to that new lighting.
The second mistake is skipping context specificity. A generic “kitchen” scene sells less than a scene that speaks to a specific use case. A Dutch oven staged next to a half-finished braise, with a wooden spoon resting on the rim, tells a story a plain empty pot on a countertop doesn’t. If you sell a wok, show it slightly seasoned, maybe with a light film of oil catching the light — that’s what tells an experienced cook this is a serious piece of cookware, not a decorative object.
Third — and this is a technical one — brands sometimes ask for scenes with too many light sources trying to hit every hero angle simultaneously, which produces flat, over-lit results with no shadow definition. Good kitchen lighting has direction. It should look like light is coming from somewhere specific — a window, a pendant lamp — with real falloff, not blasted evenly from every side to eliminate all shadow.
Practical Workflow: What We Actually Do
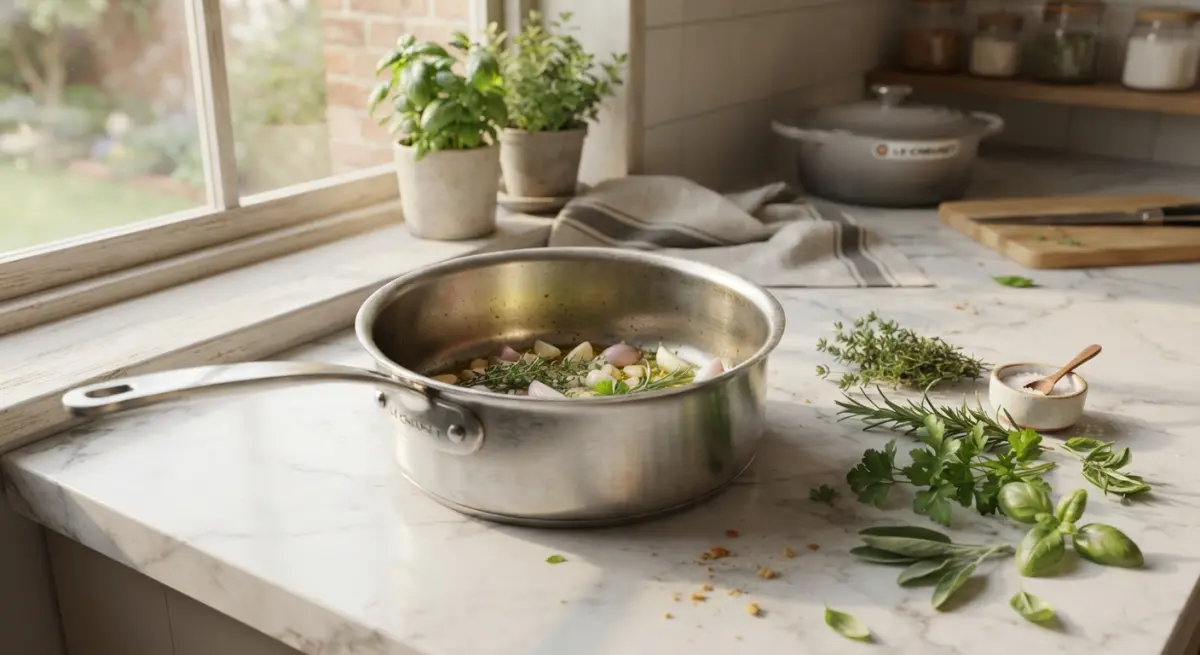
When a cookware or kitchenware brand comes to us for a lifestyle image set, the process usually goes:
- Reference gathering — actual product photos, dimensions, material swatches if available, and a sense of the brand’s visual identity (minimal and modern versus warm and rustic).
- Scene concept and camera planning — deciding on one master kitchen environment that can be reused and re-dressed for the full product line, saving cost across SKUs.
- Material and lighting tests — a handful of test renders checking how the product’s key materials behave under the planned lighting before committing to the full scene build.
- Full scene build and staging — set dressing, prop placement, food and steam elements where relevant.
- Render and refinement — checking reflections, shadow direction, and color balance across all camera angles before final delivery.
This is very close to how we approach any product visualization, and it overlaps a lot with the thinking behind our work on 3D food rendering, since food realism and cookware realism depend on a lot of the same subsurface scattering and lighting techniques. It’s also worth understanding how this compares to flat catalog work — if you’re deciding how much of your catalog needs lifestyle treatment versus clean e-commerce shots, our breakdown of 3D product rendering services covers where that line usually falls.
When Lifestyle Renders Make the Most Sense
Not every product needs a full lifestyle scene. A single measuring cup probably doesn’t need steam and a rustic wood counter. But anything tied to an experience — cooking, serving, gathering — benefits from context. Cookware sets, bakeware, serving dishes, anything marketed around a mealtime moment. If your product page or ad campaign is trying to sell a feeling (Sunday morning pancakes, a holiday roast, a weeknight stir-fry), a lifestyle render earns its cost. If you’re selling a utility item where price and specs do the convincing, a clean studio-style render is often the better investment.
If your kitchenware or cookware line is still relying on flat catalog shots to do the emotional work of a lifestyle scene, that’s usually the gap worth closing first. We’ve built kitchen environments for cookware brands that get reused across dozens of SKUs, and the cost per image drops fast once the base scene exists. If you want to see what a staged scene could look like for your product line, get in touch through our 3D rendering services contact page and send us a few reference shots — we’ll tell you honestly whether a lifestyle render is worth it for that specific product.
Frequently Asked Questions
How much does it cost to create 3D lifestyle images for kitchenware products compared to a traditional photo shoot?
3D lifestyle images typically cost 30-60% less than traditional photo shoots because you eliminate studio rental, photographer fees, food styling, and prop sourcing costs. A single 3D model can be reused across unlimited scenes, angles, and seasonal updates, while traditional shoots require new sessions for each variation, making 3D far more cost-effective at scale.
What software or tools do I need to create realistic 3D lifestyle scenes for cookware without hiring a studio?
You can use 3D rendering platforms like Blender, KeyShot, or Dimension, combined with pre-built kitchen environment templates and product-specific 3D models created from CAD files or photogrammetry scans. Many brands also use specialized e-commerce visualization tools or work with freelance 3D artists on platforms like Upwork to avoid learning complex software themselves.
How do I make 3D rendered kitchenware images look realistic instead of fake or plastic-looking?
Realism comes from accurate material textures (matte cast iron, glossy ceramic, brushed steel), proper lighting setups that mimic natural window light or warm kitchen ambiance, and subtle imperfections like steam, water droplets, or slight wear marks. Using physically-based rendering (PBR) materials and studying real reference photos for shadow behavior and reflections also significantly boosts believability.
Can 3D lifestyle images actually improve conversion rates for kitchenware and cookware e-commerce listings?
Yes, 3D lifestyle images help customers visualize products in real cooking contexts (size scale, how it looks on a stovetop, styling with food), which builds purchase confidence and reduces returns. Brands that pair standard product shots with contextual 3D lifestyle scenes often see conversion lifts because shoppers get both technical detail and emotional, aspirational context in one listing.
What are the best staged scene ideas for showcasing cookware sets in 3D without needing real food or props?
Popular scenes include a cookware set arranged on a modern stovetop with soft steam effects, a single pan plated with photorealistic 3D food models, or an overhead flat-lay on a marble countertop with matching utensils and linens. You can also render seasonal variations, like a holiday table setting, using the same base 3D assets to save time and cost.