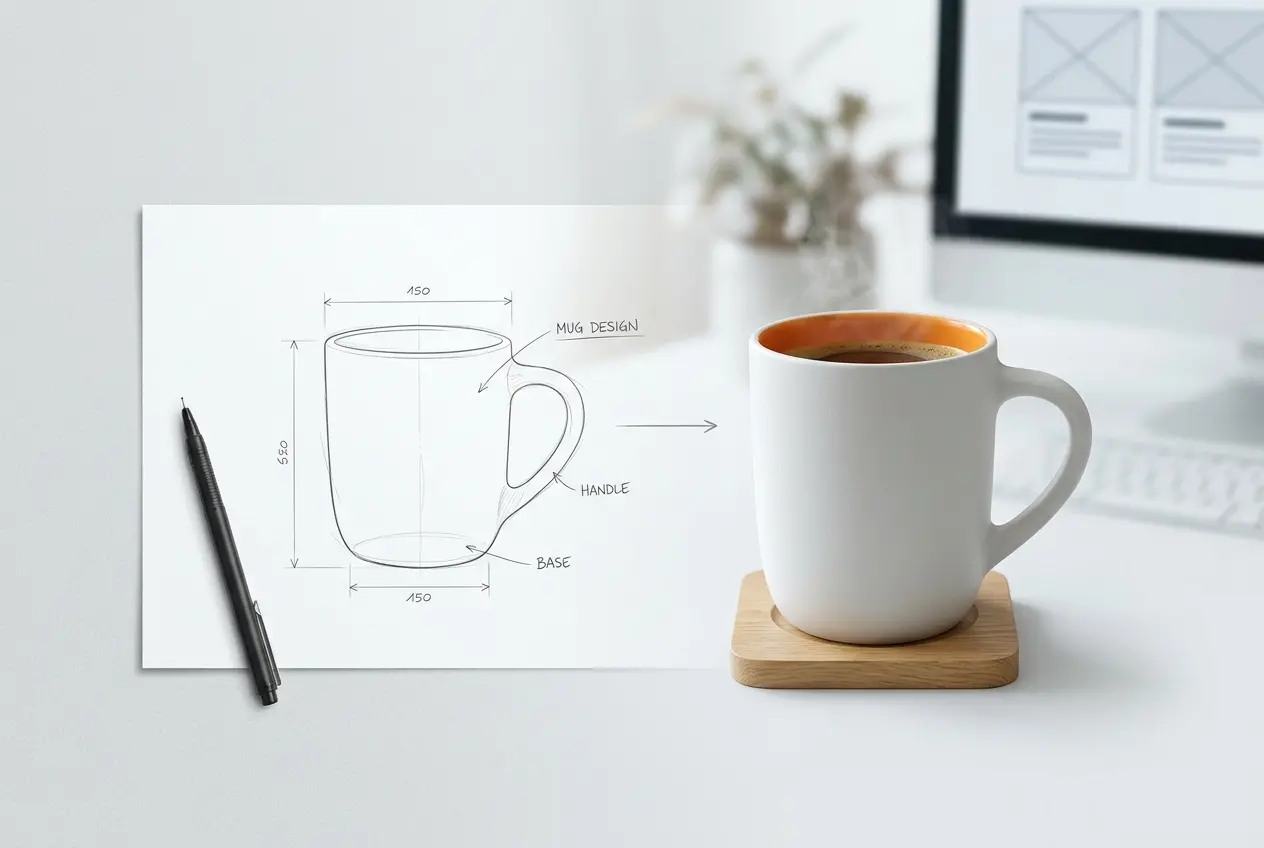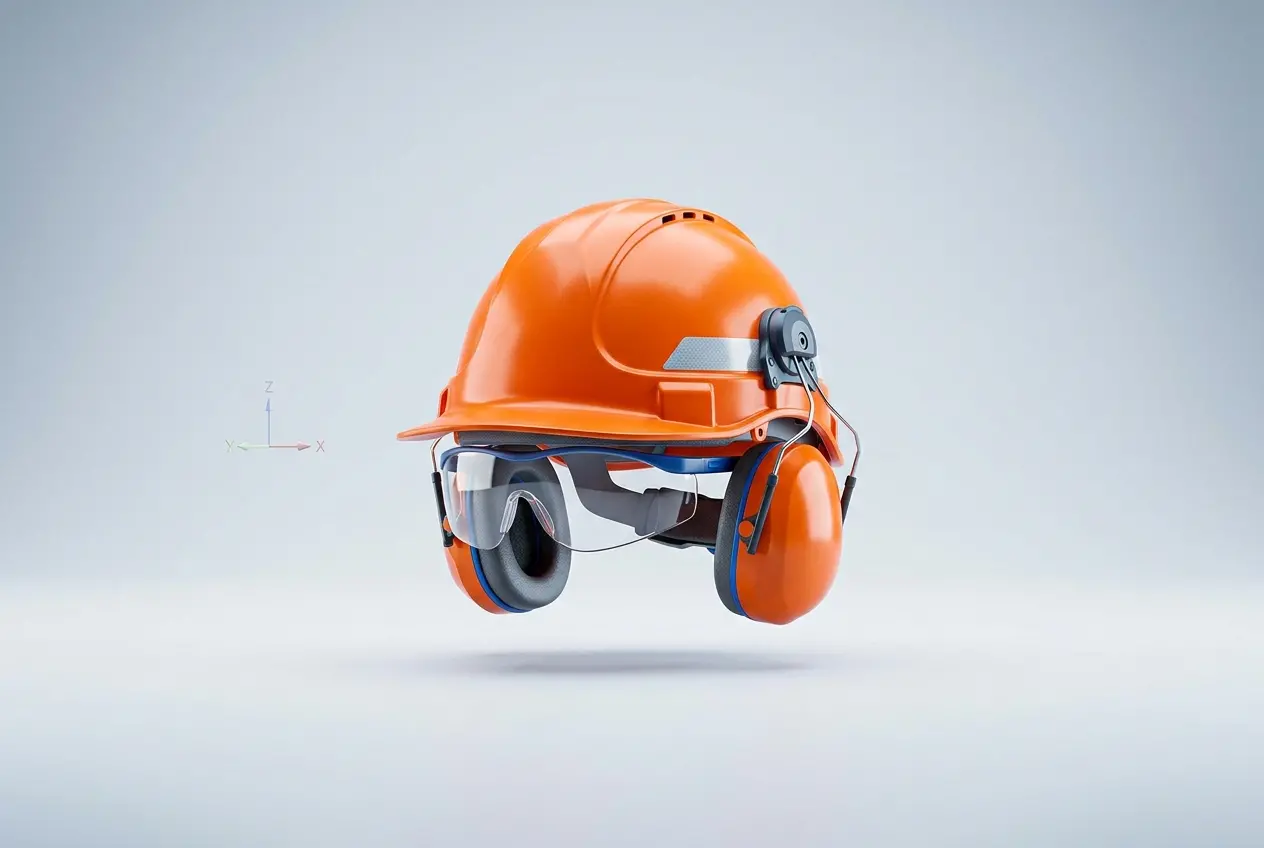
A hard hat photographed on a white background looks fine until you need the same hard hat in ten colors, on a job site, under fluorescent warehouse light, and worn by three different body types, all by Friday. That’s the moment most safety equipment manufacturers call us. 3D Industrial Rendering for Safety Equipment and PPE: How Manufacturers Use CGI to Replace On-Site Product Photography has become one of the more practical shifts we’ve seen in industrial marketing over the past few years, and it’s not driven by hype — it’s driven by the sheer logistical headache of photographing PPE properly and repeatedly.
Safety gear is a strange product category to shoot. It’s often reflective, textured, strapped, buckled, or made of layered fabric and hard plastic in the same unit. A respirator has rubber seals, metal clips, and a filter cartridge that all catch light differently. Multiply that by every size, colorway, and certification variant a manufacturer sells, and a traditional photo shoot turns into a multi-day production with a rented studio, a model, a safety consultant to make sure the gear is worn correctly, and a photographer who understands how to light rubber without it looking like a tire.
CGI sidesteps almost all of that. Once a product is modeled accurately, it exists in a digital form that can be lit, colored, posed, and placed in any environment without ever leaving the computer. For an industry where compliance documentation, catalog consistency, and rapid SKU turnover matter more than artistic flair, that’s a genuinely useful trade-off.
Why 3D Industrial Rendering for Safety Equipment and PPE Makes Practical Sense
PPE manufacturers deal with a specific kind of pressure that most consumer product companies don’t. Products get updated for regulatory reasons, not just style refreshes. A glove’s stitching pattern might change because of a new ANSI cut-resistance rating, or a helmet shell gets a slightly different vent design to pass a new impact standard. Each of these changes used to mean reshooting the product from scratch.
With a 3D model, you’re editing geometry, not rebuilding a shoot. If the strap length changes on a fall-protection harness, we adjust the mesh and re-render. The lighting setup, camera angles, and background are already built — we’re not starting over, we’re updating a small piece of a system that already exists.
There’s also the certification mark problem. Safety equipment carries logos — CE, ANSI, OSHA-adjacent branding, CSA marks — that need to sit accurately on curved surfaces like helmet shells or goggle frames. Photographing these correctly under studio light, especially on glossy plastic, often produces glare that obscures the mark entirely. In a rendered scene, we control exactly how light hits that surface, so the certification stays legible without a retouching pass.
Handling Materials That Give Photographers Trouble
If you’ve ever tried to photograph a high-vis vest, you know the problem: the fabric is designed to reflect light aggressively, which is great for worker visibility and terrible for a camera sensor. It blows out under strong studio lighting and looks flat and grey under soft lighting. Getting it to read as “safety yellow” without looking radioactive or muddy takes real skill from a photographer, and even then, results vary from batch to batch depending on fabric dye lots.
In a render, we build the reflective properties of the fabric as a material definition — how much light it scatters, how much it bounces back toward the camera, how the retroreflective tape strips behave differently from the base fabric. Once that material is dialed in, it behaves consistently in every scene, every angle, every lighting condition. No dye lot inconsistency, no washed-out photos from a shoot three months ago that no longer match the new batch.
The same logic applies to a handful of other PPE materials that are historically difficult to photograph:
| Material | Photography Challenge | CGI Advantage |
|---|---|---|
| Retroreflective tape | Extreme glare, angle-dependent brightness | Physically accurate reflectance modeling per angle |
| Rubber/nitrile gloves | Dull matte surface loses detail under flat light | Subsurface and specular tuning shows texture clearly |
| Polycarbonate face shields | Transparency causes reflections and hotspots | Controlled refraction and clarity without shoot-day trial and error |
| Woven safety harness webbing | Fine texture disappears in low-res or poorly lit shots | Fabric weave rendered at any resolution needed |
Consistency Across an Entire Product Catalog
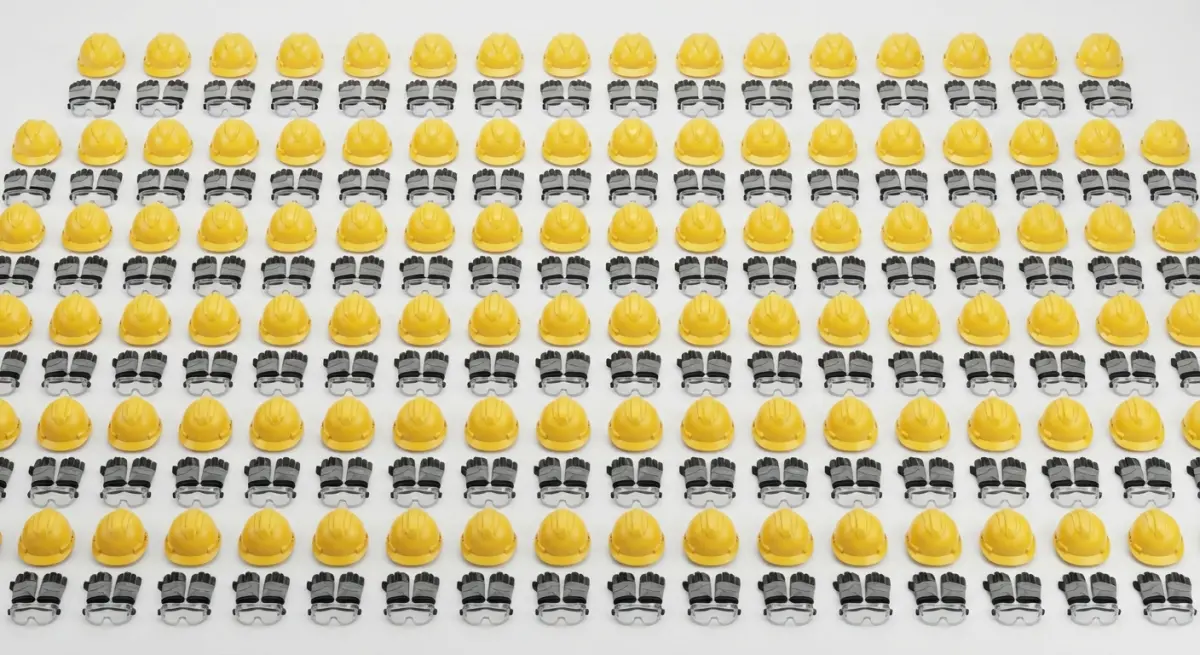
Manufacturers rarely sell one product. They sell a line — twelve glove variants, six hard hat colors, four respirator cartridge types, all needing to appear in the same catalog with matching lighting, matching background, and matching angle. Photographing that consistently is genuinely hard. Studio lights drift, backdrops get slightly discolored, and a photographer shooting on a Tuesday afternoon lights differently than one shooting Thursday morning, even with a lighting diagram taped to the wall.
Once a 3D scene is built and lit, that lighting rig is saved as data. Every product placed into it renders with identical shadows, identical highlights, identical color temperature. That’s the detail retailers and distributors notice — a catalog page where every glove looks like it belongs to the same family instead of stitched together from six separate shoot days.
For companies that also need visualization work for gear worn on the body — vests, harnesses, coveralls — this ties directly into 3D apparel rendering, where fabric drape, seam accuracy, and how a garment sits on a moving figure matter just as much as color accuracy.
Rendering PPE in Context, Not Just on White
A white background product shot answers “what does this look like.” It doesn’t answer “what does this look like on a construction site in overcast light” or “how visible is this vest at dusk near a roadway.” Buyers making procurement decisions for large crews often care more about the second question than the first.
This is where CGI does something photography genuinely struggles with at scale: placing the product in realistic, varied environments without renting locations or hiring crews to model in the field. We can render a welding mask under the actual glow of an arc flash simulation, or a set of ear protection headsets on a factory floor with the specific ambient light of sodium vapor lamps overhead. These aren’t stock photo backgrounds pasted behind a cutout — they’re built as lighting environments that interact with the product’s materials correctly, so shadows and reflections behave the way they would on an actual site.
For industrial and safety brands, this crosses naturally into industrial rendering work more broadly — showing equipment not as an isolated hero shot, but functioning inside the environment it’s actually built for.
What Clients Get Wrong When Switching to CGI
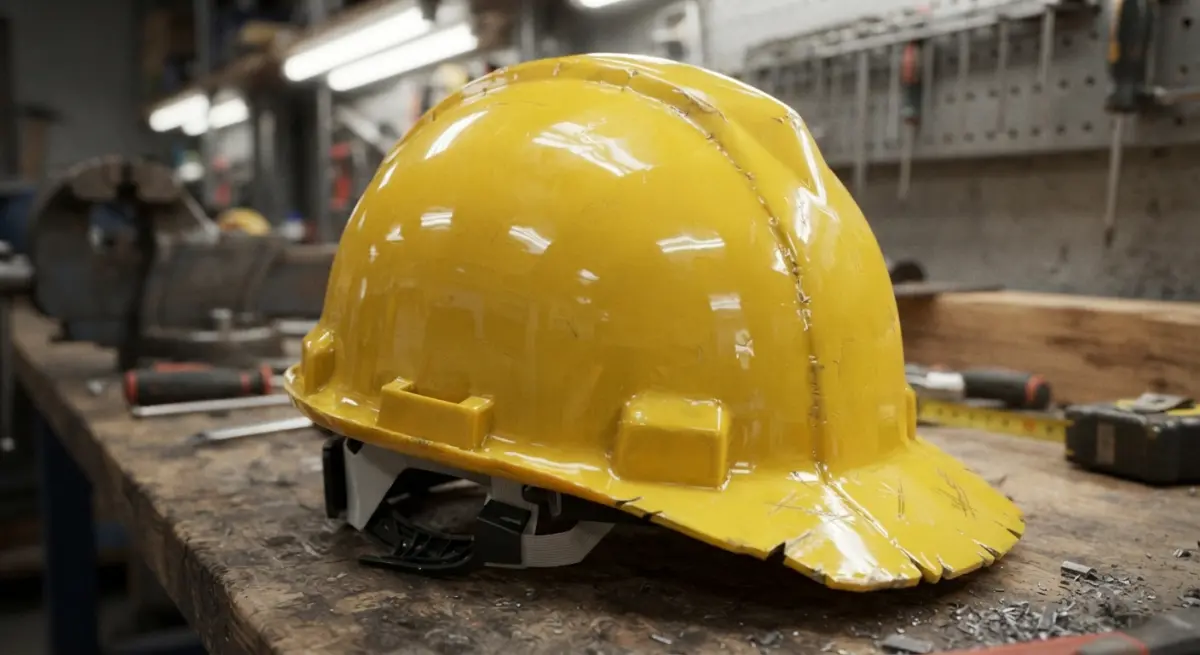
A few patterns come up often enough that they’re worth calling out directly.
The first is assuming the 3D model will be “close enough” from a basic CAD file. Manufacturers often already have CAD data from the engineering side, and there’s a temptation to think that data can go straight into a render. It can’t, not without work. CAD files are built for tolerances and manufacturing, not for visual appeal — they’re missing the texture information, the wear details, the subtle asymmetries that make a product photo look real rather than plastic. We use CAD as a geometry starting point, then rebuild the surface detail and materials from scratch.
The second mistake is underestimating how much reference material we need. If a manufacturer sends us a single glossy marketing photo and expects an exact material match, we’re guessing at fabric weight, stitch density, and color under different lighting. The better approach — and the one we push clients toward — is sending actual physical samples when possible, or at minimum, multiple photos under different lighting conditions plus the manufacturer’s color and material spec sheets. The more real-world reference we get, the less back-and-forth on revisions.
The third is treating the first render as final. Because CGI feels precise, clients sometimes expect it to be perfect on the first pass. In reality, material calibration is iterative — we render, compare against a physical sample under the same lighting logic, adjust roughness and reflectivity values, and render again. It’s usually two or three rounds before a hero material like a helmet shell or a glove coating matches its physical counterpart convincingly.
The upside, once that calibration work is done, is that it’s reusable. That same helmet shell material can be applied to every color variant without recalibrating from zero each time — something no photography workflow can offer.
Where Photography Still Has a Role
To be fair, we don’t tell clients to abandon photography entirely. Lifestyle imagery showing a real worker in a real environment still carries an authenticity that fully rendered scenes sometimes can’t fake, especially for brand storytelling or social content built around real customer testimonials. What we usually recommend is a hybrid approach — CGI for the catalog, the technical spec sheets, the e-commerce listings, and the rapid-turnaround marketing assets, while reserving photography budget for the handful of hero campaign images where a real human face adds something a render can’t.
If your product catalog is growing faster than your photography budget can keep up with, or you’re tired of reshooting the same glove in a slightly different shade of orange, it’s worth talking through what a rendering workflow would look like for your specific product line. Reach out through our contact page and we’ll walk you through what we’d need to get started.
Frequently Asked Questions
How much does 3D rendering cost compared to traditional product photography for PPE and safety equipment?
3D rendering typically costs less than traditional photography once you factor in studio rental, photographer fees, and logistics for shipping safety equipment to a shoot location. A single rendered PPE product can range from $150-$500 depending on complexity, while photoshoots often run $1,000-$3,000+ when accounting for multiple angles, lighting setups, and travel for hazardous or oversized equipment. The real savings come from reusability—one 3D model can generate unlimited images, angles, and variations without additional shoot costs.
Can 3D rendering accurately show safety features like reflective materials, mesh, and certification labels on PPE?
Yes, modern 3D rendering software can accurately simulate reflective tape, mesh ventilation, stitching, and textured materials using physically-based rendering (PBR) techniques that mimic real-world light behavior. Certification labels, warning text, and compliance markings can be applied as high-resolution texture maps that remain crisp and legible at any zoom level. This level of detail is often more consistent than photography, where lighting glare or shadows can obscure critical safety details.
Is CGI product imagery accepted for OSHA compliance documentation and safety certifications?
3D renderings are generally accepted for marketing, catalogs, and e-commerce listings, but OSHA compliance documentation typically requires actual test photos or certified lab imagery for regulatory submissions. Manufacturers usually use CGI for sales, training materials, and website content while reserving real photography or documented testing images for regulatory and certification paperwork. It's best to consult with your compliance team to confirm which specific documents require verified photographic evidence versus marketing-approved renders.
How long does it take to create a 3D render of industrial safety equipment compared to a traditional photoshoot?
Initial 3D model creation for a single PPE item typically takes 3-7 business days depending on complexity, but once built, generating new angles, colors, or scenes takes only hours instead of days. Traditional photoshoots require scheduling, setup, and shooting time for each variation, often taking weeks when multiple product lines or colorways are involved. Long-term, 3D workflows are significantly faster for scaling across large safety equipment catalogs with frequent updates.
What types of safety equipment and PPE benefit most from 3D rendering instead of photography?
Hard-to-photograph items like hazmat suits, respirators with complex geometry, fall protection harnesses, and equipment used in dangerous environments (confined spaces, high-voltage areas) benefit most from 3D rendering since staging real photoshoots is difficult or unsafe. Products with frequent color, size, or material variations—like hard hats or safety vests—also save significant time and cost since a single 3D model can be reconfigured instantly. Additionally, equipment that needs to be shown in contextual industrial scenes (construction sites, factories) benefits from CGI environments that would be expensive or logistically complex to shoot on location.