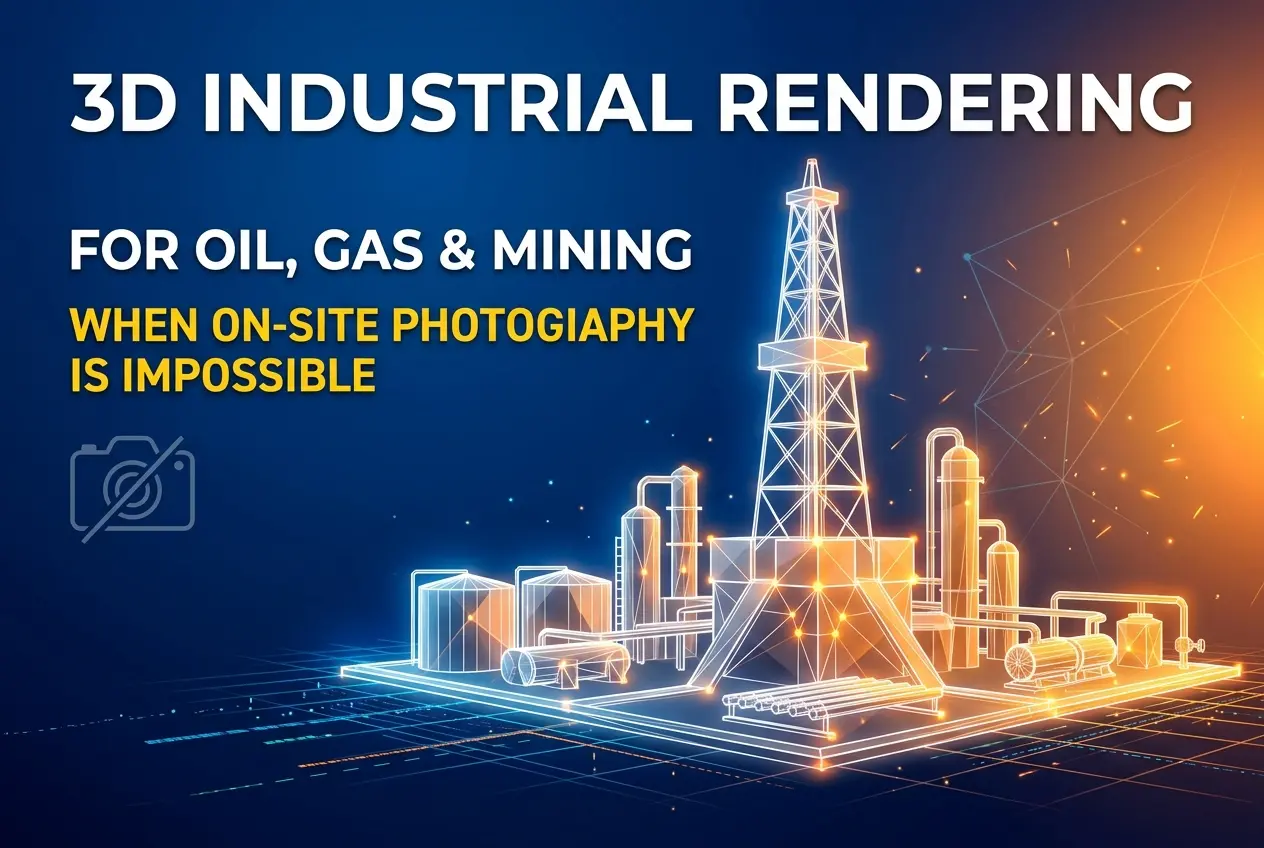
A drilling rig sitting 200 kilometres offshore doesn’t care about your catalogue deadline. Neither does a haul truck working a pit in a remote mining district, or a wellhead assembly that hasn’t been built yet. That’s the core problem behind 3D Industrial Rendering for Oil, Gas and Mining Equipment: How Manufacturers Use CGI When On-Site Photography Is Impossible. The equipment is huge, expensive, hazardous, remote, or simply doesn’t exist outside an engineering file, and the marketing team still needs images that look real.
Photography in these industries runs into walls that most other sectors never face. Hazardous zones restrict cameras and lighting gear. Operating sites limit access, and shutting down a machine for a photo shoot costs more than the photo is worth. Prototypes get sold before they are built. Customers’ sites are covered by confidentiality agreements. CGI sidesteps all of it.
In our studio we’ve seen this go from “nice to have” to the default workflow for many heavy-equipment manufacturers. Below is how it works, where it earns its place, and where clients tend to trip up.
Why Photography Fails for Heavy Industrial Equipment
Let’s be specific about the obstacles, because they shape what you ask a rendering studio to do.
- Hazardous classification zones. Equipment designed for explosive atmospheres can’t be photographed with standard strobes in the environments where it operates.
- Remote or offshore locations. Getting a photographer, crew, and gear to a platform or a remote mine is a logistics project of its own.
- Pre-production products. Sales teams need visuals months before the first unit leaves the factory floor.
- Scale. A mining shovel or a drill floor doesn’t fit in a studio, and in the field the surroundings are cluttered, dirty, and badly lit for product shots.
- Internal components. Customers want to understand what happens inside a pump, valve, or crusher. No camera can shoot that.
- Client confidentiality. Installed equipment often sits in facilities where photography is prohibited outright.
Even when you can get a camera on site, the results are often disappointing. Harsh midday sun, haze, dust, and cluttered backgrounds work against clean product imagery.
What CGI Actually Does Better Here
Rendering doesn’t just replace the camera; it gives you control that a camera never could. We can pick the time of day, the weather, the angle, and the level of cleanliness. We can pull a casing off to show the internals, or hide the scaffolding that was around the machine the day it was photographed.
For manufacturers, that control turns into practical assets:
| Use case | What the render shows | Why photography can’t do it |
|---|---|---|
| Product catalogue hero shots | Clean, consistent imagery of every model in the range | Units are spread across different sites and conditions |
| Cutaways and X-ray views | Internal flow paths, seals, bearings, wear parts | Cameras can’t see through steel |
| Pre-launch marketing | Equipment in a realistic work environment | The product isn’t built yet |
| Installation and process visuals | Full plant or rig layouts with equipment in place | The site doesn’t exist or can’t be accessed |
| Trade show and tender materials | Consistent visual language across brochures and bids | Field photos vary wildly in quality |
3D Industrial Rendering for Oil, Gas and Mining Equipment: The Production Workflow
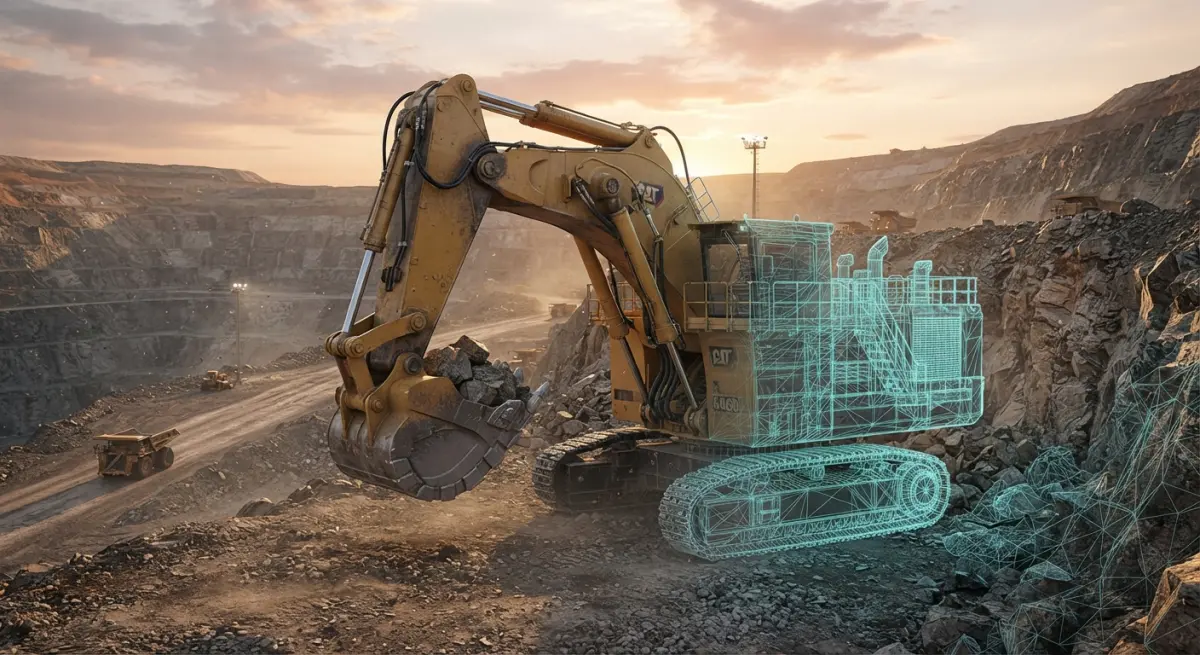
Here’s how a typical project runs when we handle this kind of work.
1. Start with the engineering data
Most manufacturers hand us CAD files in STEP, IGES, or a native format from SolidWorks, Creo, Inventor, or similar. These files are built for manufacturing, not visualisation. They carry millions of tiny details like threads, internal fasteners, and weld prep geometry that bloat a scene without improving the image. Part of our job is converting this into clean, render-ready geometry: decimating what the camera will never see, and rebuilding what will be seen up close.
2. Fix the details engineers don’t model
CAD models are usually too perfect. Real equipment has weld beads, cable runs, hose routing, gaskets, decals, data plates, and paint transitions. If those details are missing, the render reads as a toy. We add them based on reference photos, drawings, or a conversation with the client’s engineers. A pressure vessel without weld seams looks wrong to anyone who has stood next to one.
3. Build materials that match the real finish
Industrial surfaces are not simple. You get machined steel with directional grain, cast iron with a rough skin, powder-coated housings, safety-yellow paint with chips at the edges, galvanised grating, rubber seals, and hydraulic hoses with a particular sheen. Each of these needs its own shader behaviour, including roughness variation, edge wear, and subtle dirt in recesses. Getting this right is what separates a convincing render from a glossy plastic mock-up.
4. Place the equipment in a believable environment
An isolated product on white works for catalogues. Context shots need more thought. A drilling rig needs the right derrick scale, mud tanks, pipe racks, and sky. A mining truck needs the correct haul road, berm height, and dust behaviour. We build environments from reference and match lighting to a plausible location and time of day. Golden hour on a desert mine reads very differently from overcast North Sea light, and both can be chosen in minutes.
5. Light, render, and composite
We typically render in physically based engines, then composite in post to adjust atmosphere, add depth haze, and match colour across a set of images. If you need a family of images that feel like one campaign, this stage is where that consistency is locked in.
Beyond Stills: Animation and Cutaways
Still images carry a lot of weight, but some equipment is best explained in motion. A downhole tool, a slurry pump, or a crusher chamber involves moving parts, fluid paths, and sequences that are hard to describe in a paragraph. An animation showing how a blowout preventer closes, or how ore moves through a processing circuit, communicates more in thirty seconds than a page of specifications. If this is your need, our 3D product animation services cover exactly this kind of mechanical explanation.
What Clients Commonly Get Wrong
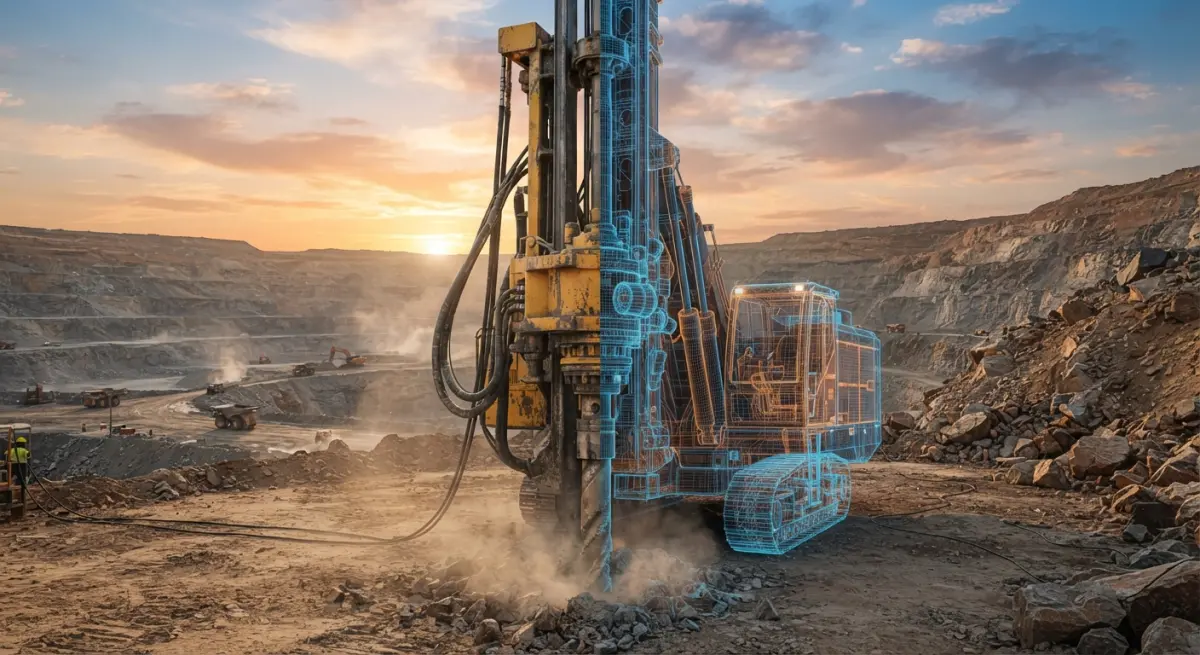
After enough of these projects, patterns emerge. These are the ones we see most.
Sending only the final assembly model. A single merged file with no part hierarchy makes it hard to build cutaways or exploded views. If you might want those later, tell us up front and send the assembly structure intact.
Assuming CAD colours are the real colours. Brand paint codes, RAL references, and actual material specs matter. Guessing leads to revision rounds.
Over-cleaning the equipment. A brand-new machine in a sterile world looks fake. Oil and gas and mining customers know what working equipment looks like. A little wear, a hint of dust, or a light film on lower panels sells realism, even in a launch image. The reverse also happens: a client wants a pristine product shot but supplies reference photos of equipment that has been in service for ten years. Decide which story you’re telling.
Ignoring safety and compliance details. Guards, labels, lockout points, and warning decals are visible in real installations. If the render omits them, an engineer in your audience will notice. If your sales material is going to a safety-conscious buyer, these details build credibility.
Treating the render as a replacement for engineering accuracy. A render is a communication tool. It should never be used to make performance claims the equipment can’t back up. We’ll show what you give us, but the technical truth has to come from your engineers.
Leaving the environment decision until late. Switching from a desert site to an arctic setting after the hero shot is approved means relighting, new assets, and a new colour pass. Settle the location early.
A Practical Observation on Reuse
The biggest practical benefit we see isn’t the first image. It’s the second, third, and tenth. Once a clean, textured model exists, new angles, new environments, a revised paint scheme, or a design update are modifications to an existing asset, not new shoots. A product team that revises a pump housing mid-year doesn’t need to rebook anything. We update the model and re-render. For manufacturers with wide product ranges and frequent revisions, that reusability is where the real value sits.
The same model can also be pushed into other formats, including interactive configurators, AR viewers, and training content, if you plan for it. Ask for a model prepared with that in mind from the start.
Choosing the Right Partner
Not every studio is suited to industrial work. Architectural visualisers and consumer product artists can produce lovely images, but heavy equipment demands comfort with large assemblies, mechanical logic, and the particular visual language of the sector. When you review a portfolio, look for correct hose routing, believable weld detail, and materials that look like real worked metal. Ask how the studio handles dense CAD data. Ask whether they will check mechanical plausibility with your engineers. The right answers usually come quickly.
Ready to Visualise Equipment You Can’t Photograph?
If your equipment is remote, hazardous, unbuilt, or simply too large to shoot well, CGI is often the more practical route, not a compromise. Send us your CAD files and a short brief, and we’ll tell you honestly what is achievable and how to get the most from your model. You can explore our 3D product rendering services to see how we approach industrial and technical products, or reach out directly and we’ll talk through your project.
Frequently Asked Questions
Why is on-site photography often impossible for oil, gas and mining equipment?
Many sites are remote, hazardous or restricted, including explosive atmospheres (ATEX/hazardous zones), offshore platforms, deep underground mines and active drilling operations. Strict safety rules, security clearances, and downtime costs also make it impractical to bring a photographer and lighting gear near operating machinery. Equipment may also still be in development or be too large to stage for a photoshoot, so CGI is often the only practical option.
How do manufacturers create 3D renderings of industrial equipment from CAD files?
Studios import the engineering CAD models (STEP, SolidWorks, Inventor) and convert them into optimized polygon meshes. They then apply realistic materials like worn steel, paint, and rubber, set up lighting and cameras, and render the final images or animations. Because the renders are built from production data, they accurately reflect the real product's dimensions, components and configuration.
What are the main benefits of CGI over traditional photography for heavy industrial equipment?
CGI lets manufacturers show equipment before a prototype exists, which speeds up marketing, tenders and trade show preparation. It removes travel, logistics and safety costs, and a single 3D model can be reused for multiple angles, variants, and environments. Cutaway views, exploded diagrams, and internal operations that a camera can never capture are also possible.
Can 3D industrial animation show how mining and drilling equipment works internally?
Yes, animations can use cutaways, transparency, and exploded views to demonstrate internal mechanisms such as drill bit action, hydraulic systems, pump flow, or crusher operation. This is especially valuable for training, sales presentations, and technical explanations of processes that happen underground, underwater, or inside sealed housings. Animations can also simulate maintenance steps and safety procedures without exposing anyone to real risk.
How much does 3D industrial rendering cost compared to an on-site photoshoot?
Costs depend on model complexity, the number of images, and whether animation is needed, but a set of still renders is often cheaper than a remote-site shoot once travel, safety certification, and downtime are counted. The biggest savings come from reusing the same 3D assets across catalogs, websites, manuals, and AR/VR content. Clean CAD data and clear reference material reduce preparation time and keep the project cost lower.