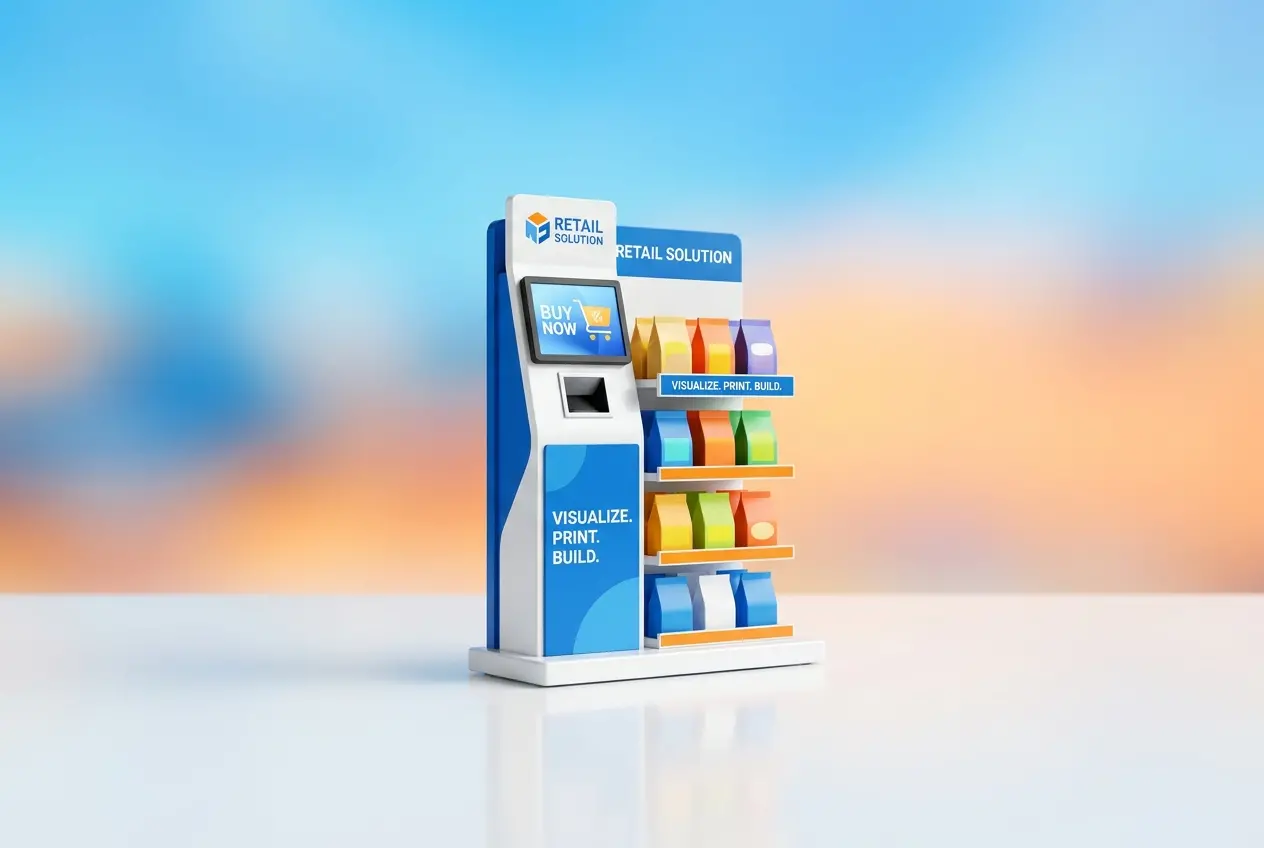
Every brand manager has lived this moment: the POS display arrives at the first store, gets unboxed, and something is off. The header card hides the product, the shelf tray is two centimetres too shallow, or the colour that looked punchy on screen now looks muddy under fluorescent store lighting. That is exactly the gap that Product Rendering for Retail Shelf and Point-of-Sale Displays: How to Visualise POS Units Before You Print and Build is meant to close. You see the unit, in context, before a single sheet of board is cut.
Physical prototypes are slow and expensive, and they only show you one version. A render lets you test five header designs, three shelf configurations and two lighting conditions in the time it takes to courier one white sample. In our studio, we treat POS visualisation as a decision tool first and a pretty picture second.
Below is how we approach it, what the process involves, and where clients usually trip up.
Why POS Displays Are Harder to Judge Than Standard Product Shots
A packshot shows a product against a clean background. A POS unit is a different problem altogether. It is a structure, a graphic surface, a product holder and a piece of retail furniture, all fighting for attention in a crowded environment. Flat artwork on a dieline looks nothing like that artwork wrapped around a folded, slightly bowed corrugated panel.
Several things only reveal themselves in 3D:
- Sightlines. A shopper at 1.6 metres standing three metres away sees a very different unit than the designer looking at a flat PDF.
- Fold and fixing logic. Where does a tab sit, and does it cut through your logo?
- Product loading. How do real packs sit on the shelf, how do they lean, and what does the unit look like when it is half empty?
- Material behaviour. Matte board, gloss laminate, acrylic, metal wire and foam board all catch light differently.
What You Need to Send for an Accurate Render
The quality of the output depends heavily on the input. The best briefs we receive include a CAD file or a dieline with fold lines marked, the artwork as layered vector files, and the actual product dimensions. If the product pack already exists, we also want its 3D model or at least precise measurements and flat artwork.
Material specifications matter more than most people expect. “Cardboard” is not a spec. We need to know the flute type, whether the print is litho-laminated or direct, and whether any finish such as spot UV, foil or soft-touch lamination is planned. These details decide how light rolls across the surface and whether the render predicts reality or just flatters it.
If you only have a sketch
That is fine too. We can build the structure from a concept sketch and rough dimensions, then refine as engineering develops. Early renders from loose input are best used to compare directions, not to sign off production.
Placing the Unit in a Real Retail Context
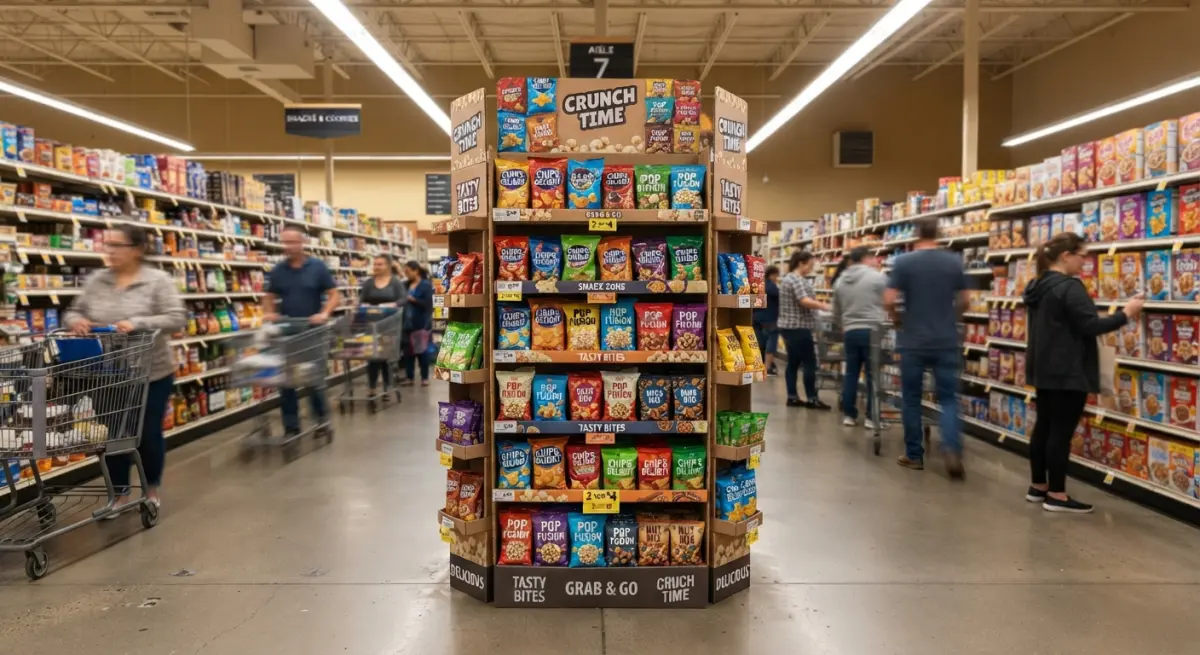
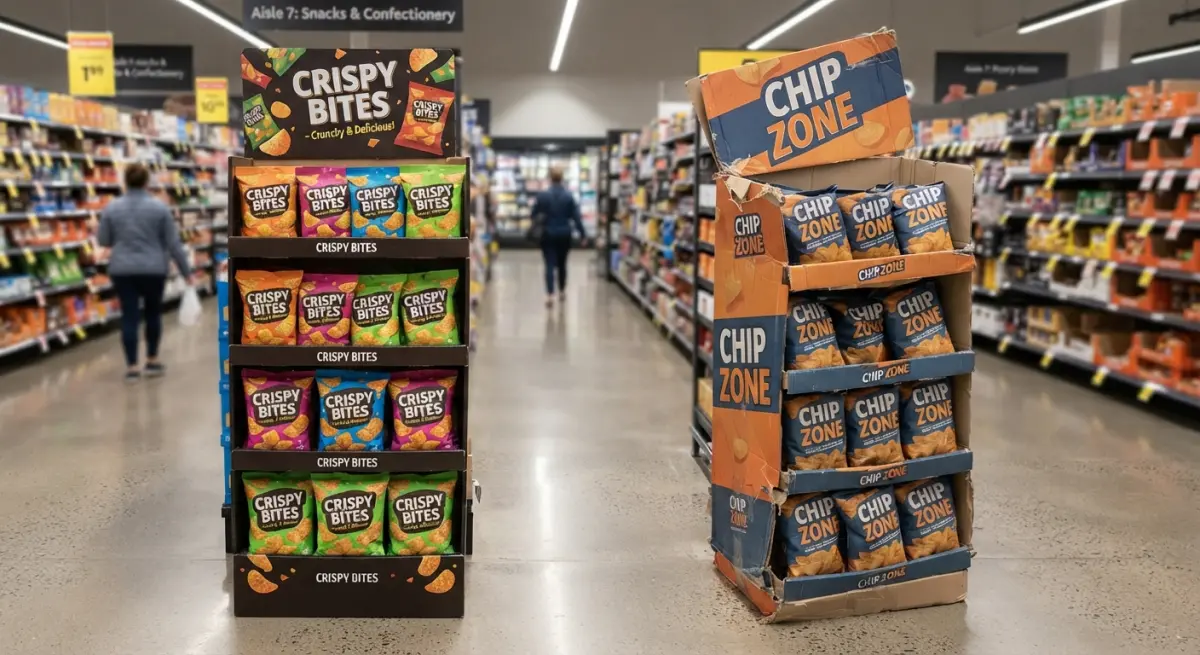
A floor-standing display floating on white tells you very little. Context is where the value sits. We typically build or adapt a retail environment: the aisle, the adjacent competitor products, the end-cap, the checkout counter, or the pharmacy wall, depending on where the unit will live.
Scale cues are important. A human figure, a shopping trolley or neighbouring shelving instantly tells the viewer whether the unit feels commanding or lost. Lighting is the other half. Supermarkets use cool, flat overhead lighting; boutique stores use warm spots with deep shadows. We match the lighting to the target environment, because a gloss header that sings under soft studio light may produce a glaring reflection under store downlights.
If your unit will appear in many environments, we can render the same model in several scenes. That is far cheaper than guessing and being wrong in one of them.
Using Renders to Test Design Decisions
This is where Product Rendering for Retail Shelf and Point-of-Sale Displays: How to Visualise POS Units Before You Print and Build earns its fee. Once the 3D model exists, variations are comparatively quick to produce. Typical questions we help answer:
| Question | What the render shows |
|---|---|
| Is the header readable from a distance? | Legibility and hierarchy from realistic eye height and viewing angle |
| Does the product feel premium or cheap? | Material finish, edge quality, and how packs sit on the unit |
| Will it fit the allocated space? | Footprint against shelving, counters and walkways |
| Which colourway stands out? | Side-by-side options within the same store scene |
| Does the unit look right half empty? | Partially stocked states, which is how many displays spend most of their life |
What Clients Commonly Get Wrong
After working on many display projects, a few patterns repeat.
Approving from the render alone, with no colour proof. A render is a visual prediction, not a calibrated colour proof. Brand-critical colours, especially metallics and fluorescents, still need a physical print test. Use the render for layout and impact, and the press proof for colour.
Rendering only the full state. A fully stocked unit is the best case. Show it at half stock and nearly empty. If it looks broken when depleted, you want to know now.
Ignoring the structure. Designers sometimes finalise artwork before engineering confirms the fold. Then a glue flap lands on the hero image. Sharing the structural model early prevents that.
Leaving out neighbours. A unit that dominates in isolation can disappear beside a loud competitor. Put it in context before judging.
Treating the render as a sales pitch only. Renders are excellent for winning retailer approval, and many buyers want to see the unit in their own store layout. But if you only use them for pitching and skip the design testing, you leave half the value on the table.
From Approval to Production
Once a direction is chosen, the same 3D asset can keep working. It can feed a retailer presentation, a sales deck, a planogram visual, and marketing imagery before the physical units exist. Some clients also use turntable animations or exploded views so that assembly teams and store staff understand how the unit goes together.
If your display is part of a larger product range, our product rendering services cover both the hero product and the display that carries it, so everything shares one consistent visual language.
A Practical Workflow We Recommend
- Share the dieline, dimensions, product details and the target retail environment.
- Review a clay or untextured model first to check structure and proportions.
- Apply artwork and materials, then review for finish and legibility.
- Place the unit in scene, test lighting, stock levels and viewing distances.
- Finalise approved views, then order a physical colour proof before mass printing.
Catching a problem at step two costs almost nothing. Catching it after a print run costs the entire run.
Plan the Display Before You Pay to Build It
POS units live or die in the few seconds a shopper gives them. Seeing how yours performs under real store conditions, with real products, at real viewing distances, is a far safer way to spend money than learning from a pallet of mistakes. If you have a display in development and want to see it before you commit to tooling and print, get in touch with our team and send us your dieline or concept. We will tell you honestly what the render can and cannot predict, and build you something you can make decisions from.
Frequently Asked Questions
What is product rendering for retail POS displays and why use it before production?
Product rendering for POS displays uses 3D modelling software to create photorealistic images of shelf units, counter displays, and floor stands before anything is manufactured. It lets brands and retailers review structure, graphics, materials, and product placement, catching design flaws early. This reduces costly reprints, rebuilds, and delays caused by errors that only become visible on a physical prototype.
What files and information do I need to provide to get an accurate 3D render of a POS unit?
Typically you need dimensioned drawings or a dieline (CAD, PDF, or AI files), print-ready artwork, material and finish specifications, and the product dimensions or packshots for items going on the display. Details such as shelf load, store fixture sizes, and Pantone colour references improve accuracy. The more precise your inputs, the closer the render will match the finished unit.
How realistic are 3D POS renders compared to a physical prototype or sample?
Modern rendering can accurately simulate materials like corrugated board, acrylic, metal, and gloss or matte laminates, along with realistic lighting and shadows. Renders are excellent for judging proportions, branding impact, and product presentation, though colour on screen may differ slightly from printed output. For high-volume campaigns, many teams use renders for approval and then a physical sample or print proof for final colour and structural checks.
Can I visualise a POS display in a real store environment before it is built?
Yes, renders can place your unit within a mocked-up retail setting, such as a supermarket aisle, endcap, or checkout counter, using accurate scale and surrounding fixtures. This shows how the display looks beside competitors, how visible it is from customer sightlines, and whether it fits the space. It is especially useful for pitching to retail buyers and securing approval for placement.
How much does POS product rendering cost, and how long does it take?
Costs vary with complexity, number of views, and whether a 3D model already exists, with simple single-unit renders often costing far less than a physical prototype. Turnaround is typically a few days to two weeks, depending on the revisions and the quality of supplied files. Reusing the 3D model for variations, animations, and sales presentations improves the overall return on investment.