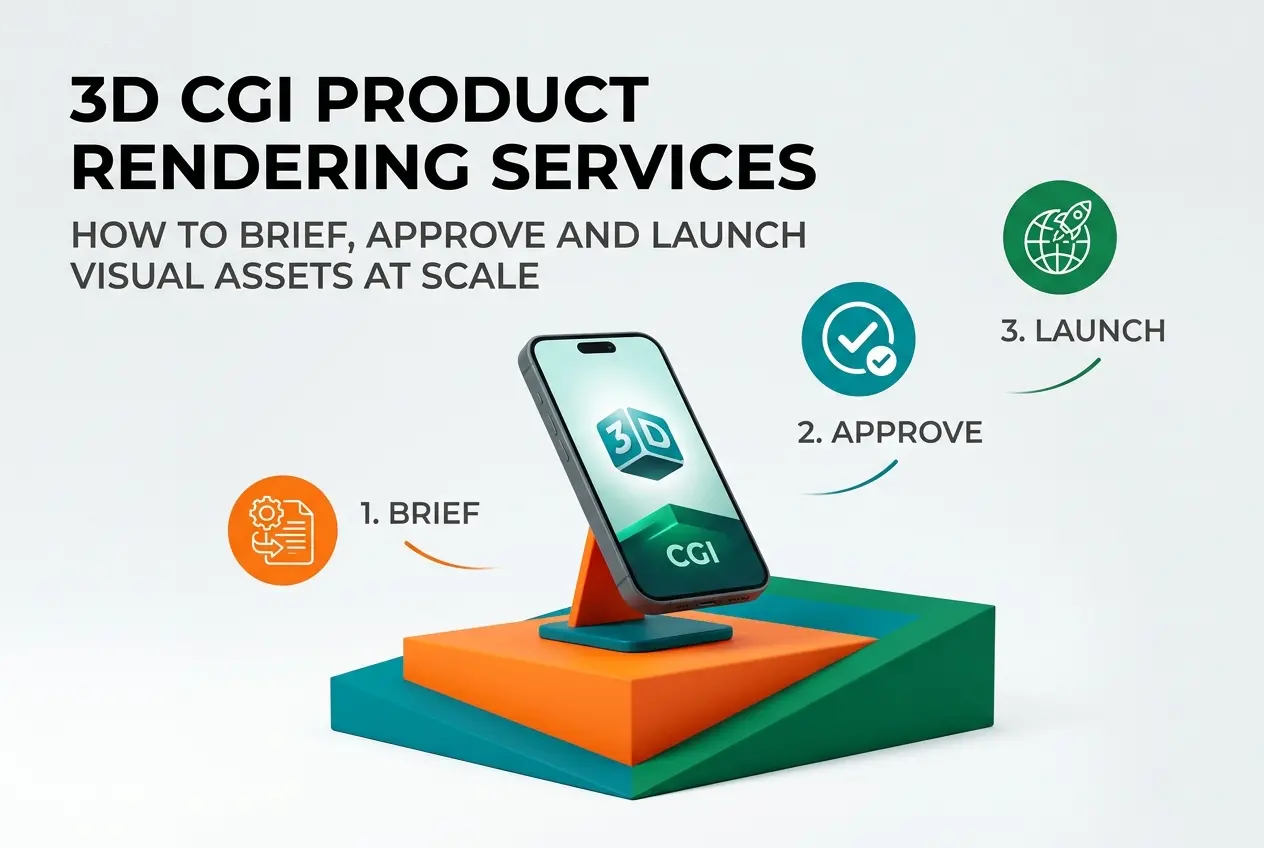
Scaling visual content for a product line sounds straightforward until you’re managing 40 SKUs, three colorways each, across six different digital channels — and your launch date doesn’t move. That’s exactly the kind of brief where 3D CGI Product Rendering Services: How to Brief, Approve and Launch Visual Assets at Scale becomes less of a luxury and more of a logistics problem you have to solve correctly the first time. In our studio, we’ve worked with e-commerce brands, furniture manufacturers, and consumer electronics companies who all hit the same wall: the bottleneck isn’t the rendering itself, it’s everything around it — the brief quality, the approval loop, the asset handoff. Get those right, and the renders practically flow. Get them wrong, and you’re doing revision round six on a hero shot that should have been approved in round two.
This post breaks down the entire workflow from brief to launch, with a focus on what actually works at volume. Whether you’re a product developer ordering renders for the first time or a creative director trying to standardize a process across a large catalogue, the principles here apply.
Why Most Briefs Fail Before the Render Starts
A weak brief is the single most expensive thing in a rendering project. Not because it costs more upfront, but because it generates revision cycles that compound. We’ve seen a clear pattern: clients who spend 30 minutes building a proper brief get cleaner first drafts and reach final approval faster than clients who send a reference image and a product name.
A good brief for 3D product rendering services should cover the following without ambiguity:
- Camera angles and framing — Don’t say “front shot.” Say “eye-level, three-quarter view, product centered, 10% headroom, no crop on the base.”
- Surface and material intent — Is that brushed steel or satin steel? Is the fabric matte or does it have a slight sheen? These are different materials in 3D.
- Background and environment — Pure white studio, lifestyle context, or a specific set? If lifestyle, describe the mood, time of day, and spatial scale.
- Output specs — Resolution, color profile (sRGB or Adobe RGB), file format, aspect ratios per platform.
- Brand references — Competitors you admire, mood boards, your existing product photography — all of it helps calibrate the lighting tone.
One thing clients consistently underestimate: the 3D file or physical sample you provide defines the ceiling of what we can produce. If you send a CAD file with no material data, we’ll make intelligent assumptions — but those assumptions cost rounds. Send us your material specs, Pantone codes, texture swatches, or actual product photos from multiple angles. The more we understand the object, the faster the first draft lands.
Building a Scalable Asset Pipeline for Large Catalogues
When you’re rendering one product, workflow doesn’t matter much. When you’re rendering a hundred, it matters enormously. The architecture of your asset pipeline determines whether your launch is clean or chaotic.
Here’s how we approach it internally for catalogue-scale projects:
Modular Scene Building
Rather than building a unique scene for every SKU, we build master scenes — a lighting rig, a camera position, a background setup — and swap the product model in. This is how a furniture brand can render 60 chairs across three finish variants without rebuilding the studio environment 60 times. The scene is the constant; the product is the variable. It’s efficient, and it keeps your catalogue looking visually consistent, which matters on a product listing page.
Variant Batching
Colorways and material variants should be batched in a single production run. If you’re launching a sofa in four fabric options, those four renders should come from the same scene with the same camera, just with the material swapped. Approve the geometry and composition on one variant first. Once that’s locked, batching the rest is fast. Clients who approve variants one-by-one across separate rounds end up with inconsistencies — slightly different shadows, slightly different angles — that are subtle but visible when you put all four on a comparison page.
Naming Conventions and File Handoff
This sounds administrative, but it’s where a lot of launches fall apart. Before the project starts, agree on a file naming structure. Something like ProductName_SKU_Angle_Resolution_v1.jpg takes 10 minutes to agree on and saves hours of confusion at handoff. Your dev team, your content team, and your studio should all be using the same names. We always send a delivery manifest with each batch — a simple table that maps every file to its product, angle, and specification. It eliminates the “wait, which file is the hero shot?” conversation.
The Approval Process: How to Move Fast Without Getting It Wrong

The approval loop is where time goes to die in most rendering projects. Not because the work is bad, but because the process isn’t designed. Here’s what works at scale.
Stage-Gate Reviews, Not Open-Ended Feedback
Approve in stages: first, geometry and composition; second, materials and lighting; third, final color and detail. If you approve stage one, we don’t revisit it in stage two. This sounds obvious, but it’s violated constantly. A client will approve the camera angle, we’ll finalize the materials, and then in round three someone will say “can we shift the angle slightly?” That’s a restart, not a revision. Stage-gate reviews prevent scope creep and protect everyone’s time.
Annotated Feedback, Not Verbal Descriptions
When you send feedback, mark it up on the image. Circle the area, draw an arrow, write the note next to the specific element. “The reflection on the left side of the product feels too sharp — can we soften it?” with a circle around the area is actionable in 10 minutes. “The lighting feels a bit off” sends us down a rabbit hole. Tools like Frame.io, Markup.io, or even a simple annotated PDF work fine. We’re not prescriptive about the tool — we just need the feedback to be spatially specific.
Designate a Single Approver
On large projects, feedback often comes from multiple stakeholders — the brand team, the e-commerce team, the creative director. That’s fine, but consolidate it before it reaches us. We can’t action contradictory feedback from three people simultaneously. One person owns the approval. Everyone else feeds into that person. This is a client-side decision, but it’s the one we push hardest on because it has the most impact on timelines.
Launching Across Multiple Channels: What Changes and What Doesn’t
Your product hero shot for Amazon is not the same as your Instagram square, your website banner, or your retail catalogue spread. The renders can come from the same production run — same scene, same lighting — but the output specs, crop, and sometimes the composition need to be tailored per channel.
| Channel | Typical Aspect Ratio | Resolution Need | Key Consideration |
|---|---|---|---|
| E-commerce listing (Amazon, Flipkart) | 1:1 | 2000×2000px minimum | Clean white background, product fills 85% of frame |
| Website hero banner | 16:9 or 21:9 | 3840×2160px preferred | Space for text overlay, lifestyle context preferred |
| Instagram / social square | 1:1 or 4:5 | 1080×1080px or 1080×1350px | Stronger mood, more editorial composition |
| Print catalogue | Variable per layout | 300 DPI at print size | CMYK-safe colors, bleed allowance |
| Retail display / large format | Custom | High-res, often 6000px+ | Needs to hold detail at viewing distance |
The smartest approach is to render at the highest required resolution and crop down. If your print catalogue needs 300 DPI at A3, render at that spec — every other channel can be derived from it. Don’t render small and try to scale up. It never looks right.
For brands working across physical and digital, 3D product animation services are increasingly part of the same production run — a lifestyle still and a short turntable animation from the same scene, delivered together. It’s more efficient than treating them as separate projects.
Common Mistakes That Derail High-Volume Projects

We’ve seen a handful of patterns repeat enough times that they’re worth calling out directly.
Sending incomplete or incorrect 3D files late. If you’re providing your own CAD or 3D files, have them checked and cleaned before handoff. Missing faces, inverted normals, or non-manifold geometry adds time at our end and can push your first draft back significantly. We can handle file prep, but build it into the timeline explicitly.
Approving renders on an uncalibrated screen. This is surprisingly common. If your monitor’s brightness is cranked up, the renders will look overexposed to you and you’ll ask us to darken them — but they’ll look perfect on a calibrated display. Before approving final color, check the file on at least two different screens, or ask us for a calibration reference.
Forgetting to specify output color space. sRGB is the web standard. If you need renders for print, you’ll need a different workflow. Specify this upfront. Converting an sRGB render to CMYK after the fact is not the same as rendering with print output in mind from the start.
Treating 3D CGI product rendering services as a photography replacement without adapting the brief. CGI isn’t constrained by physics the way photography is — we can place lights where no physical light could go, clone a material across a surface perfectly, change the time of day in post. Use those advantages. But they require intentional direction. “Make it look like a photo” is not a brief. “Simulate a north-facing window with a silver reflector fill, product on a white lacquer table” — that’s something we can build.
What a Well-Structured Launch Actually Looks Like
When everything is set up correctly, a high-volume product launch through a professional rendering pipeline moves with a rhythm. The brief is locked before production starts. The scene masters are approved in the first week. Variants batch through in the second week. Final QC and file handoff happen in the third. Your team has named, organized, platform-ready assets sitting in a shared folder before your launch date, not the day before.
That’s not an aspirational scenario — it’s what happens when both sides of the project (client and studio) are organized and communicating clearly. The renders themselves are the easy part. The process around them is what separates a smooth launch from a stressful one.
If you’re planning a catalogue rollout or a product launch that requires consistent, scalable visual assets, we’d be glad to talk through the specifics of your project. Get in touch with the team at 360render.com and let’s map out a production plan that fits your timeline and your catalogue size.
Frequently Asked Questions
What information should I include in a brief for 3D CGI product rendering services?
A strong CGI rendering brief should include high-resolution reference images of the product from multiple angles, exact dimensions and material specifications, brand color codes, preferred lighting mood, and intended usage formats such as web, print, or social media. You should also specify the number of final renders required, background preferences, and any lifestyle or environmental context you want included. The more detailed your brief, the fewer revision rounds you will need, which significantly reduces turnaround time and cost.
How long does it typically take to receive completed 3D CGI product renders from a professional studio?
A standard single-product CGI render with straightforward geometry and materials typically takes 3 to 7 business days from brief approval to first draft delivery. Complex products with intricate textures, multiple components, or lifestyle scene builds can take 2 to 4 weeks depending on the studio's workload and revision scope. Communicating your launch deadline upfront allows studios to allocate resources appropriately and build a realistic approval timeline into the project.
How do I manage the approval process for CGI product renders when working across multiple stakeholders?
The most efficient approach is to consolidate all stakeholder feedback into a single round of annotated comments using collaboration tools like Frame.io, Filestage, or even a shared Google Doc with timestamped notes before sending revisions back to the studio. Establishing a clear approval hierarchy with a designated final decision-maker prevents contradictory feedback that causes delays and budget overruns. Building structured approval checkpoints at the clay model stage, first textured render, and final lighting pass keeps everyone aligned before costly changes are needed.
What file formats and resolutions should I request for 3D CGI product renders to ensure they work across all marketing channels?
For maximum versatility, request your final renders as high-resolution TIFF or PNG files at a minimum of 5000 pixels on the longest edge, which supports large-format print while remaining easily downsized for digital use. Ask the studio to deliver layered PSD files or separate passes including diffuse, shadow, and reflection layers so your in-house design team can make minor composite adjustments without returning to the studio. Additionally, request the original 3D scene files in a format such as OBJ, FBX, or the studio's native format so assets can be efficiently updated for future product variants or campaign refreshes.
Is 3D CGI product rendering more cost-effective than traditional product photography at scale?
Once the initial 3D asset is built, producing additional color variants, angles, or scene compositions typically costs 60 to 80 percent less than reshooting physical photography, making CGI highly cost-effective for brands with large or frequently updated product catalogs. Traditional photography requires physical samples, studio time, props, and logistics for every variation, whereas a 3D model can be infinitely adapted without those recurring costs. For brands launching ten or more SKUs or running continuous campaign cycles, the break-even point compared to photography is usually reached within the first major project.