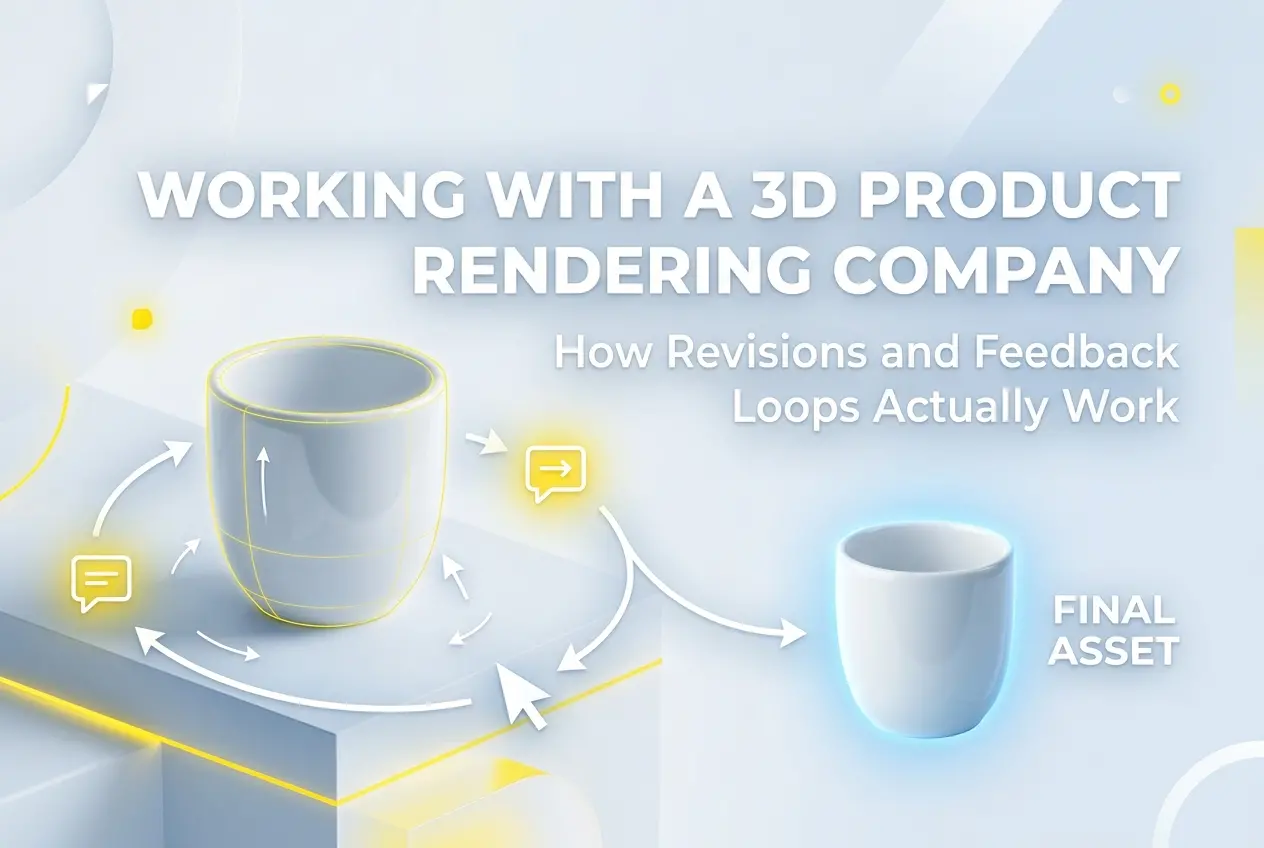
Most clients who come to us for product renders have never worked with a 3D rendering studio before. They know what they want the final image to look like — sharp, photorealistic, shelf-ready — but they have no idea how the process of getting there actually works. That gap in understanding is where projects either go smoothly or completely stall. If you’re planning on working with a 3D product rendering company, understanding how revisions and feedback loops actually work will save you time, money, and a lot of frustration on both sides of the conversation.
The revision process isn’t just a formality tacked onto the end of a project. It’s a structured part of the production pipeline, and how you engage with it determines the quality of your final output. Studios that do this well have clear checkpoints, defined expectations, and a shared vocabulary with clients. Studios — and clients — that wing it end up in revision hell: endless back-and-forth, drift from the original brief, and renders that feel like nobody is steering the ship.
Let’s break down exactly how this works so you can walk into your next project prepared.
The Production Pipeline: Where Revisions Actually Fit
Before we talk about feedback, you need to understand the basic stages of a 3D product rendering project. A typical workflow looks like this:
- Brief and asset collection — You send reference images, CAD files, measurements, material specs, and usage context.
- 3D modeling — The geometry of your product is built from scratch or from your supplied files.
- Material and texture setup — Surfaces get shaders, reflections, roughness values, and texture maps applied.
- Lighting and scene composition — The product is placed in a lighting environment appropriate to the shot style.
- Draft render (low resolution) — A preview image is rendered to check composition, lighting, and material direction before committing to full resolution.
- Client feedback round — You review and comment. Changes are made.
- Final render (high resolution) — The approved scene is rendered at full output quality.
- Post-production — Color grading, retouching, background compositing if needed.
Revisions are built into steps 6 and beyond, but here’s what most clients don’t realize: changes requested after step 7 cost significantly more time than changes caught at step 5. The draft render stage exists precisely so you can course-correct before the heavy computation happens.
How Revision Rounds Are Structured
Professional studios don’t offer unlimited revisions — and you should be cautious of any that do without caveats. Instead, revisions are typically bundled into rounds. A round means you compile all your feedback into one consolidated response, and the studio applies those changes before sending back the next version for review.
This matters more than it sounds. Sending feedback one comment at a time — “actually, can we also change the background?” three days after your first note — resets work that may have already moved forward. It fragments the pipeline and introduces errors. One clean, consolidated round of feedback is worth ten scattered messages.
In our studio, we ask clients to use a simple annotation method: either mark up the image directly using a tool like Figma or simply number their comments and reference areas of the image clearly. “The reflection on the left side of the bottle feels too intense” is far more actionable than “can we tone it down a bit.”
What Good Feedback Actually Looks Like

This is where most client-studio relationships either click or break down. Clients often feel uncertain about giving technical feedback because they don’t speak the language of 3D. That’s fine — you don’t need to. But vague feedback creates interpretation gaps, and interpretation gaps cost revision rounds.
Here’s a practical breakdown of feedback quality:
| Vague Feedback | Actionable Feedback |
|---|---|
| “Make it look more premium.” | “Add a darker, more moody background and increase the sharpness of the specular highlights on the metal parts.” |
| “The color doesn’t look right.” | “The product color appears too yellow-green. Our Pantone reference is 375C — please adjust to match more closely.” |
| “It looks fake.” | “The plastic surface looks too smooth and clean. Reference image B shows the slight texture it should have.” |
| “Can you make it pop more?” | “The product is blending into the background. Try a rim light from behind-left to separate it better.” |
You don’t need to know 3D terminology. You do need to describe what you’re seeing and what you want to see instead. References help enormously — if you’ve seen a product photo you love, share it. That single image can communicate more than a paragraph of description.
Working With a 3D Product Rendering Company: Common Mistakes That Extend Timelines
After years of working with product developers, brand managers, and e-commerce teams, certain patterns come up again and again. These are the things that reliably cause delays — not because the studio is slow, but because the feedback loop breaks down.
Approving a draft and then changing the brief
Once you’ve signed off on the draft render — the composition, camera angle, lighting direction — and the studio moves to final resolution, requesting a completely different camera angle means restarting significant portions of the work. It’s the equivalent of approving a print layout and then asking to change the grid after it’s been sent to press. If you’re unsure during drafts, say so. That’s the right moment to explore options.
Multiple stakeholders reviewing independently
One of the most common reasons for runaway revision rounds is internal misalignment on the client side. The marketing manager approves the lighting, and then the product director reviews the same render two days later and wants it completely changed. We’ve seen projects cycle through six revision rounds because internal sign-off wasn’t coordinated. Designate a single point of contact who has consolidated internal feedback before it reaches the studio.
Unclear material references upfront
If you’re launching a new product and the physical samples don’t exist yet — which is very common when 3D rendering is used for pre-production visualization — you need to supply extremely detailed material references. A text description like “matte black plastic” leaves enormous room for interpretation. Is it ABS? Soft-touch rubberized? Fine-grain texture? These details change the entire look of the surface. The more precisely you describe it at the brief stage, the fewer revision rounds you need later.
How Many Revisions Is Normal?

For a well-briefed project with a single product and clear references, a professional studio should be able to reach final-approved quality within two to three revision rounds at the draft stage. More than that usually signals either a brief problem, a communication gap, or scope creep.
For complex projects — multi-angle product photography-style rendering, lifestyle scenes with multiple props and environments, or projects where the product itself is still being finalized — more rounds are expected and normal. The key is that each round should move meaningfully forward, not circle the same issues.
If you notice your project looping on the same problem across multiple rounds, that’s a signal to step back and have a direct conversation rather than sending another annotated screenshot. A 15-minute call often resolves in minutes what three email exchanges couldn’t.
What Happens After Final Approval
Once you’ve formally approved the final render, studios will typically deliver layered files, multiple formats, and sometimes raw render passes depending on what was agreed in scope. This is also the point where post-production requests — adding a drop shadow, swapping out the background color for a different SKU, outputting a transparent PNG — need to be clearly communicated. Most of these are quick changes at this stage, but they need to be in scope or priced separately.
It’s also worth noting: if you’re planning to use the same product model for future renders — different colorways, different angles, seasonal scenes — a professional studio should retain your model files and be able to repurpose them. This is one of the long-term advantages of building a relationship with a 3D product rendering company rather than treating every project as one-off. The asset builds over time. Your second and third projects become faster and more cost-effective because the foundational work is already done.
Setting Up Your Next Project for Success
Before you send a single file to a studio, do this internal work first:
- Identify one internal decision-maker who owns final approval
- Gather every reference — competitor images, mood boards, material swatches, existing photography
- Write a clear brief that specifies camera angles, usage context (web, Amazon, print, social), background preference, and any brand color standards
- Clarify whether physical samples exist or whether the studio is working from concept only
- Define your deadline and work backward — leave buffer for at least two revision rounds
The studios that consistently deliver strong work on time aren’t necessarily the ones with the most powerful rendering hardware. They’re the ones that have disciplined intake processes and clients who are prepared to engage clearly. It really is a collaboration, and the feedback loop is where that collaboration lives.
If you’re ready to start a product rendering project or want to understand how our specific process works before committing, get in touch with our team at 360render.com. We’re happy to walk you through what the first round of drafts looks like for your product category before any work begins.
Frequently Asked Questions
How many revision rounds are typically included when working with a 3D product rendering company?
Most 3D product rendering companies include between 2 to 4 revision rounds in their standard packages, though this varies by provider and project scope. It's essential to clarify the exact number of included revisions before signing a contract, as additional rounds often come with extra fees. Understanding this upfront helps you plan your feedback process efficiently and avoid unexpected costs.
How should I provide feedback to a 3D rendering company to get the best results?
The most effective feedback combines visual references, such as annotated screenshots or mood boards, with specific written descriptions of what needs to change rather than vague terms like 'make it look better.' Pointing to exact areas in the render and using precise language about lighting, texture, color, or scale significantly reduces back-and-forth communication. Many rendering companies provide markup tools or feedback forms specifically designed to streamline this process.
How long does each revision cycle take when working with a 3D product rendering studio?
A single revision cycle with a professional 3D rendering company typically takes between 24 to 72 hours, depending on the complexity of the changes and the studio's current workload. Minor adjustments like color corrections or lighting tweaks tend to turn around faster than structural or composition changes. Always ask your rendering partner for a realistic revision turnaround estimate at the start of the project to build it into your production timeline.
What happens if I'm not satisfied with the 3D product render after all included revisions are used?
Once you've exhausted the included revision rounds, most 3D rendering companies will charge hourly or per-revision fees for additional changes, which can range from $50 to $200 or more depending on complexity. To avoid this situation, consolidate all your feedback into one comprehensive list per revision round rather than sending changes piecemeal. Some studios offer unlimited revisions at a premium package tier, which may be worth considering for complex or high-stakes product launches.
What information should I prepare before starting the revision process with a 3D rendering company?
Before entering the revision phase, you should have your brand guidelines, approved reference images, exact product dimensions, material specifications, and any required angles or use-case scenarios clearly documented and ready to share. The more detailed and organized your briefing materials are, the fewer revision cycles you'll need overall. Preparing a structured creative brief at the beginning of the project is one of the best ways to reduce costly revisions and shorten the overall production timeline.