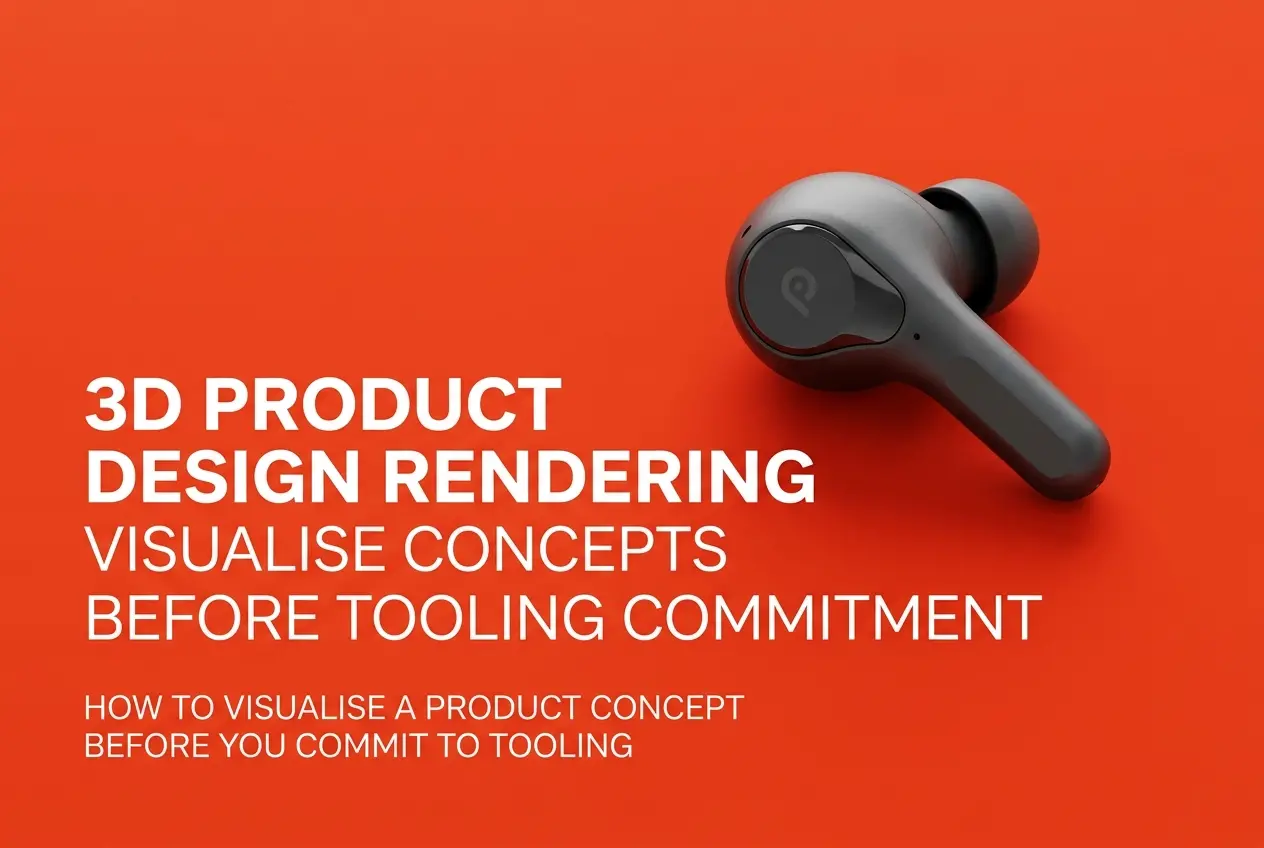
A physical prototype takes weeks and real money. A CGI model of the same product can be sitting in an art director’s inbox by Friday, ready for approval, revision, or a hard no — before a single unit of tooling gets cut. That shift, from “build it and see” to “render it and decide,” is the whole story of 3D Product Modeling and Rendering for New Product Development: How Brands Use CGI to Validate Design Before Production. We’ve watched this become standard practice across furniture, consumer electronics, packaged goods, and appliance categories, and it’s not a trend — it’s just better engineering discipline dressed up as marketing content.
In our studio, the requests that used to be “we need some product shots for the website” have turned into “we need to see three colorways, two handle options, and a size comparison before we commit to injection molds.” That’s a design validation conversation happening inside what looks like a rendering project. The client gets both outcomes — decision-making data and usable marketing assets — from a single pipeline.
This post is about how that actually works under the hood: what stage of development CGI should enter, what kind of models actually hold up to scrutiny, and where teams get it wrong.
Why CGI Validation Happens Before Production, Not After
Physical prototyping is a one-way commitment. Once you’ve cut a mold or ordered a short run from a factory, changing the wall thickness of a bottle or the curvature of a chair arm means starting over. CGI has no such penalty. A 3D model can have its proportions, materials, and finishes changed in an afternoon, and every version can be rendered side by side for a design review.
This is why 3D Product Modeling and Rendering for New Product Development has become a standard step between industrial design sign-off and tooling. It’s not replacing prototyping — it’s filtering out the decisions that don’t need a physical prototype to be made correctly. Color, finish, proportion, hardware placement, packaging graphics fit — all of that can be resolved visually, at high accuracy, without touching a factory.
We’ve had furniture clients run four upholstery colorways and two leg finishes through render before choosing which two go into physical sampling. That’s not a marketing exercise. That’s cutting the number of physical prototypes by more than half, because the visual and proportional questions were already answered.
What Makes a Model “Production-Accurate” vs. Just Pretty
This is where a lot of teams get surprised. A gorgeous render and an accurate render are not the same thing, and if you’re using CGI to validate design decisions, accuracy matters more than polish.
A production-accurate model is built from real dimensions — CAD data if it exists, or precise manual modeling against spec sheets and reference photography if it doesn’t. Wall thicknesses, fillet radii, seam placement, and hardware clearances need to match what manufacturing will actually produce. If a designer is judging whether a bezel looks too thick in a render, that render needs to reflect the real bezel width, not an artist’s aesthetic guess.
We always ask new clients for whatever technical data exists before we start modeling — CAD files, engineering drawings, material call-outs, even competitor products for scale reference. When there’s no CAD yet and the product is still in industrial design, we build directly from sketches and spec dimensions, but we flag clearly which parts of the model are locked and which are still interpretive. That distinction matters when someone in a design review says “approved” — they need to know exactly what they’re approving.
Materials and Lighting: Where Design Flaws Actually Show Up

Shape problems are usually caught early. The harder validation work is in materials — because a lot of design failures aren’t structural, they’re perceptual. A matte plastic that looked fine in a sketch can look cheap under real light. A brushed metal finish can catch glare in a way that hides a product’s best feature.
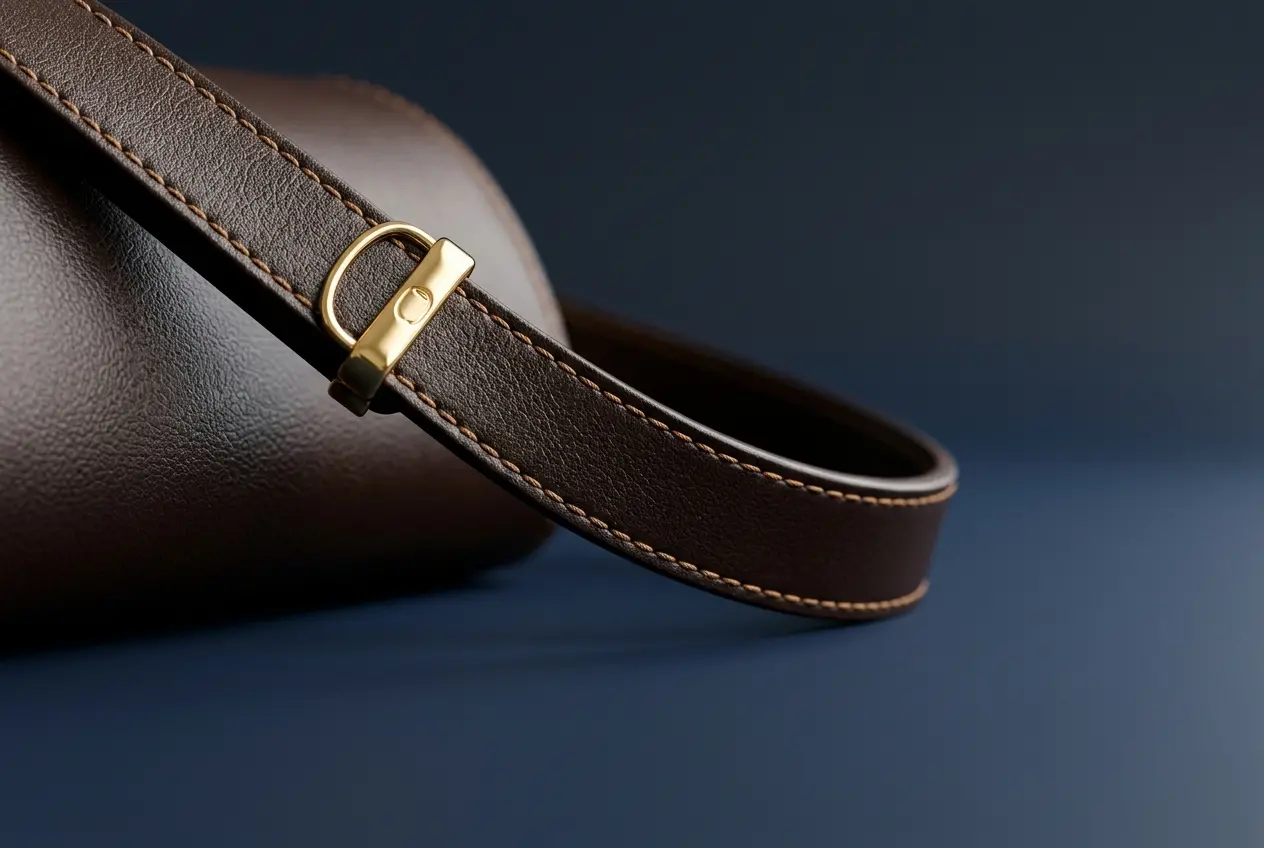
This is where physically based rendering earns its keep. When we build materials using accurate roughness, reflectance, and subsurface values instead of eyeballing them, the render behaves like the real material would under studio lighting, outdoor light, or in-room ambient light. That means a design team can catch a problem like “this finish looks great in the render but will look muddy under warm retail lighting” before it becomes a returns problem.
We’ve had electronics clients specifically ask us to render a housing under three lighting conditions — studio softbox, daylight, and warm indoor — because the finish they picked read differently in each. That’s not a nice-to-have. That’s real design validation, and it’s only possible because CGI lets you change the lighting environment without touching the product.
Where CGI Fits in the Product Development Timeline
| Development Stage | What CGI Validates | Typical Deliverable |
|---|---|---|
| Concept / Industrial Design | Overall form, proportion, silhouette against competitors | Clay-render turntables, no color/material |
| Design Refinement | Color, finish, hardware, material combinations | Multiple material variants, side-by-side comparisons |
| Pre-Tooling Review | Manufacturing-accurate proportions, seams, tolerances | CAD-based renders, engineering review sheets |
| Packaging & Merchandising | How the product reads in-box, on-shelf, in lifestyle context | Packaging renders, in-context lifestyle scenes |
| Pre-Launch Marketing | Final approved asset used across channels | Hero shots, 360 spins, lifestyle renders |
Notice that the same 3D asset moves through every stage. That’s the efficiency most teams miss — the model built for early proportion review isn’t thrown away once tooling starts. It gets refined and reused, all the way through to the final 3D product rendering used for the e-commerce listing or ad campaign. One asset, five jobs.
Common Mistakes We See in the Wild
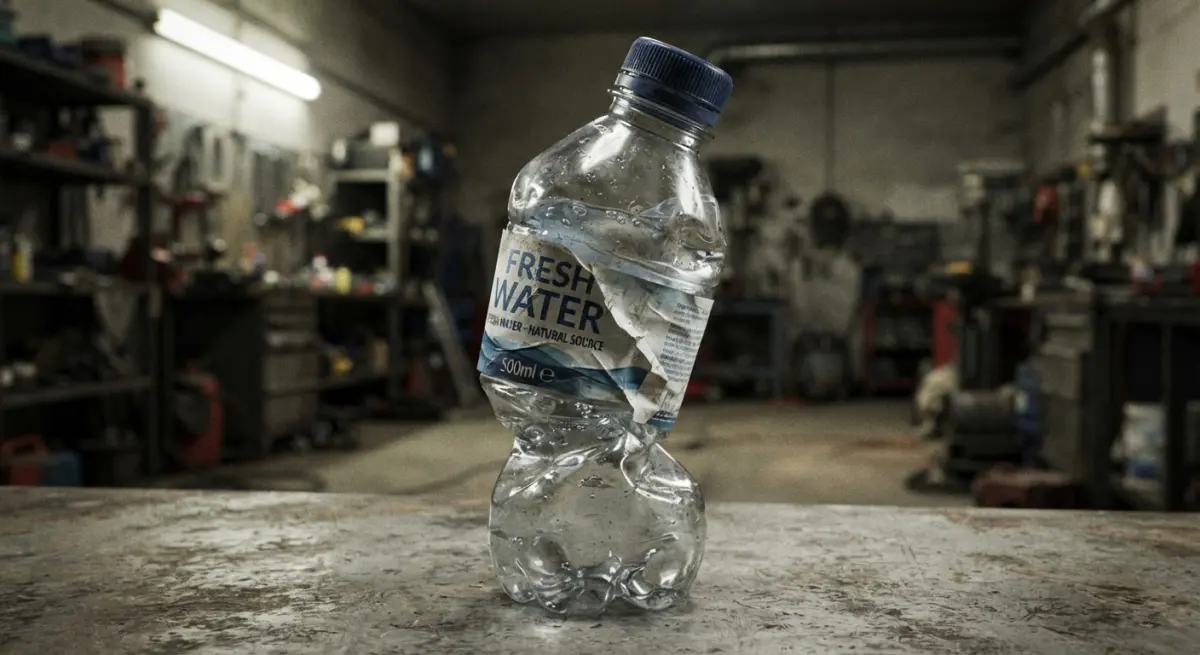
A few patterns show up again and again, and they’re worth naming because they cost teams time and money.
- Skipping technical review before locking materials. A design team approves a color and finish based on a render that hasn’t been checked against real-world material behavior, then finds out in physical sampling that the actual paint doesn’t match the render’s perceived warmth. This is avoidable by involving your rendering studio’s material specialist early, not just handing over a Pantone code.
- Treating early concept renders as final assets. Concept-stage renders are built fast, often without final materials or manufacturing detail, specifically to test form. Using those same files for a product launch campaign without upgrading them leads to inconsistencies that customers notice, especially on close inspection in zoomed e-commerce images.
- Not sharing CAD when it exists. Some teams assume it’s easier to just describe the product verbally. It isn’t. Even rough CAD, even a single reference dimension set, saves rounds of revision and gets you to an accurate model faster.
- Waiting too long to bring in CGI. The biggest cost savings come from catching design issues before physical prototyping starts, not after. Teams that treat rendering as a purely post-production marketing task miss the validation window entirely.
What Actually Works: A Practical Approach
The projects that go smoothly share a pattern. The client shares whatever technical documentation exists, even if incomplete. They tell us clearly which decisions are still open (color, finish, hardware) versus locked (core dimensions, structural features). They review renders in batches — three or four variants at once — rather than one-off requests that make comparison harder. And they treat the early “validation” renders as working documents, not final art, which means we can iterate fast without worrying about polish that will get thrown away anyway.
We’ve also found it helps enormously when a designer sits in on a render review directly, rather than the feedback passing through three people first. Small material and proportion judgments are easier to explain in a live conversation than in a comment thread.
For products going straight to e-commerce, this validation process dovetails directly into the final asset pipeline. Once the design is locked, we move from validation renders into full 3D modeling for eCommerce, building out the lifestyle scenes, packaging shots, and marketplace-ready images from the same accurate model. Nothing gets rebuilt from scratch.
Bringing It Together
The reason CGI validation has become standard practice isn’t that it’s flashy — it’s that it removes guesswork from decisions that used to require expensive, slow physical iteration. A well-built 3D model, checked for accuracy and rendered under real material and lighting conditions, lets a design team see problems before they’re expensive to fix. That’s the actual value behind 3D Product Modeling and Rendering for New Product Development: How Brands Use CGI to Validate Design Before Production — it’s a risk-reduction tool wearing a marketing hat.
If you’re heading into a product development cycle and want to catch design problems before they hit tooling, get in touch through our contact page and we’ll walk you through what we’d need to get started.
Frequently Asked Questions
How does 3D product modeling help validate design before mass production?
3D product modeling allows brands to create photorealistic digital prototypes that reveal design flaws, proportion issues, and material inconsistencies before committing to expensive tooling or manufacturing. Teams can rotate, section, and inspect the model from every angle, simulating real-world lighting and materials to catch problems early. This reduces costly physical prototype iterations and shortens the overall product development timeline.
What is the cost difference between CGI rendering and physical prototyping for new products?
CGI rendering typically costs significantly less than physical prototyping since it eliminates material waste, tooling setup, and shipping expenses tied to iterative physical samples. A single 3D model can be reused across multiple design variations, colorways, and marketing assets, whereas physical prototypes require new production runs for each change. Brands often report 30-50% savings when replacing early-stage physical prototypes with CGI validation.
Can 3D renders be used for marketing before the physical product exists?
Yes, high-quality 3D renders can be used for e-commerce listings, crowdfunding campaigns, and social media marketing well before manufacturing is complete. This allows brands to gauge market interest, run pre-orders, and gather customer feedback while finalizing production details. Many companies also use these renders for investor presentations and retail pitch decks.
What software or technology do brands use for 3D product modeling and rendering?
Brands commonly use industry-standard tools like KeyShot, Blender, 3ds Max, and Cinema 4D combined with CAD software such as SolidWorks or Rhino for precise engineering accuracy. These platforms allow designers to import technical specifications and apply realistic materials, lighting, and textures for photorealistic output. The choice often depends on whether the priority is engineering precision, rendering speed, or animation capability.
How long does it take to create a 3D rendered prototype compared to a physical sample?
A detailed 3D rendered prototype can typically be completed in one to three weeks, depending on product complexity, whereas physical samples often take four to eight weeks due to sourcing materials and manufacturing lead times. This faster turnaround lets brands test multiple design iterations in the time it would take to produce a single physical sample. It also enables quicker decision-making during stakeholder reviews and design approvals.